Add a 3D Label
Besides 3D models, you can also add 3D information to your experience. Let’s add a 3D Label to display information from the ThingWorx platform (an IoT Development Platform). To do this, you’ll invoke a “Service” which then pulls in information from ThingWorx platform.
1. Drag and drop a 3D Label widget onto the canvas.
2. While the 3D label is selected, scroll down in the DETAILS pane and select the checkbox for Billboard. This causes the 3D label to rotate as you move around your AR experience so that it is always pointed directly at you.
3. Click on Transform icon and move the label to a desired location.
4. Next, pull in data from the ThingWorx platform for the label to display by navigating to the DATA pane and clicking the green + sign next to EXTERNAL DATA.
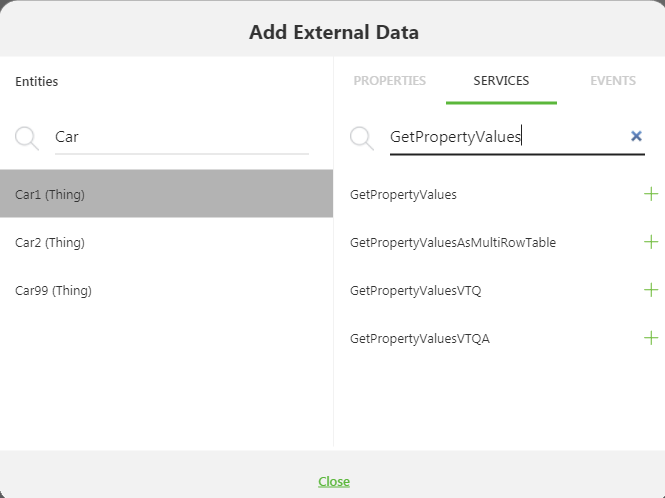
5. In the search field at the top-left, type in car1. This is a pre-configured thing that has been created to provide information, including a dynamically changing value. We’ll use this changing RPM value to provide a changing value for the pump.
6. Wait for the system to search the available options, and then select Car1 (Thing). A list of all available Services for that thing appears.
7. In the search field, begin typing GetPropertyValues, and click the green + sign next to GetPropertyValues once filtering is complete.
8. Click Close to return to the canvas.
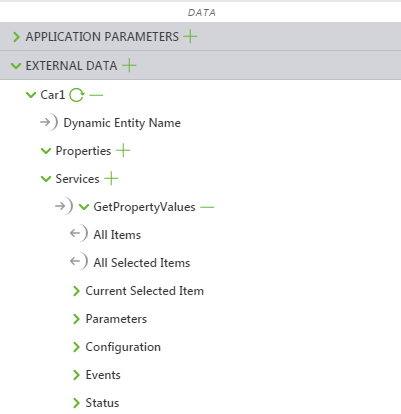
9. You’ll now see the data for Car1 appear under External Data.
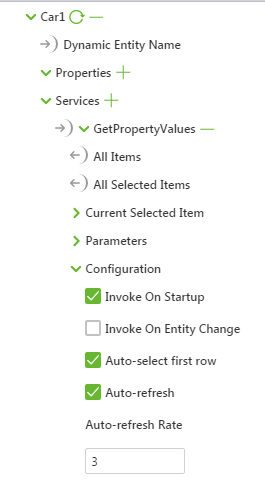
10. Under > > , expand the Configuration section.
11. Click the checkbox next to Invoke On Startup. This causes the experience to pull in all of the property values as soon as the experience is loaded in Vuforia View.
12. Click the checkbox next to Auto-refresh, and change the Auto-refresh Rate to 3. This causes the values to update three seconds.
13. Select the 3D Label (3DLabel-1) in the project tree.
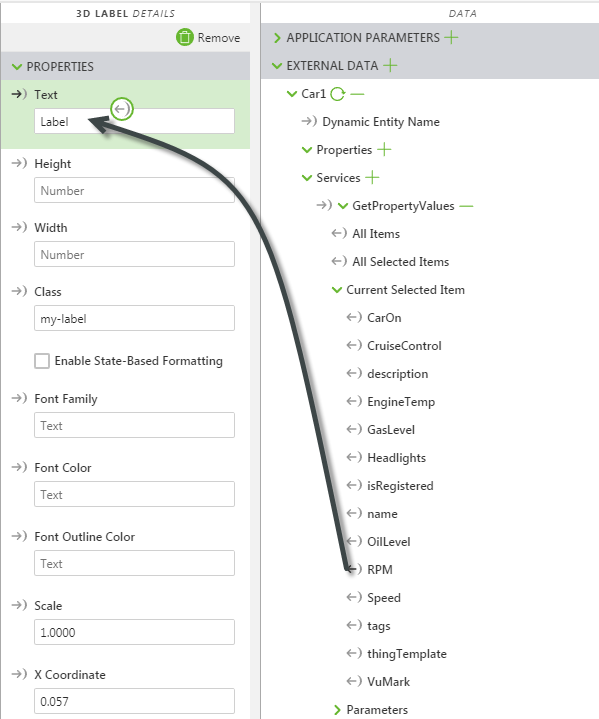
14. Under > > , expand Current Selected Item to view all of the available properties being stored on the ThingWorx platform.
15. Drag the binding icon

next to
RPM and drop it onto the
Text field under
PROPERTIES for the 3D Label widget. This causes the 3D Label to display the value of the property from the
ThingWorx platform.
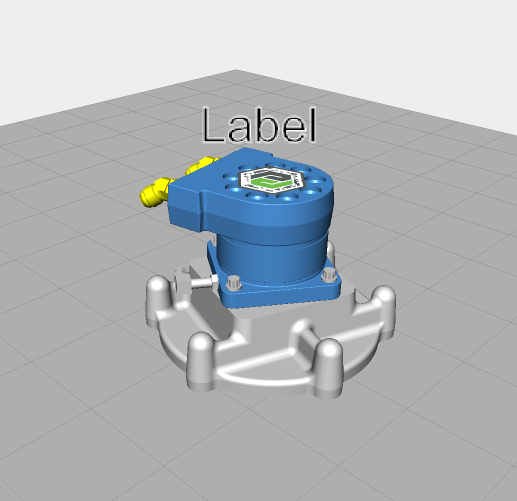
16. At this point, your canvas should look similar to this: