Starting the Export Wizard and Exporting Data
The data in an open file can be exported to other supported file formats. The file that is being created by the Export Wizard is called the export file or target file. The Export Wizard walks you through the steps involved in exporting data in the open file to a target file. The selections that you make on wizard pages provides the information needed to perform the export.
The following procedure provides the basic steps for using the Export Wizard to export data from the an open file to the target file. If you intend to later import the data in the target file back into a file, make sure that the target file contains all necessary data fields, such as identifiers and codes.
1. Select > . The Export Wizard starts and displays the Load Template page. Perform a custom export is selected by default.
The following table describes the options on the Load Template page.
|
Option
|
Description
|
|---|---|
|
Perform a custom export
|
When selected (default), information about the export to perform must be entered on the pages of the Export Wizard. This option is selected when the information required for the export is not already saved in an Import/Export Template file.
|
|
Load an existing template
|
When selected, the Import/Export Template file that contains the settings required for the export can be selected in the window that opens. To change your file selection, you can use the browse button for the field below to open this window again. Until an Import/Export Template file is selected, a < Select file... > label appears in the field for file selection. You can select any Graph Template file in the Project or the Common Library.
|
2. On the Load Template page, select Perform a custom export and click Next. The Select Product Module page appears if the System file is open and multiple modules are in use in the current session. The default module depends on the pane that was active when the Import Wizard was started.
3. If the Select Product Module page appears, select the appropriate module and click Next. If the module selected has multiple tables, the Select Table Type page appears. Go to step 4.
◦ If the module selected has only one table, a page for selecting the records to export typically appears. Go to step 6. However, if no additional record selections are necessary, the Select Data page appears. Go to step 7
4. If the Select Table Type page appears, for Table type, select the table from which to export data. The table selected in the open file is the default.
5. Click Next. The next page to appear is generally one for specifying which records to export. However, if no additional record selections are necessary, the Select Data page appears. Go to step 7.
6. If a page appears for item selection, complete it.
The following table describes the various Export Wizard pages that can appear for item selection.
|
Export Wizard Pages
|
Description
|
||
|---|---|---|---|
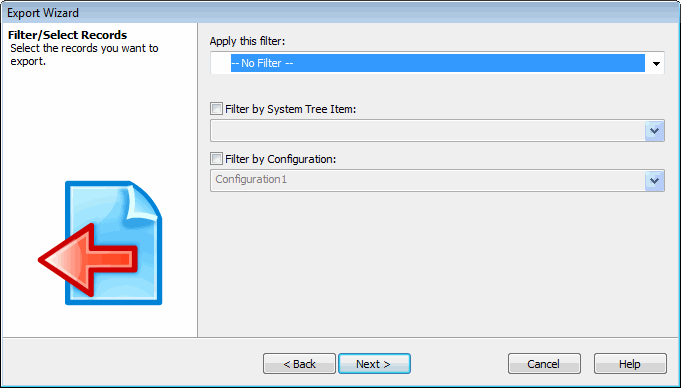 |
The Filter/Select Records page varies, based on the table type. It provides for choosing filters to specify which records to export. Only filters created for the selected table type are available. If no filter is applied to the table in the open file, -- No Filter -- is the default. If a filter is applied, then it is the default. To remove a filter, you select -- No Filter --. Filter by options appear only for certain table types, such as FRACAS Incidents, and vary based on table type. When the checkbox for a Filter by option is selected, a field for selecting a record or identifier becomes available. Only those items associated with the selected record or identifier are exported.
|
||
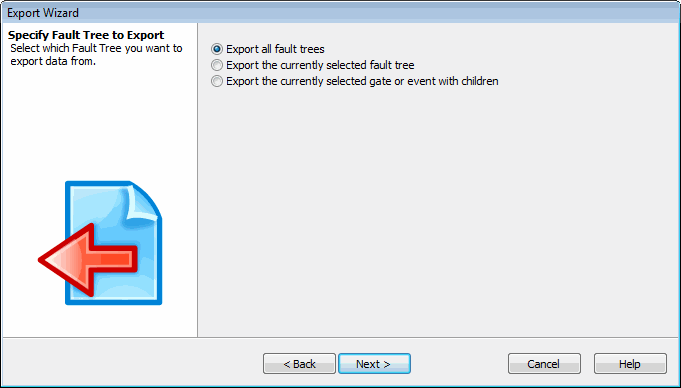 |
The Specify Fault Tree to Export page provides for indicating whether you want to export data for all trees, the selected tree, or the selected gate or event and all child items.
|
||
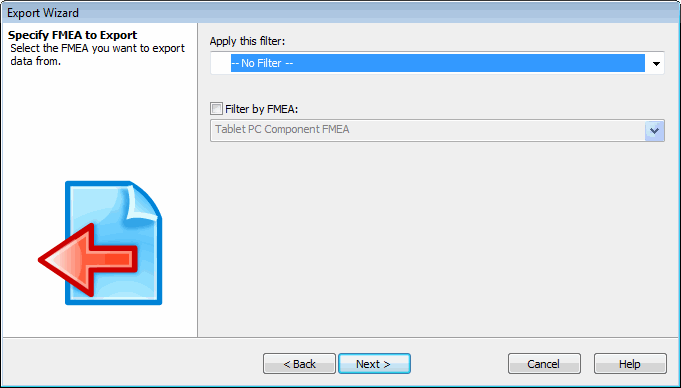 |
The Select FMEA to Export page provides for choosing a filter and/or a Filter by option to specify which records to export. You complete it in the same manner as the Filter/Select Records page.
|
||
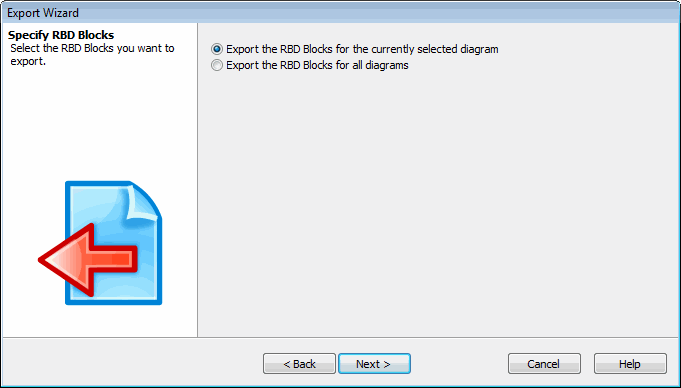 |
The Specify RBD Blocks page provides for indicating whether you want to export blocks from only the selected diagram in the active System file or RBD Diagram Library file or from all diagrams in this file.
Import/Export Template files for RBD blocks affect System files by default. They work with an RBD Block Library file if one is currently open and active.
|
||
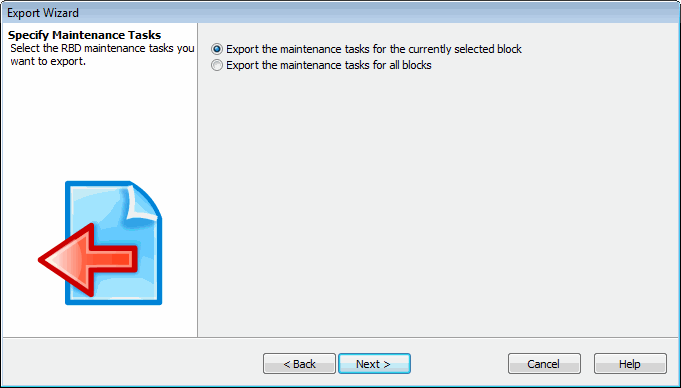 |
The Specify Maintenance Tasks page provides for indicating which tasks to export. The options shown depend on the file from which to export tasks.
• When exporting tasks from a System file, RBD Diagram Library file, or RBD Block Library file, you can choose between exporting tasks from only the selected block or from all blocks.
• When exporting tasks from the RBD Spares file, you can choose between exporting tasks from only the selected spares pool or from all spares pools.
Import/Export Template files for maintenance tasks affect System files by default. They work with an RBD Block Library file if one is currently open and active. During an import, validations on maintenance optimization fields are performed. Values for Minimum or Interval Minimum must be equal to or greater than zero. Values for Maximum or Interval Maximum must be either blank or equal to or greater than values for Minimum or Interval Minimum.
|
||
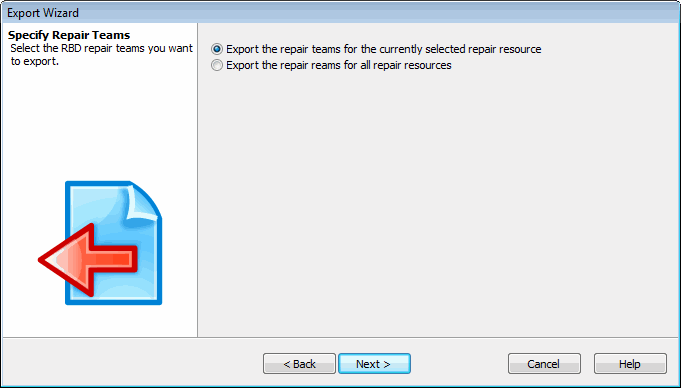 |
The Specify Repair Teams page provides for indicating whether you want to export repair teams from the RBD Repair Resource file for only the selected repair resource or for all repair resources. During an import of data into an RBD Repair Resource file, the same validations are performed as when repair team data is entered in this file.
|
Once you complete any of these pages and click Next, the Select Data Fields page appears. The fields in the selected table are preselected for exporting. For information about completing this page, go to step 7.
7. On the Select Data Fields page, select the fields to export, referring to the following table for option descriptions. To reorder selected fields, you can use the standard Windows drag-and-drop technique.
|
Option
|
Description
|
|---|---|
|
Fields available
|
Lists all of the fields not yet selected for export. In some cases, all fields in the table are preselected for export by default. If Show all data fields is available, you can select this checkbox to have all fields that can appear in the table show in this list.
When you are exporting data from the Parts Table, {Specific Data} is the first choice in the Fields available list. When you select it, Edit List is shown in the lower right corner of the page. Clicking this button provides for exporting the parameters shown in the Prediction Data pane.  |
|
Fields to export
|
Lists the fields selected for the export. By default, all fields in the table are preselected. You can use the standard Windows drag-and-drop technique to reorder the fields in this list. The first field in this list is the first field exported for each record, the second field in this list is the second field exported for each record, and so on.
|
 |
When clicked, the field selected in the Fields available list is moved to the Fields to export list. You can also double-click a field in the Fields available list to move it to the Fields to export list.
|
 |
When clicked, all fields in the Fields available list are moved to the Fields to export list.
|
 |
When clicked, the field selected in the Fields to export list is moved to the Fields available list.
|
 |
When clicked, all fields in the Fields to export list are moved to the Fields available list.
|
 |
Provides for indicating which parameters to export from the Prediction Data pane for specific model, category, and subcategory combinations. This button is shown on the Select Data Fields page only when you are exporting part data. When you click this button, the Specific Data List window opens so that you can select the part parameters to export. For more information, see Specific Data List Window.
|
|
Show all data fields
|
Indicates which fields to list for the selected table type. When you are exporting part data from a System file or Prediction Parts Library file, this checkbox is not shown on the Select Data Fields page. When this checkbox is cleared (default), only the fields used in the table or forms for the table type are shown. When the checkbox is selected, all fields that can possibly be placed in this table or on its forms are shown. If selecting or clearing this checkbox would result in the loss of field selections that have already been made, a window opens, indicating this. You must click Yes to continue or No to cancel. For more information about the availability of this checkbox, see Show All Data Fields.
|
8. Click Next. The Select Target File page appears.
The following table describes the options on the Select Target File page,
|
Option
|
Description
|
|---|---|
|
Target file type
|
Lists the types of files to which you can export. The supported file types are:
• BOM (Fixed Width)) Text
• Delimited Text
• Microsoft Access 2000/XP
• Microsoft Excel 97/2000/XP
• Microsoft Office Access 2007
• Microsoft Access Excel 2007
• XML File
The last file type that you have select for an export becomes the default for the next export. When a text file type is selected, a sample of how the target file would be formatted appears on the right side of the page. When either a Microsoft Access or Excel file or an XML file is selected, an icon for the selected application or file format appears on the right side of the page.
|
|
File name
|
The name of the file to create. The default location for this file is the My Windchill Risk and Reliability Files folder for the current installation in your local documents folder. You can use the browse button for this field to open the Save As window, where you can use its navigational options to select a different folder. Clicking Create in this window saves the file to the name and location indicated.
|
|
Open the exported file when export is complete
|
Indicates whether to open the target file after the export is completed and the Import/Export window is closed. When this checkbox is selected (default), the target file is opens in its registered application once the export is completed.
|
9. Specify the type of file to create and the name to assign it; then, click Next.
The page that appears depends upon the type selected for the target file. Complete the page by supplying the necessary formatting information, referring to the following table for page descriptions. For more information, see Supported File Types for Imports and Exports.
|
Export File Type
|
Export Wizard Page
|
|---|---|
|
BOM (Fixed Width) Text
|
The BOM Settings page has a table with four columns: Data Field, Start Col, End Col, Justify, and Precision. The Precision field is available only for numeric fields. For each field to export, you specify the appropriate settings to use. When you click Next, the Save Template page appears. Go to step 10.
|
|
Delimited Text
|
The Delimiter Selection page provides for selecting the delimiter and text field qualifier to use. You can use a comma (default), semicolon, space, tab, or some other specified character as the delimiter. By default, the output for text fields is wrapped in parentheses. After you click Next, the Precision Settings page appears if numeric fields are selected. This page is described next. Otherwise, the Save Template page appears. Go to step 10.
|
|
All File Types except for BOM (Fixed Width) Text
|
The Precision Settings page provides for indicating the number of decimal places to support for each numeric field. If any numeric fields are selected, this page appears for all but the BOM (Fixed Width) Text file type. Once you specify the precision and click Next. The Save Template page appears. Go to step 10.
|
Once the necessary formatting information has been supplied, the Save Template page appears.
10. On the Save Template page, indicate whether you want to save settings to an Import/Export Template file. Saving the settings for an export to an Import/Export Template file makes it a predefined export that is available to all users. To save settings, click the field’s browse button. A window opens for creating or selecting a file. All Import/Export Template files in the Project are listed.
To save settings to a new Import/Export Template file, you click < Create new file > , which is immediately replaced by < Type new file name here and press Enter > . You then enter a name for the new Import/Export Template file in which to save the settings and click the green checkmark.
To save to an existing file:
To save settings to an existing Import/Export Template file, you select the appropriate file. This closes the window. If the open System file is in an Enterprise Project, you must have the necessary permissions to create or modify Import/Export Template files in this Project. All permissions are set by your system administrator.
The name of the file to create or overwrite appears for File name on the Save Template page. If you have made an error, you can click the browse button again and, when the window opens, select the appropriate file. If you select < No selection > , your previous file selection is discarded and the < Select file...> label is shown for File name to indicate that no file is selected.
11. To use custom prompts specified for FMEA and/or FRACAS data fields in the Project’s Data Definition file rather than default prompts, click Advanced. This button is shown only when the ability to use custom prompts is available. For more information, see Advanced Options Window.
12. Once the Save Template page is completed, click Next. The final page of the Export Wizard appears.
13. Click Finish. The Import/Export window opens, indicating the progress of the data export. Clicking Stop in this window ends the export.
When the export is complete, the status indicator reads 100%, and the summary information indicates the number of exported records, errors, and warnings. Clicking View Log opens the Import/Export Log window. For more information, see Opening the Import/Export Log Window.
Because most users tend to export the same file type repeatedly, when the export is finished, the selected file type is saved as the default on the Select Target File page. Unless you want to export to a different file type, you do not need to change this setting.
If you selected the Open the exported file when export is complete checkbox on the Select Target page, the exported file opens, providing that an appropriate program is found on your computer. For example, if the exported file was saved to a Microsoft Excel file, the file opens in Excel providing that this program is found on your computer. Otherwise, a window opens, indicating that Windows cannot find the program needed to open this file and asking what you want to do next.
If, for whatever reason, you add data to the target file created by an export, if you use the Import/Export Template file for this file to import data, the new data is detected. You are prompted to supply field mappings for this new data. If you delete from the target file, if you use this Import/Export Template file to import the remaining data, you are required to remap all fields.