Managing Illustrations using Creo Illustrate
The Illustration menu displays when you right-click an operation in the Process Plan Browser:
• Remove Illustration
Each of the actions is related to Creo Illustrate. Using Creo Illustrate, you have access to the following capabilities:
• Actions to insert or magnify of portion of the 3D model
• 2D and 3D symbols
• Exploded lines
• Shading modes
• Illustration sizes
• Set balloons
The actions are available under the following circumstances:
• Creo Illustrate is installed.
• If the Manage Illustrations with Creo Illustrate preference is set to Yes. Site administrators set this preference by browsing to the following location in the Preference Management utility: > > .
• When operations are selected. If other object types are selected, the menu is grayed out.
When you save the operation, the associated illustration files move forward to the new iteration of the operation.
Changing the Figures Setting in Creo Illustrate
The following setting needs to be changed in Creo Illustrate to capture the images of your figures when you save the operation.
1. In Creo Illustrate, select > .
2. At the top of the Creo Illustrate Options window, select Defaults.
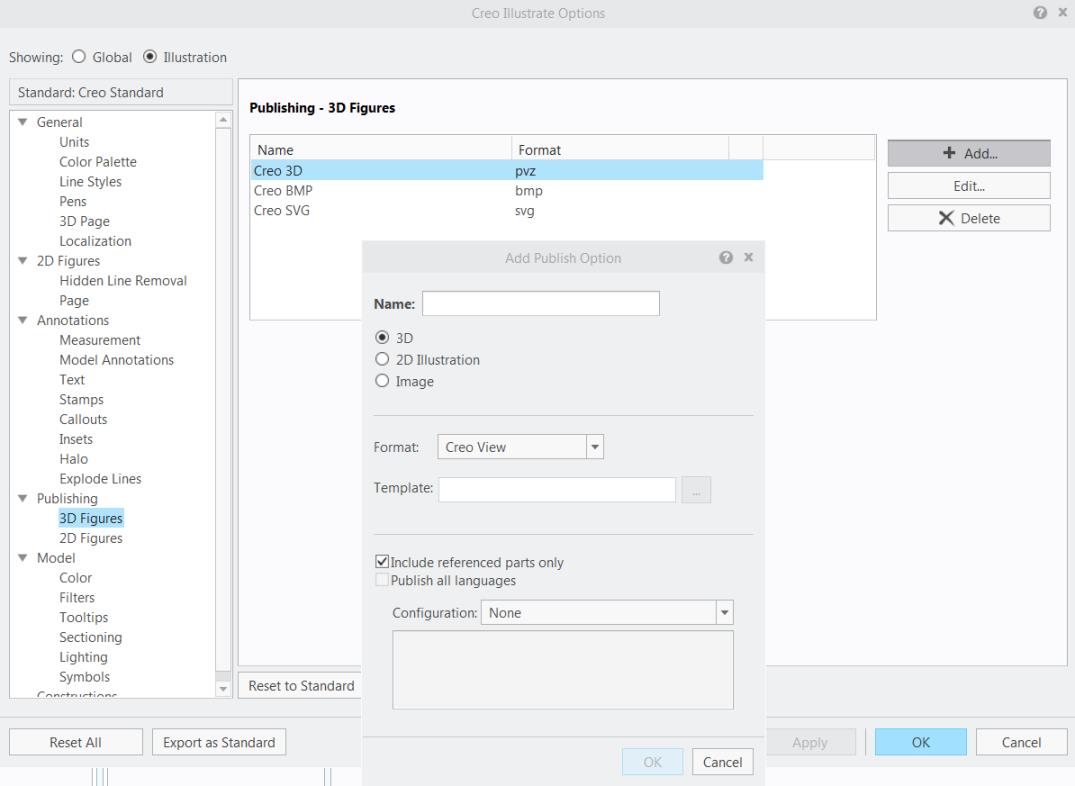
3. In the left pane, under Publishing, select 3D Figures.
|
|
Ensure that all the check boxes for 3D Figures and 2D Figures are selected.
|
4. Click Add.
5. In the Add Publish Options window, select Image and select the format and size you prefer.
6. Enter a name and click OK.
7. Click > > .