Editing the BOM Attribute Map
Once created, a BOM attribute map must be edited to associate attributes in your design with their corresponding Windchill attributes.
To edit the BOM attribute map definition:
1. Check the BOM definition document out to the workspace.
2. From the workspace, go to the BOM attribute map’s information page by clicking the

icon.
3. On the information page, select > .
The BOM Attribute Mapping window opens.
4. If necessary, click Load Design Attributes and navigate to the file containing the design attributes.
| A design attributes file must be a .csv (comma-separated value) file containing the attributes in the header rows. |
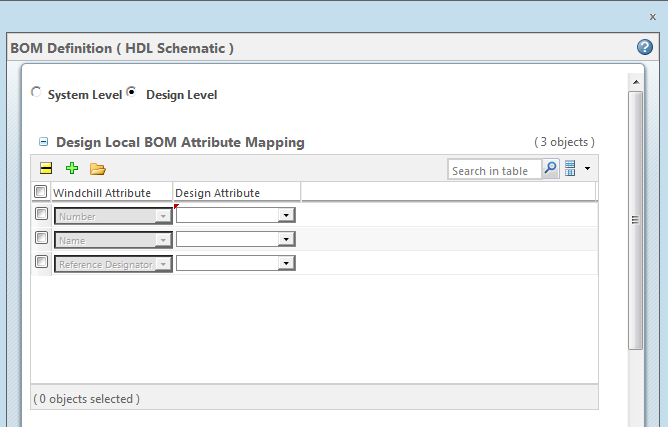
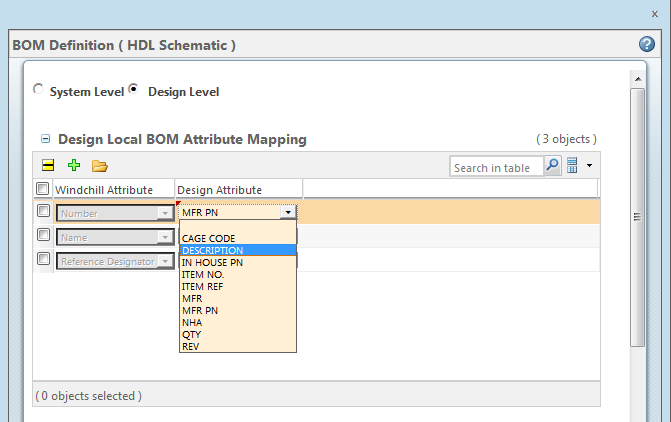
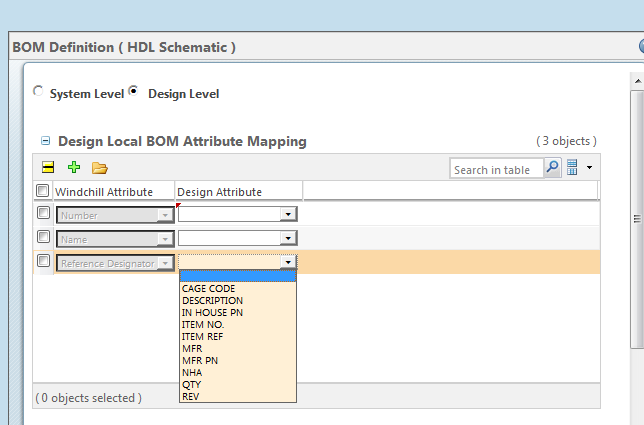
5. Use the drop-down menus to designate the mapping of Windchill attributes to design attributes as shown in the following figures.
| You can also use the Add Row and Remove Row buttons, if necessary, to add additional attributes, or remove ones that are not needed. |
There are three default Windchill attributes: Number, Name, and Reference Designator.
◦ Number — By default, part numbers are created automatically when the part is created in Windchill. The Number attribute links the Windchill part number to whatever attribute is assigned in the Design Attribute field. Usually this is the part number that is created in the ECAD application.
◦ Name — The Name attribute is created by the user, and is usually linked to the name given to it in the ECAD authoring application.
◦ Reference Designator — The Reference Designator describes the unique location of an individual part in the design. For example, there can be three identical resistors having the same names and part numbers, but their reference designators would describe their unique positions either physically (such as on a board), or logically (such as in a schematic).
6. Click OK.
The BOM attribute mapping is complete.
Editing of BOM Attributes Map Using Native Toolset File
While creating BOM attribute mapping definitions you are now able to select an ECAD Design item such as a project file or board file when executing the Load action in BOM Attributes Mapping Editor. Windchill Workgroup Manager for ECAD executes the pvecad2pvs utility in the background and the resulting CSV file is loaded and you are able to select the design attributes in the UI.
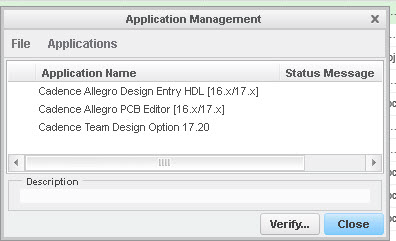
To generate a .csv from design file (schematic or board) for that particular toolset you need to register that authoring application in the Windchill Workgroup Manager for ECAD client.
| If you want to use *.CPM (Schematic: Cadence Allegro Design Entry HDL) file to create a csv from it, ‘Cadence Allegro Design Entry HDL’ must be registered with the Windchill Workgroup Manager for ECAD client. |
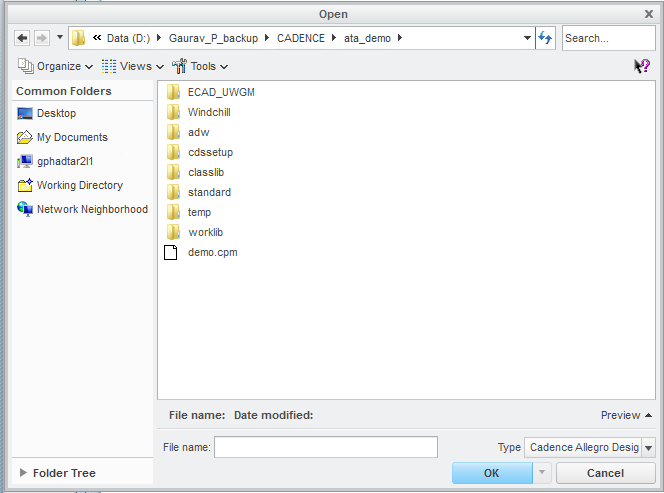
Complete the following example steps to generate a .csv for BOM attribute mapping using Cadence Allegro Design Entry HDL.
1. Register the Cadence Allegro Design Entry HDL in the Windchill Workgroup Manager for ECAD client.
2. Create a BOM document in the workspace.
3. From the Load Design Attribute UI, select type as required.
4. Search for the directory where the design file is kept.
5. Click OK. A .csv file gets generated via the pvecad2pvs utility in the background. When complete you are able to select attributes as required in the BOM attribute mapping UI.
The following are authoring applications and their supported file formats for the generation of .csv file:
Cadence
Authoring Application | Design/Input File | Neutral File |
Cadence Allegro Design Entry HDL | *.cpm | *.iff |
Cadence Design Capture CIS (OrCAD) Capture | *.dsn | |
| *.brd | *.bri |
| *.sip, *.mcm | *.dsn |
 icon.
icon.