To create a new presentation template
1. From the Windchill RV&S administration client, expand the Workflows and Documents node, and select Types. The display pane shows the available item types.
2. Highlight the item type you want to create the new presentation template for, and select > . The Edit Type window displays.
3. From the Edit Type directory tree, select Presentations. The display pane shows the presentation template options and available templates.
4. To open the template designer and begin designing your template, click New under Available Presentation Templates. The Create Presentation Template window displays.
5. In the Name field, type the name for the new presentation template. By default, the name is template. The name you choose should help you to associate the template with the item type it is intended for.
To save an initial version of the new presentation template, click Save.
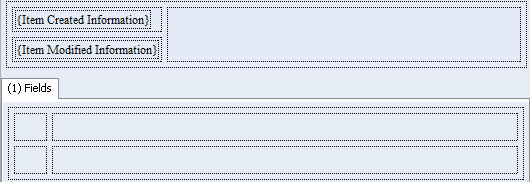
6. Two default grids are available: the top grid is for the header and the bottom grid is for item tabs.
The header grid is where basic item information displays. The fields in the header are always visible, regardless of what tab is selected when users create, edit, or view the item. By default, the header displays the following virtual fields:
◦ Item Created Information (contains the Created Date and Created User fields)
◦ Item Modified Information (contains the Modified Date and Modified User fields).
When included in the header, these virtual fields and the fields they contain are annotated by [Header] in the data filter. However, if a virtual field is not included in the header, the fields they contain are not annotated in the data filter.
| • The virtual fields can appear in the header or a tab, but not both. • Type, ID, item edit status icons, duplicate item notification text, and versioned item information displays above the header and cannot be customized or added to the header. • You cannot include long text, relationship, attachment or source link fields in the header. • If you include a virtual field in the header or a tab, you cannot add one of the fields they contain to the template (since they already implicitly exist in the template). |
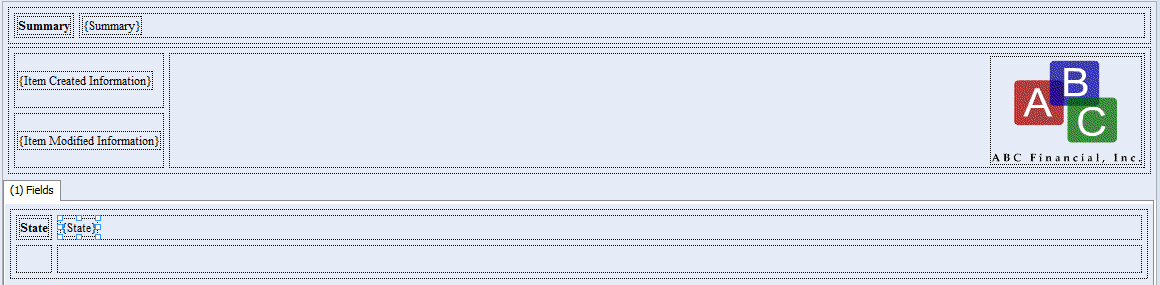
In the header, you can include additional fields, such as Assigned User or Project, and add an image, such as a company logo or graphical representation of the item type. By default, all cells and grids in the header are transparent.
| Limiting the amount of fields in the header minimizes the amount of scrolling to view fields in the tabs below. In addition, limiting the header to include fields that allow minimal data prevents the header from expanding too much as users enter data. For example, including a field in the header that allows large amounts of data could make the header expand, making the tabs below inaccessible. |
The bottom grid is where item tabs and fields display. By default, the Fields, Relationships, and Attachments tabs display, with a two-by-two grid on each tab.
8. Continue editing the template as required for your design. Depending on the design you create, you may need to carry out the following tasks:
| The presentation template designer does not include an undo function. You can preview all your design changes before saving them. Once you are satisfied with the changes you have made, click Save to retain those changes. If you have made changes and cannot correct them, close the template immediately without saving it to discard those changes. You can then reopen the earlier version of the template with all your desired changes intact and continue editing. |
To preview your changes, click

on the toolbar. You can only preview the template for the type of item you are working on.
When previewing a template, you must also enter an item ID number for an item that is of the same type as the template you are working on. For example, if you are working on the Feature Request type and want to preview the template, you must enter an item number for an item that is also a Feature Request. If you enter a number for an item that is of the wrong type or does not exist, an error message displays.
From the template designer under
Select User Interface, you can preview templates only in the GUI. Under
Select Command, you can select the command the template is previewed with. For example, whether the template is for viewing an item, or for submitting and editing items. For more information on previewing a template, see
“Previewing Presentation Template”.
A completed presentation template might look like the following:
To save your new template design, click Save.
9. Once you have completed and saved all your changes, click Close. The template designer closes and the new template is added to the list of available presentation templates in the Edit Type window. You can open this template for further editing at any time.
Keep the Edit Type window open for the next step. The next step sets the template for the item type you are editing.