Installation
Before starting the Windchill Requirements Connector installation on your workstation or server, please close all running programs and make sure that you have local administrator rights.
1. Start the setup.exe on Windows:
1. On Windows 10 (32 or 64 bit), double-click the setup file. The installation of Windchill Requirements Connector will start.
2. Click Next within Installer to start or Cancel to stop the installation.
3. Click Install to start the installation.
Prerequisite installation
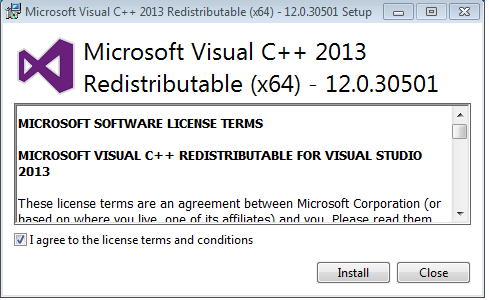
4. The Prerequisite is installing
Installing Prerequisite
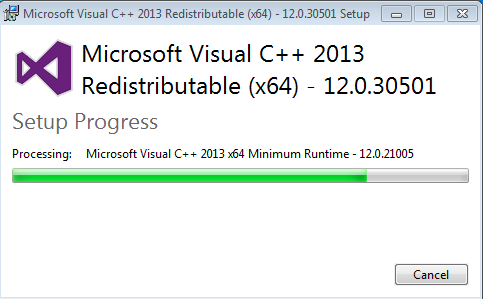
5. After the Prerequisite installation is completed click Close.
Prerequisite installation complete

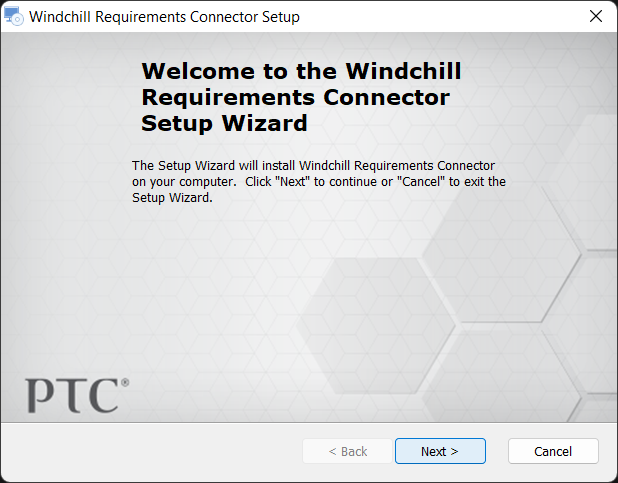
6. Continue the Windchill Requirements Connector installation.
WRC Installation
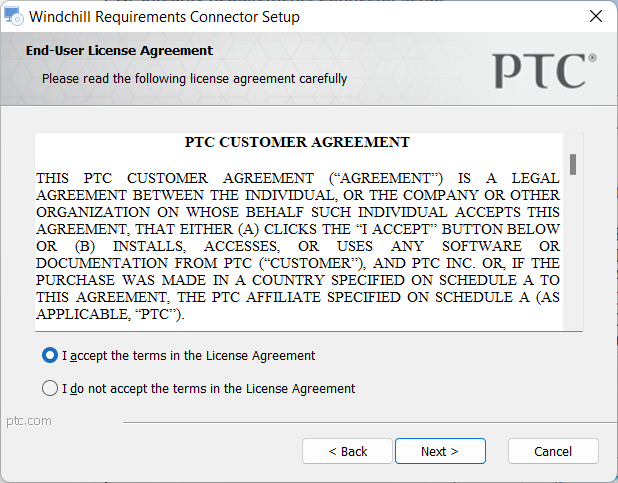
7. Accept the License Agreement and click Next.
End-User License Agreement
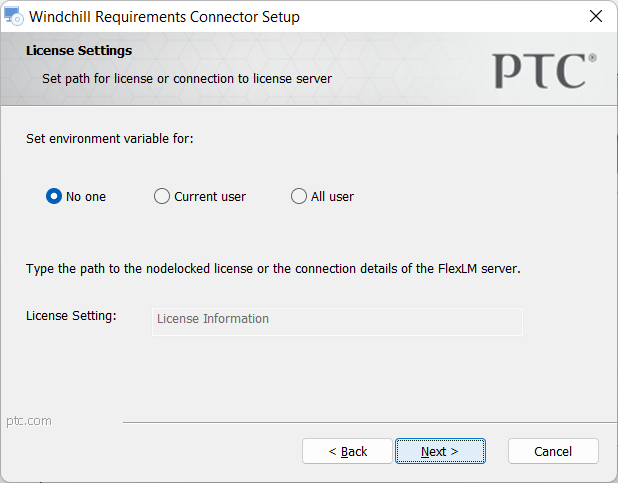
8. Choose the license settings. When finished click Next.
◦ To not set the environment variable at this time choose No one
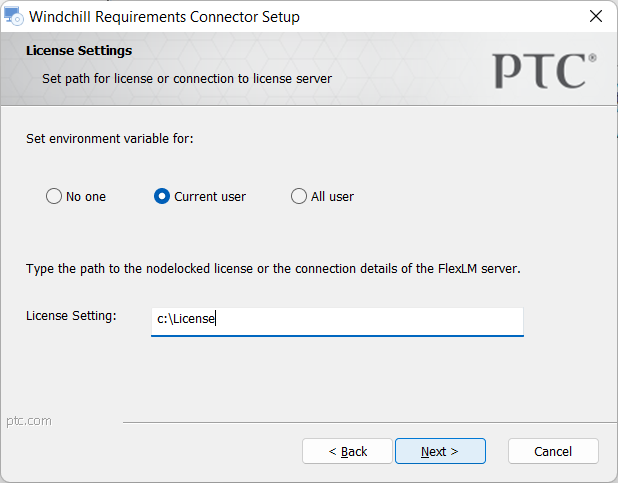
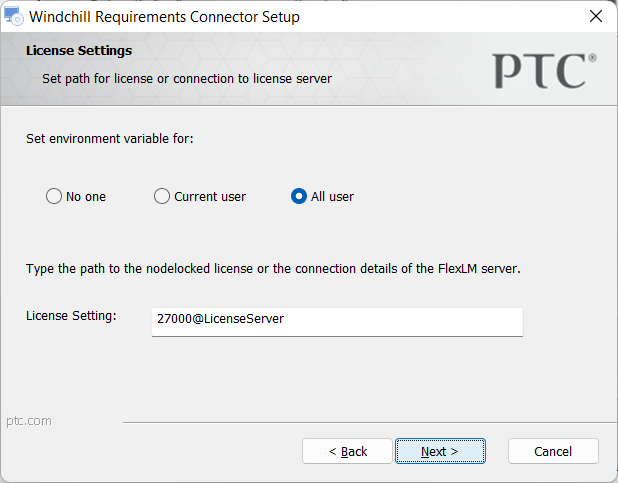
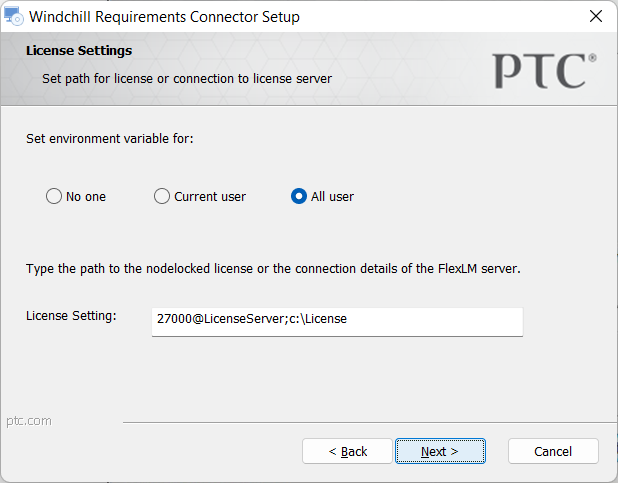
◦ To set the environment variable enter the port-number followed by the “@”-symbol and the license-server-name pointing to the floating license server or the path to the nodelock-license into the License Setting edit-field. To add more than one path or more than one floating-license-information or a combination of both, simply separate the entries by “;”.
Select one of the radio buttons below the License Setting edit-field.
▪ No one will ignore the entry in the License Setting edit-field and won’t set the environment variable
▪ Current user will copy the value of the License Setting edit-field into the environment variable for the current user
▪ All user will copy the value of the License Setting edit-field into the environment variable for all user
License Setting dialog — default
License Setting dialog — Nodelock set for current user
License Setting dialog — Floating license set for all user
License Setting dialog — Nodelock and Floating license set for all user
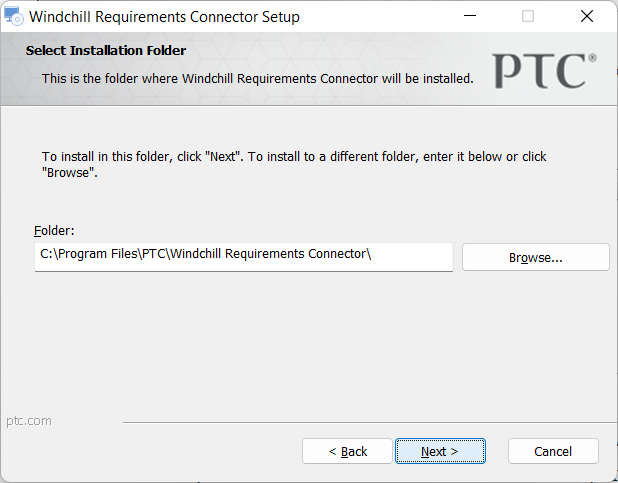
9. Choose the Installation folder and click Next.
Select installation folder
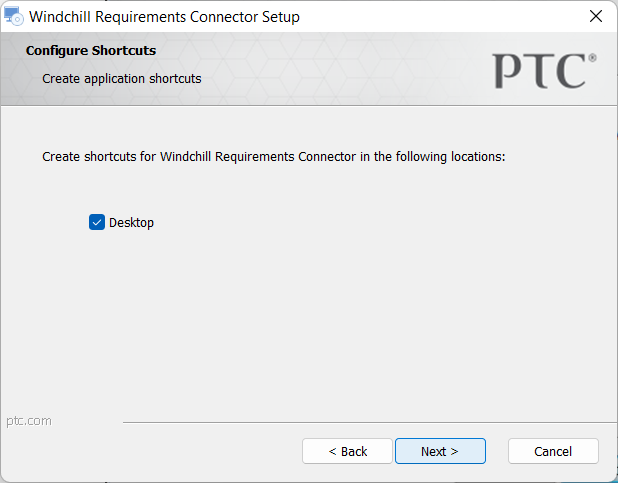
10. Select Desktop to create shortcuts icon for Windchill Requirements Connector and click Next.
Define shortcuts
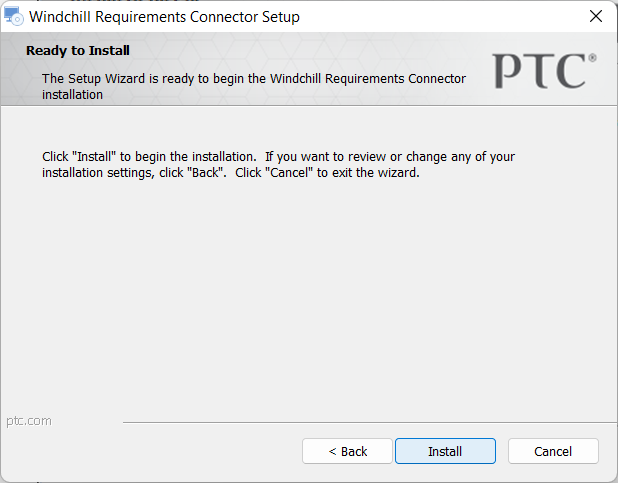
11. Click Install to start the installation.
Ready to install
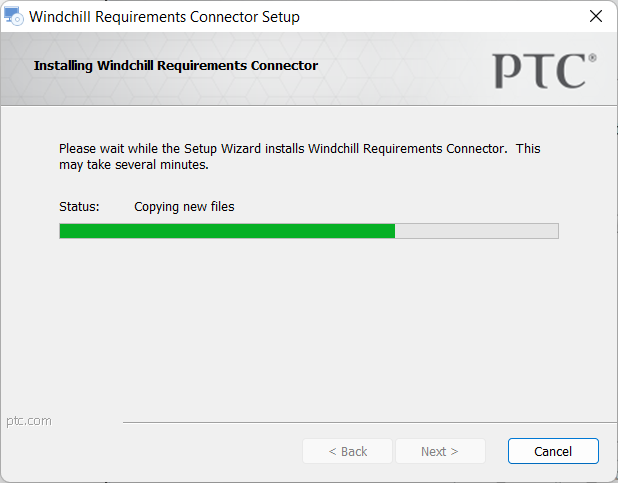
12. Windchill Requirements Connector is installing
Installing Windchill Requirements Connector
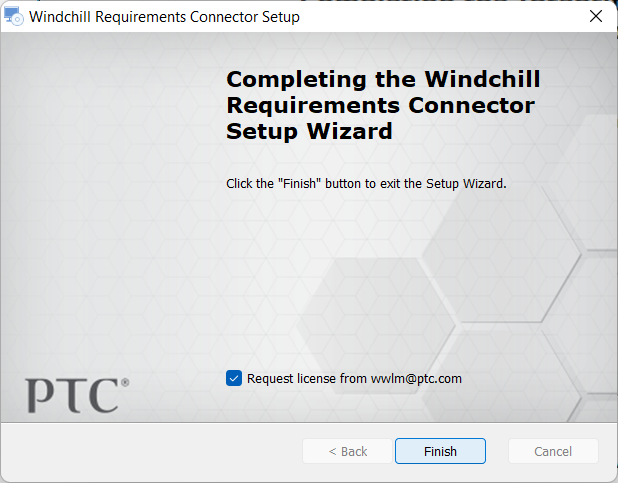
13. If the installation is done you can click on Finish to exit the installation
You can tick the checkbox Request license from wwlm@ptc.com to start up your email client with a license request.
Finish the Windchill Requirements Connector setup
The Windchill Requirements Connector has been installed and an install.log file has been placed at the position of the installer.
Related Topics
Parent topic