Attribute refactoring for an export
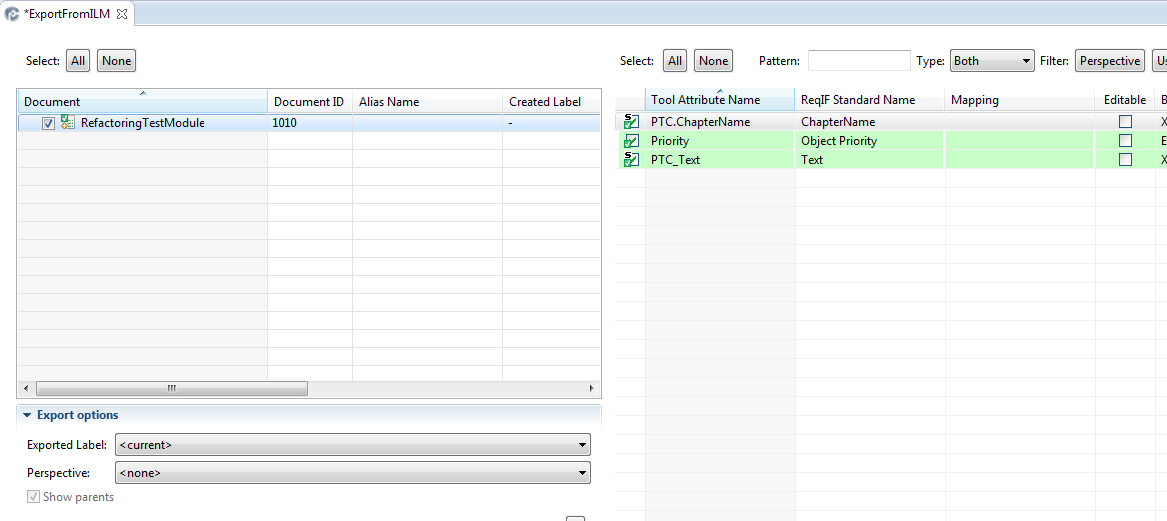
1. A document needs to be added to the export configuration
Figure 213. Document
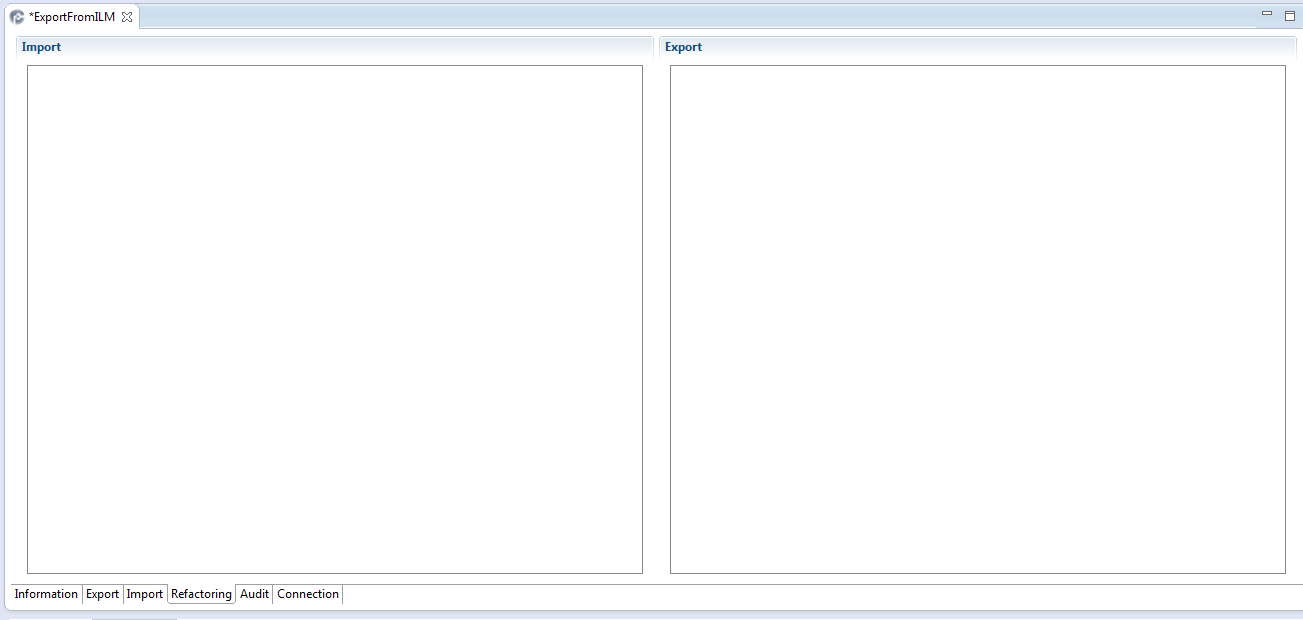
2. Change to the Refactoring tab
Figure 214. Empty refactoring page
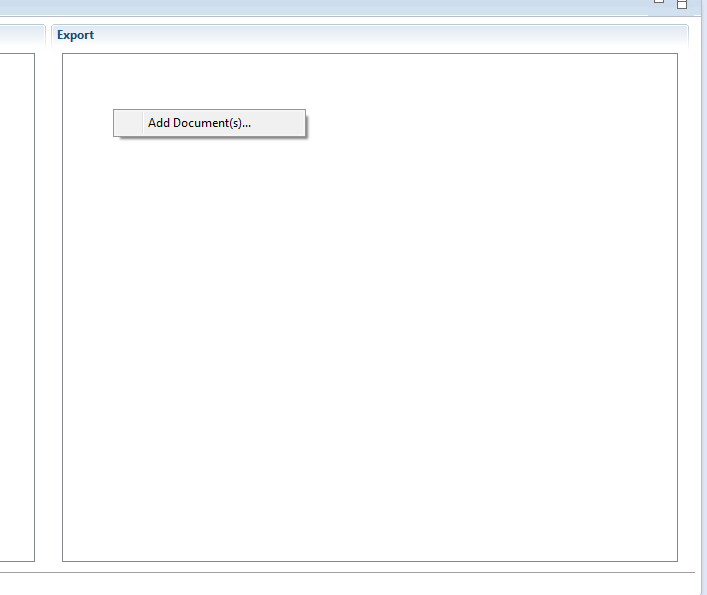
3. right-click on the Export side
Figure 215. Add Document(s) context menu
4. click on Add Document(s)
Figure 216. Select Document(s) dialog
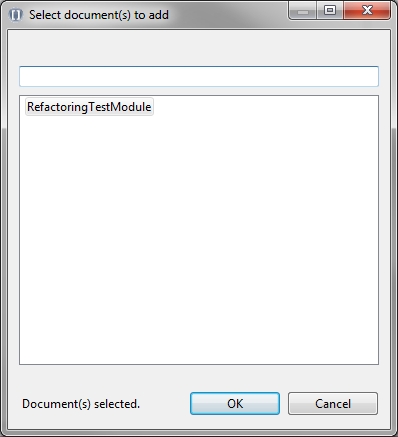
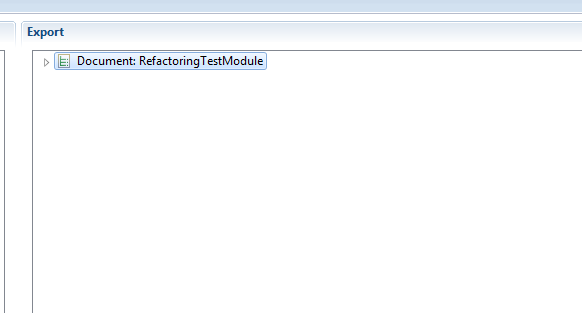
5. select the document to be refactored and click OK
Figure 217. Document in refactoring page
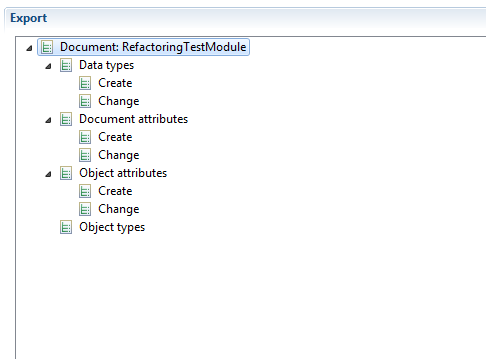
6. Expand the document and all elements you want to change
Figure 218. Document and all elements in refactoring page expanded
7. right-click on the name of the task (either Create or Change) below the element type you want to change (Data types, Document attributes, Object attributes or Object types)
For example if you want to change the name of an attribute, right-click on Change below Object attributes
Figure 219. Add changed Object attribute(s) context menu

a. select Add changed Object attribute(s)
Figure 220. Dialog to add changed object attribute
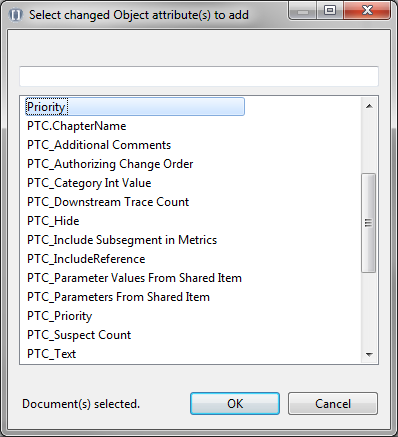
b. select the object attribute(s) you want to change and click OK
Figure 221. Object attribute to be changed added

c. right-click on each object attribute you want to change
Figure 222. Context menu to change object attribute
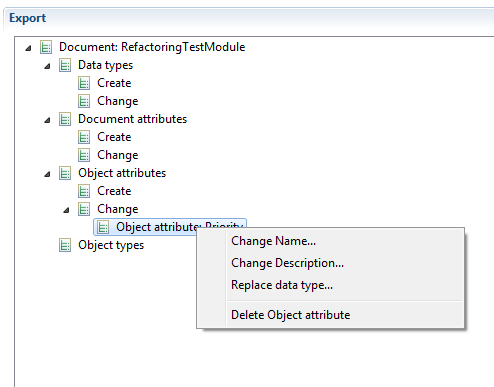
d. click on one of the tasks in the context menu. In this example Change Name...
Figure 223. Set Value dialog
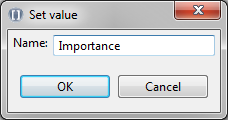
e. Click OK to set the name of the object attribute.
Figure 224. Object attribute name changed
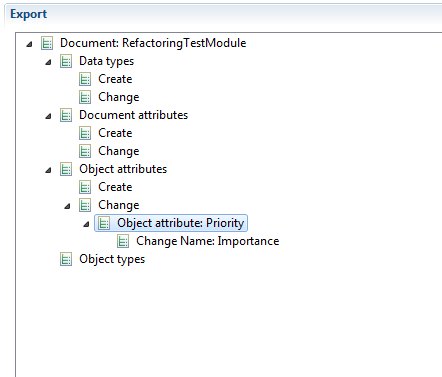
You can change or create other elements in the document in a similar way. The changes will be transferred into the exported ReqIF or RIF file, but the document in the tool will not be changed. In the example above the name of the attribute “Priority” will be changed to “Importance” in the resulting file but will remain “Priority” in the tool.
The import can be changed in the same way as the export