Define Windchill RV&S Mapping
Before you can perform ReqIF exports and imports from or to Windchill RV&S, you must create a mapping within Windchill Requirements Connector. This mapping defines which elements of the Windchill database will be used for the exchange process.
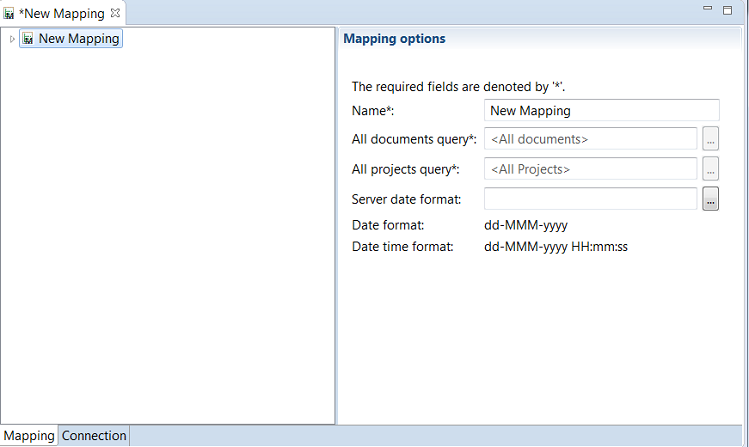
1. Right-click on a project New > Windchill RV&S Mapping File.
2. Define a mapping file name and click Finish.
Figure 23. Mapping File
3. Select theConnection tab and enter your server credentials or use a login configuration.
Figure 24. Mapping Connection
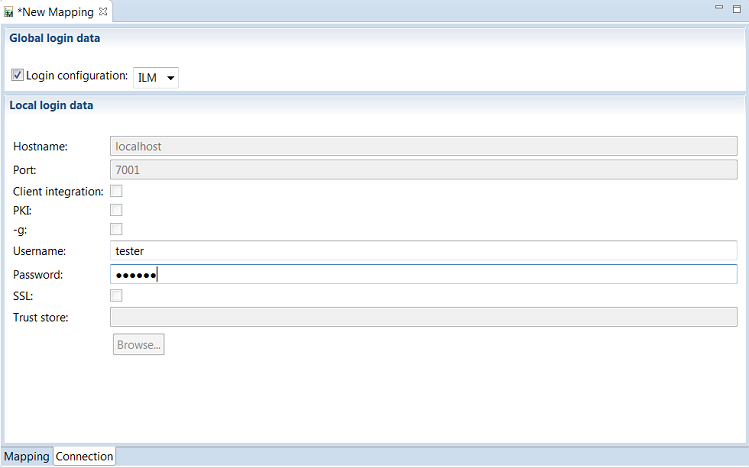
4. Click the Connect  icon.
icon.
icon.5. Click to select the documents being accessed on the server.
to select the documents being accessed on the server.Figure 25. Document Query
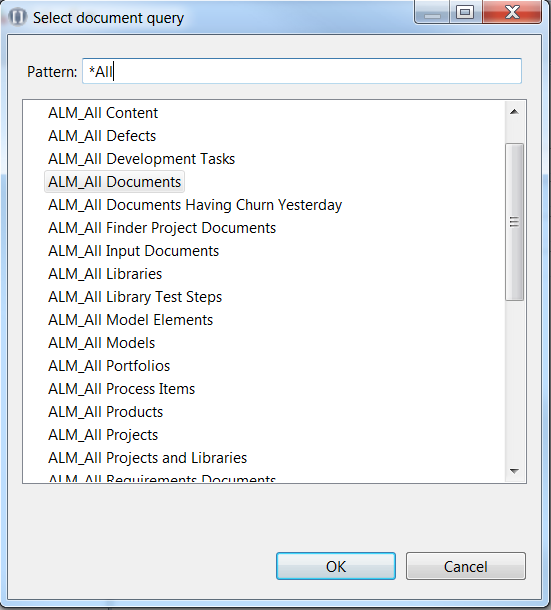
You can reduce the findings by entering a search pattern using * as a wildcard. |
6. Proceed with the selection of projects.
Figure 26. Project Query

The server date can be selected manually if the date format on the server differs from your local client. In most cases this will be managed by the Requirements Connector automatically. |
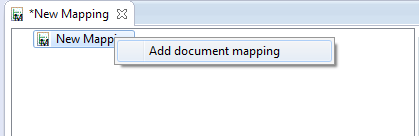
7. Right-click the mapping root node to add a new document mapping.
Figure 27. Add document mapping
8. Select the corresponding fields of your server to be mapped to the content.
Figure 28. Map fields of Requirement Document
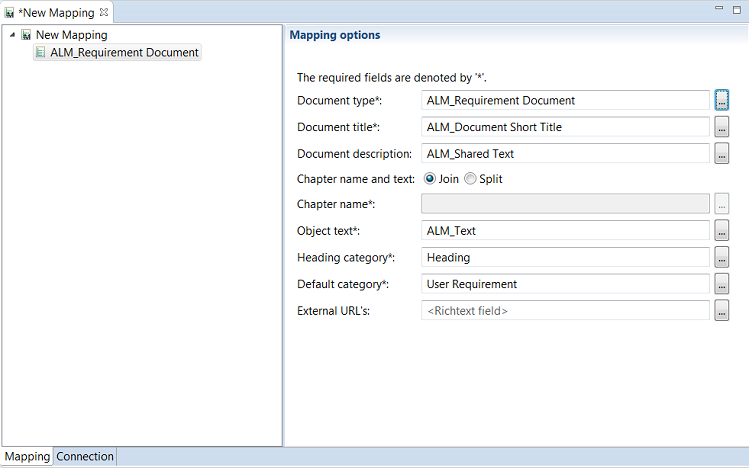
The Join and Split option is used to define whether the Chapter Name and Requirements Text will be joined in one field in Windchill RV&S (standard behavior) or split up to two different fields. |
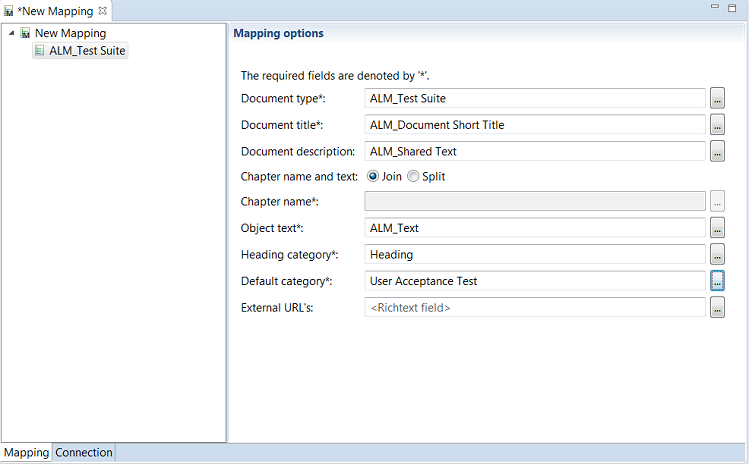
9. Proceed with adding all the document types you would like to exchange.
Figure 29. Documents to be exchanged
10. Save your mapping configuration.
Your mapping has been created and saved.
Please note that if there are changes made to the data model or mapping during an established connection between Windchill RV&S and Windchill Requirements Connector, the Requirements Connector needs to be reconnected to Windchill RV&S to reflect the changes. |