Deploy Your Customizations on Your Development Environment
To deploy your customizations on your development environment, you must perform the following two tasks:
1. Package your customization for deployment using the CCD utility
2. Apply your customization using the CCD utility
Package Your Customization for Deployment Using the CCD Utility
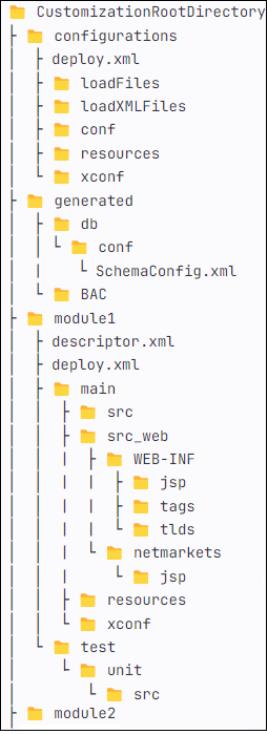
The customization package ZIP should not have any root folder but must include all modules & configurations under it. While creating the .ZIP folder, ensure that you select only the contents of the root folder, and not the root folder itself. For example, to create the .ZIP file for <customizationRootDirectory> folder, only select the content under the <CustomizationRootDirectory> folder.
Apply Your Customization Using the CCD Utility
The CCD utility is located in the Windchill folder. Perform the following steps to use the CCD utility in the development environment:
The CCD tool must have Read, Write, Modify, and Execute access to the location of the customization package. |
1. Open a Windchill shell and navigate to <WT_HOME>/bin/customizationTools/.
2. In the Windchill shell, execute the following command:
ant <target name>.
3. Add the recommended targets. See External Targets for the list of supported targets.
You can run the CCD utility in the Linux and Windows environments. |
The generated logs are available in CustomizationInstallLogs_<TimeStamp>.log files in <WT_HOME>/buildlogs/customizationLogs/.