Add Application Parameters and Bindings
Application parameters are an important part of configurations inside Vuforia Studio. Application parameters are variables that can be accessed globally inside the application, and their values can be bound to certain elements. In this case, the application parameters you create will be used to set the model and configure the color of the model.
1. Open the Data pane.
2. Click the green + next to Application Parameters. In the Add Application Parameter window, enter model in the Name field and click Add.
3. Repeat the same process to create another application parameter named color. A text string will be added to this application parameter to determine the color of the model based on an object that will be created later in this use case.
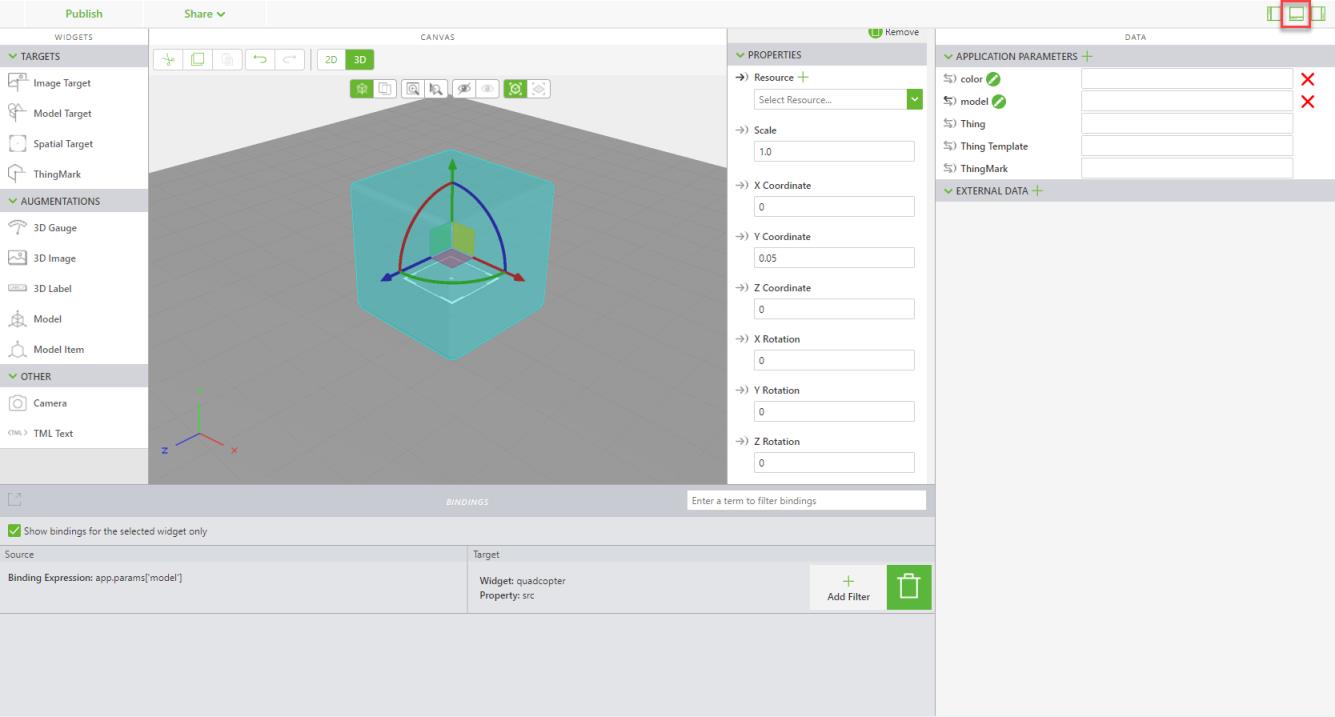
4. You should now see two application parameters listed. Drag the binding arrows next to the model application parameter and drop it onto quadcopter in the view tree.
5. Select Resource on the Select Binding Target window, and click Bind.
6. Open the bindings pane to see the new binding you just created.
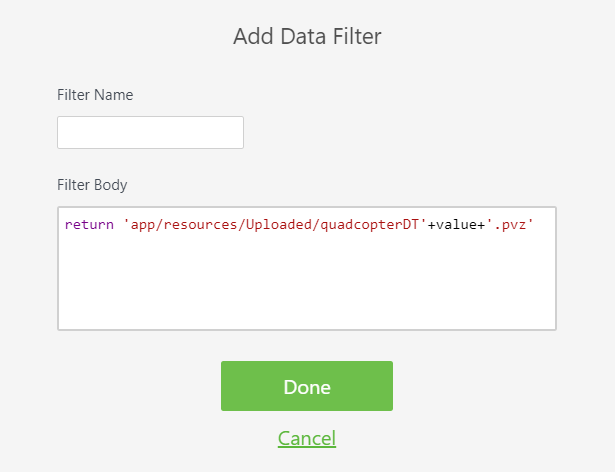
7. Next, you’ll need to add a filter to the binding in order to properly identify the model that will be loaded based on the application parameter. Click Add Filter.
8. Add the code below to the Filter Body field in the Add Data Filter window.
return 'app/resources/Uploaded/quadcopterDT'+value+'.pvz'
This code takes the input value from the model application parameter, and adds it to a text string for the path of the model inside Vuforia Studio. Since both of the models you uploaded have quadcopterDT and .pvz in the name, the only thing that changes is the number of the model itself. This makes the experience scalable for a small amount of models.
Click Done when you have finished entering the code.
9. Bindings and filters are not necessary for the color application parameter because the bindings will be created with a JavaScript function over the course of the next few sections.
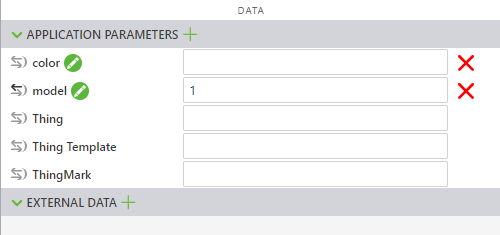
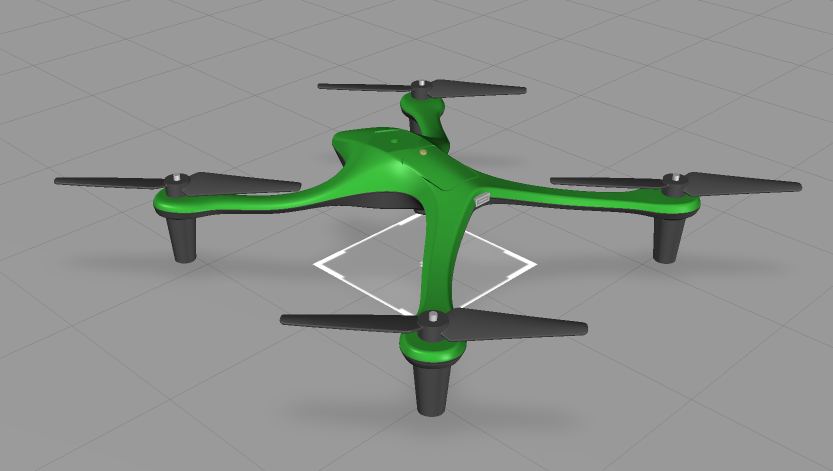
10. Test the model application parameter by entering 1 in the field next to the it. Then, click Preview.
11. You should see the model shown below.
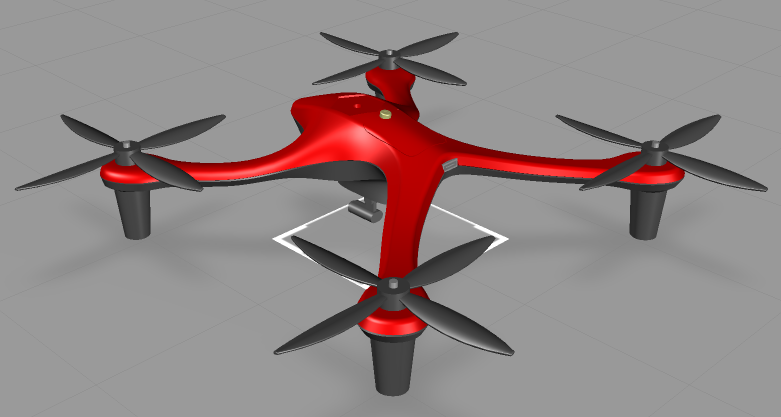
12. Navigate back to the Vuforia Studio browser tab, and enter 2 in the field next to the model application parameter. Click Save and go back to the Preview tab.
13. You should now see the model shown below.
This section showed you how the model application parameter can be used to change model configurations inside
Vuforia Studio. Next, you’ll learn how to
create color configurations.