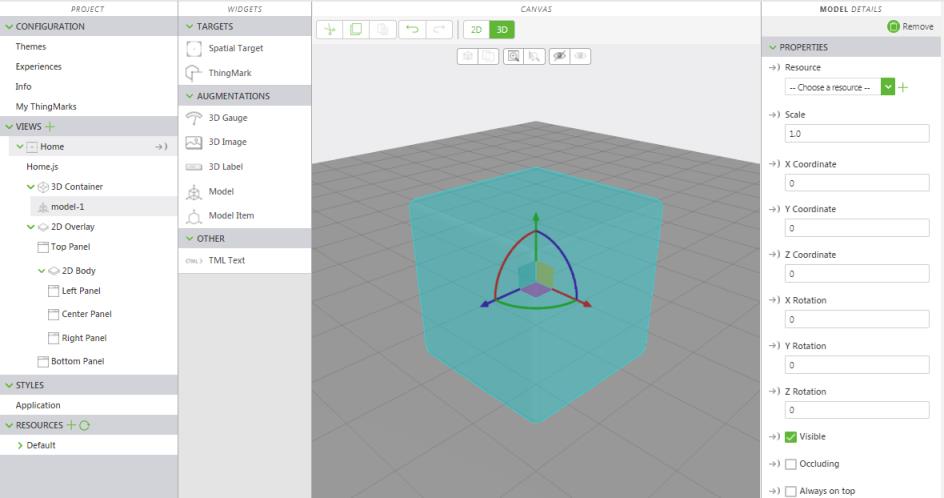
Add a 3D Model to the Experience
1. Drag and drop a Model widget onto the central canvas. A default “cube” representing the 3D model appears on the canvas.
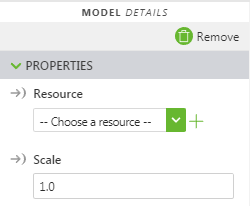
2. With the model selected, click the green + sign next to the drop-down menu under Resource under PROPERTIES.
3. Click Select Files on the Add Resources window.
4. Navigate to the location where you extracted the BluePumpKit.zip file, and select blue_pump.pvz. Click Open.
5. Click Add on the Add Resources window.
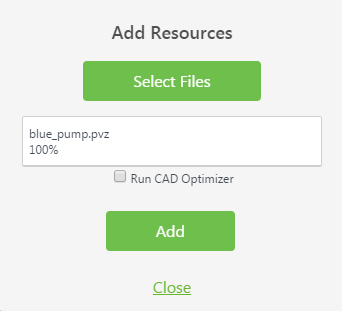
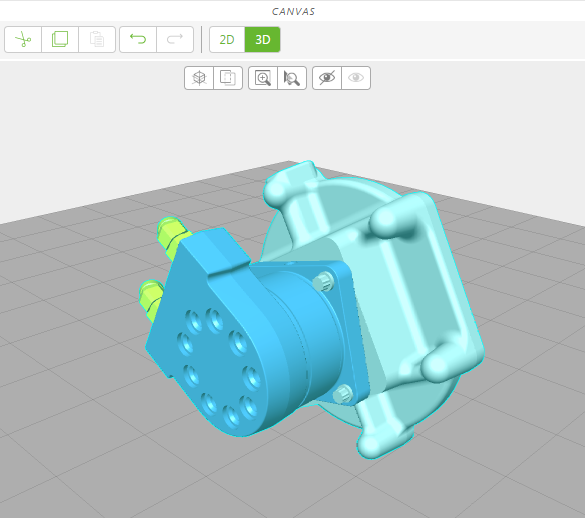
6. Click Close to close the Add Resource window. The 3D model of the blue pump appears on the canvas.
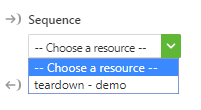
7. Once you’ve added the blue_pump.pvz file, the Sequence drop-down is automatically populated with the tearndown.pvi file. Select it to add the disassembly animation sequence to the model.
8. At the top-center of the canvas area, click the Transform icon.
9. Click-and-drag the red arc of the Transform tool until the model is rotated 90 degrees clockwise. The X, Y, and Z coordinates are indicated by color where Red = X, Green = Y, and Blue = Z.
|
|
Alternatively, you can enter -90 in the X Rotation field for the model properties.
|
10. With the Transform tool still selected, click-and-drag the arrows until the model is placed where you want it to be.
11. Click Save.
|
|
Click Save throughout creating your experiences to ensure that your progress is saved.
|
Next, we’ll add a ThingMark.