ThingWorx Remote Access and Control Capabilities (Admin Only)
In order to use File Transfer and Remote Connection functionality, ThingWorx Remote Access and Control must be installed.
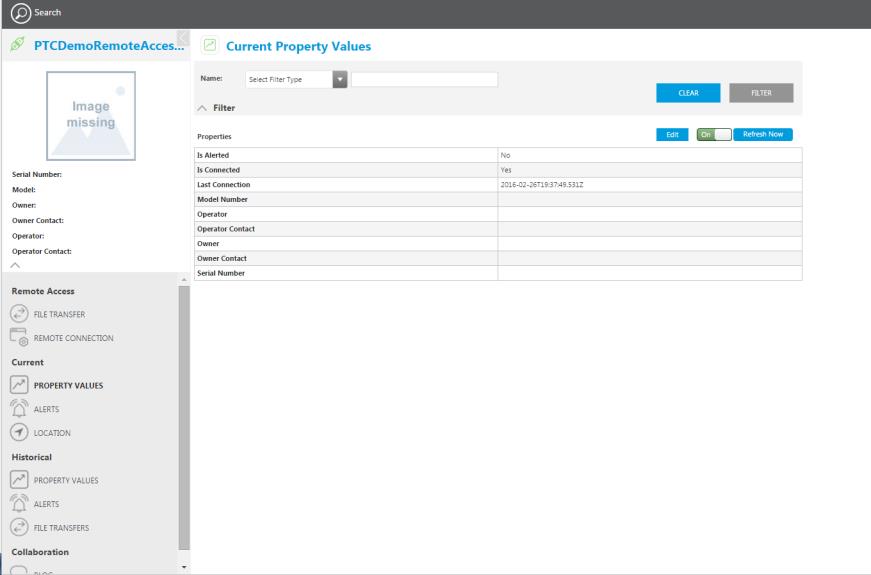
Once installed, the File Transfer and Remote Connection actions appear on the asset details that can be launched from ThingWorx Asset Management.
File Transfer
| You must have the appropriate permissions to perform the File Transfer operation. |
The File Transfer operation allows you to copy files from the local system repository, TW.RSM.Thing.FileRepository (for example, \ThingworxStorage\repository\SystemRespository\TW.RSM.Thing.FileRepository) to a remote location (an asset).
The File Transfer operation is available for Things that implement a TW.RSM.Template.AssetWithFileTransfer or TW.RSM.Template.AssetWithTunnelsAndFileTransfer template.
The Remote location is determined by the WebSocket-based Edge MicroServer (WSEMS) Configuration. For more information on configuring the WSEMS, see the WSEMS documentation in the ThingWorx Help Center on ptc.com (a PTC Customer Login is required).
| In previous releases, TW.RSM.Template.AssetWithFileTransfer was named TW.RSM.AssetWithFileTransfer, and TW.RSM.Template.AssetWithTunnelsAndFileTransfer was named TW.RSM.AssetWithTunnelsAndFileTransfer. The old templates are still supported, but new assets should be created with the new templates. |
To upload a file:
1. Click Choose File and navigate to the file you want to upload. Click Open.
2. Once the file appears in the file upload box, click Upload.
To download a local file:
1. Select a file in the Local file list.
2. Once a file is selected, click the

Download File icon that appears.
To transfer a file:
1. In the Local or Remote files list, click the file you want to transfer to the other location (local or remote).
2. To copy a local file to a remote location, click the right transfer icon:

3. To copy a remote file to a local location, click the left transfer icon:

| For disconnected assets, manually enter a path in the Directory field, and the name of the file in the File field. |
Remote Connection
To start a remote connection, click Remote Connection.
| This operation is only available if it has been enabled for the asset. |
To enable the Remote Connection operation for an asset, you must create things that implement the TW.RSM.Template.AssetWithTunnels or TW.RSM.Template.AssetWithTunnelsAndFileTransfer templates. The IP of the remote Things VNC server and port must be defined. Complete the following steps to enable Remote Connection for the asset:
1. In ThingWorx Composer, find and select the thing (asset) you want to configure to enable remote connections.
2. In the left panel, under ENTITY INFORMATION, click Configuration.
3. Click Add My Tunnel.
4. For Tunnel Name enter vnc.
5. Specify the Host IP and the Port.
6. Click Save.
7. Ensure that your remote asset has the VNC Server running and is configured properly to enable remote connections.
For information about permissions and user groups, see
Permissions and User Groups for ThingWorx Utilities.