在 Azure AD 入口網站中配置 SCIM
1. 在 Azure AD 入口網站的 Azure Active Directory 選單下,選取 Enterprise applications 並開啟您的企業應用程式。
2. 按一下 Provision User Accounts,然後按一下 Get started。
3. 在 Provisioning 頁面中,將 Provisioning Mode 設定為 Automatic。
4. 擷取 Admin credentials,並在 Tenant URL 中提供下列 URL:
https://<ThingWorx host>:<ThingWorx port>/Thingworx/SCIMProvider/SCIM/v2
5. 將 Secret token 欄位保留空白。
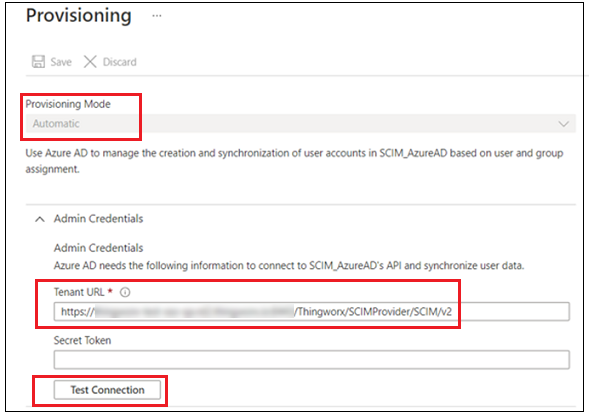
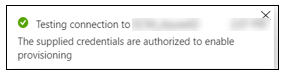
6. 按一下 Test Connection 並等待連線成功訊息顯示在畫面的右上角。
7. 按一下 Save。
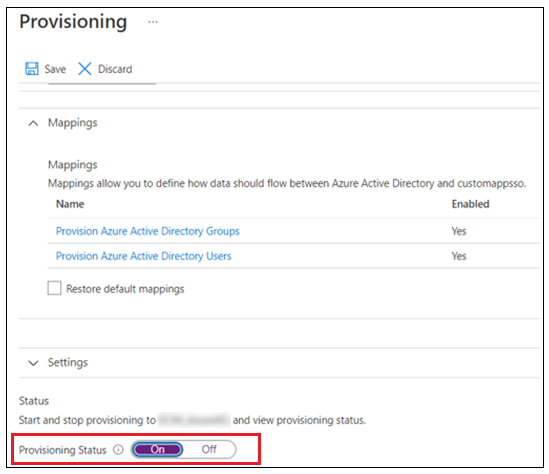
8. 展開 Mappings 部份,然後按一下 Provision Azure Active Directory Users。刪除下列 Azure Active Directory 屬性:
◦ employeeId
◦ department
◦ manager
9. 遵循下列方式編輯屬性對應:
◦ 按一下使用中對應屬性。

◦ 在 Edit Attribute 視窗中,刪除現有運算式。
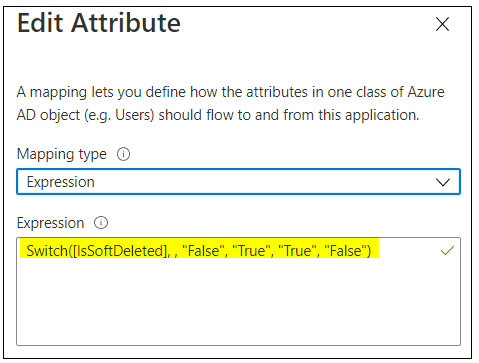
◦ 請改為輸入下列運算式,然後按一下 OK:
Not([IsSoftDeleted])
屬性對應會更新以包括新運算式。
10. 按一下 Save。
11. 欲繼續更新屬性對應,請按一下 userPrincipalName 屬性。
12. 在開啟的右窗格中,將 Apply this mapping 內容設定為 only during object creation。
13. 按一下 Save 來儲存所有變更。
14. 將 Provisioning Status 設定為 On。
15. 按一下 Save 來儲存所有變更。