Member Management
Members can be added to and removed from a Thing Group using the member management options.
|
|
This feature is available in ThingWorx 9.1 and later.
|
Adding Members by Name
Add members to the Thing Group if the entity name is known.
1. In Composer, in Thing Groups, select the Add button. The Add Members window opens.
2. Select Add entities by name. In the Entity field, select a thing or Thing Group.

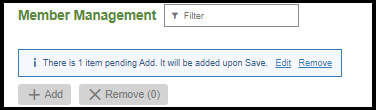
3. The entity is not added to the Thing Group until it is saved. The following message appears and allows you to Edit or Remove before saving.
4. Select Save.
Adding Members by Property
Properties defined on a single Thing Template or Thing Shape can be used to add Things as members of a Thing Group based on property values. After adding entities as members, if property values change, Thing Group membership will not be changed. For dynamic Thing Group membership, write subscriptions or services on the Thing Shape or Thing Template in which the properties were defined. Existing members are not shown within the Add Members dialog box.
If a Thing Group has more than 50,000 members, only the first 50,000 are retrieved to view in Composer. To view more than 50,000 results, it is recommended to write a custom service to access the complete list of members. |
1. In Composer, in Thing Groups, select the Add button. The Add Members window opens.
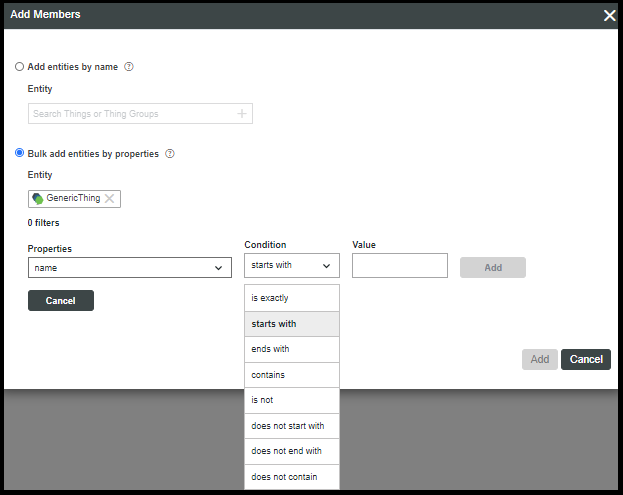
2. Select Bulk add entities by properties.
3. In the Entity field, select a thing template or thing shape to search within. The Properties menu appears and after selecting the name of the property, you can drill down by selecting a Condition and Value. Multiple property filters can be created.
4. If multiple property filters are created, an additional filter option appears to join the property filters by OR or AND.
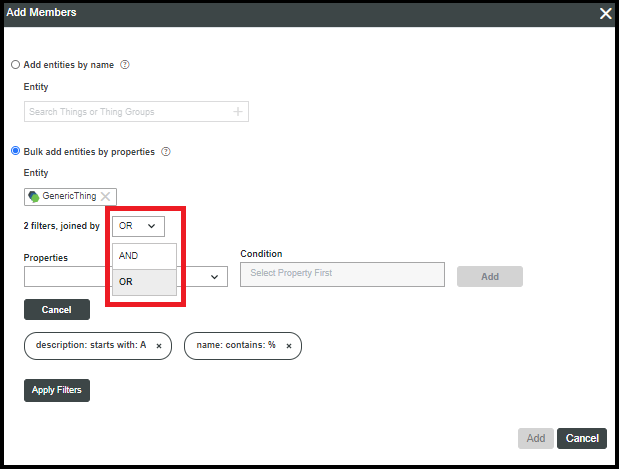
5. Select Apply Filter(s).
6. Select Add. The entity is not added to the Thing Group until it is saved. The following message appears and allows you to Edit or Remove before saving. The following message appears and allows you to Edit or Remove before saving.
7. Select Save.