Creating a Solution
You can create a new solution to track investigation findings.
To create a solution:
1. Go to ServiceMax Setup > Investigations > Manage Solutions.
The Solutions page is displayed.
2. Click New.
The New Solution pop-up window is displayed.

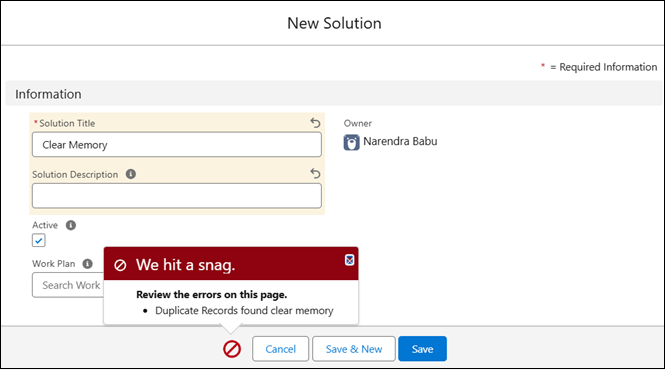
3. In the Solution Title field, enter a unique and meaningful title for the solution.
This is a required field and will appear in the list of solutions.
4. In the Solution Description field, enter optional details that provide context or clarification for the solution.
This helps users understand its relevance during investigations.
By default, the Active checkbox is selected. Clear the checkbox only if the solution should be unavailable for use.
5. To associate a work plan with the solution, search for and select a work plan from the Work Plan lookup field.
|
|
You can select only Work Plans that are Active and have the Work Plan Type set to Service. When a Work Plan is associated with a solution, Remote Service Engineers (RSEs) can view the parts and tasks required to deliver that solution. Each solution can be linked to only one Work Plan, but a single Work Plan can be associated with multiple solutions. The Work Plan field is optional, and you can update or remove the association at any time. You can create a Work Plan and associate tasks from the Work Plan Library. For more information, see Creating a Work Plan.
|
6. Click Save to add the solution, Save & New to create another, or Cancel to discard the changes.
|
|
If a duplicate Solution Title already exists, the system displays an error message and prevents saving. Solution titles must be unique.
 |
The solution is created. The solution is available for use in investigations only when an applicability rule is configured in the Solution tab of the Product Applicability Rules page to link it to a product attribute. If a matching rule is defined, the solution becomes available during investigation processing. For more information, see Configuring Applicability Matching Rules for Solutions.