Creating Custom Requests
You can create a custom request that meets the business requirements.
To create a custom request:
1. Navigate to Engage Setup> Mobile App Settings> Request.
2. Click the Custom Request tab.
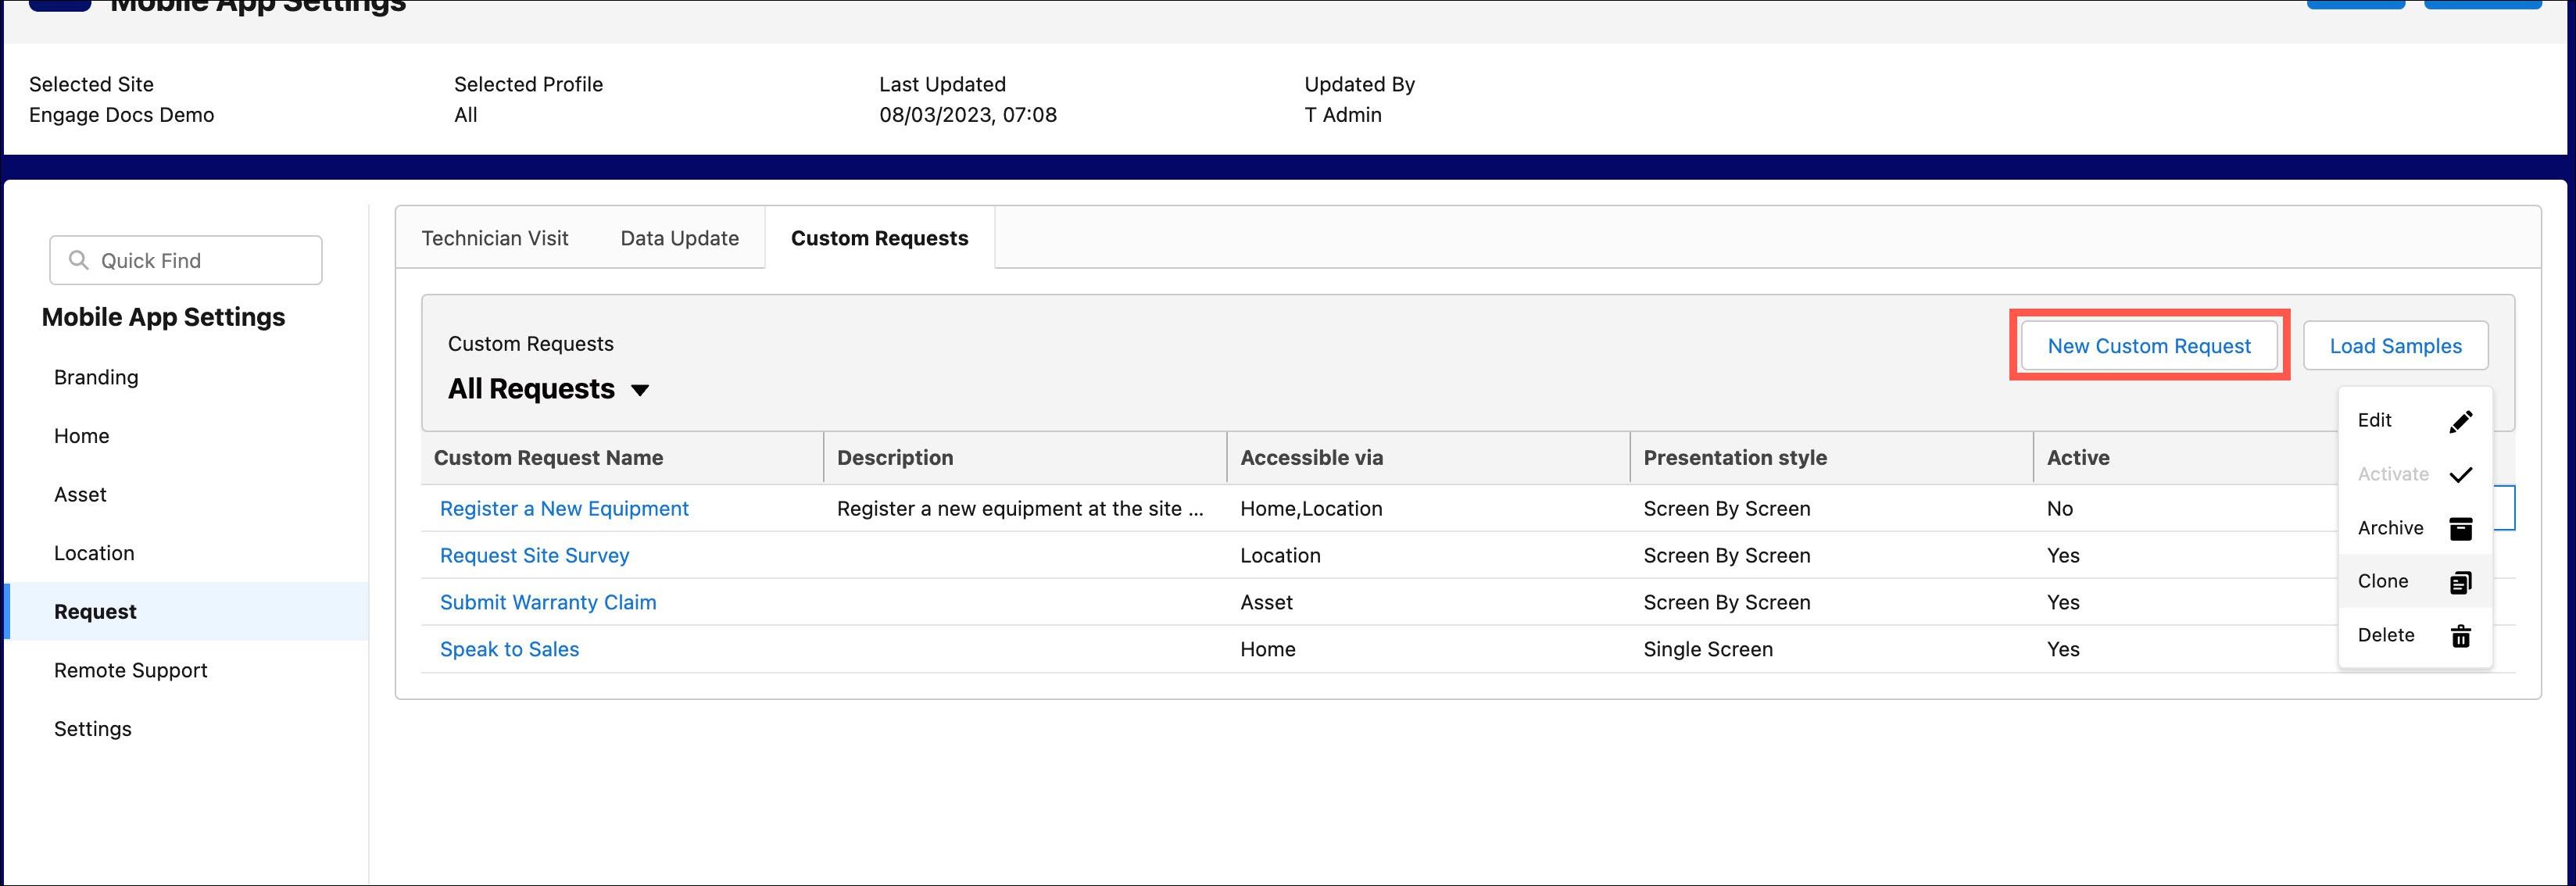
3. Click New Custom Request. The Request Settings window is displayed.
4. Provide the following details.
Field | Description | Image |
|---|---|---|
Fields marked with * are mandatory. | ||
Request Title* | Name of the request. | 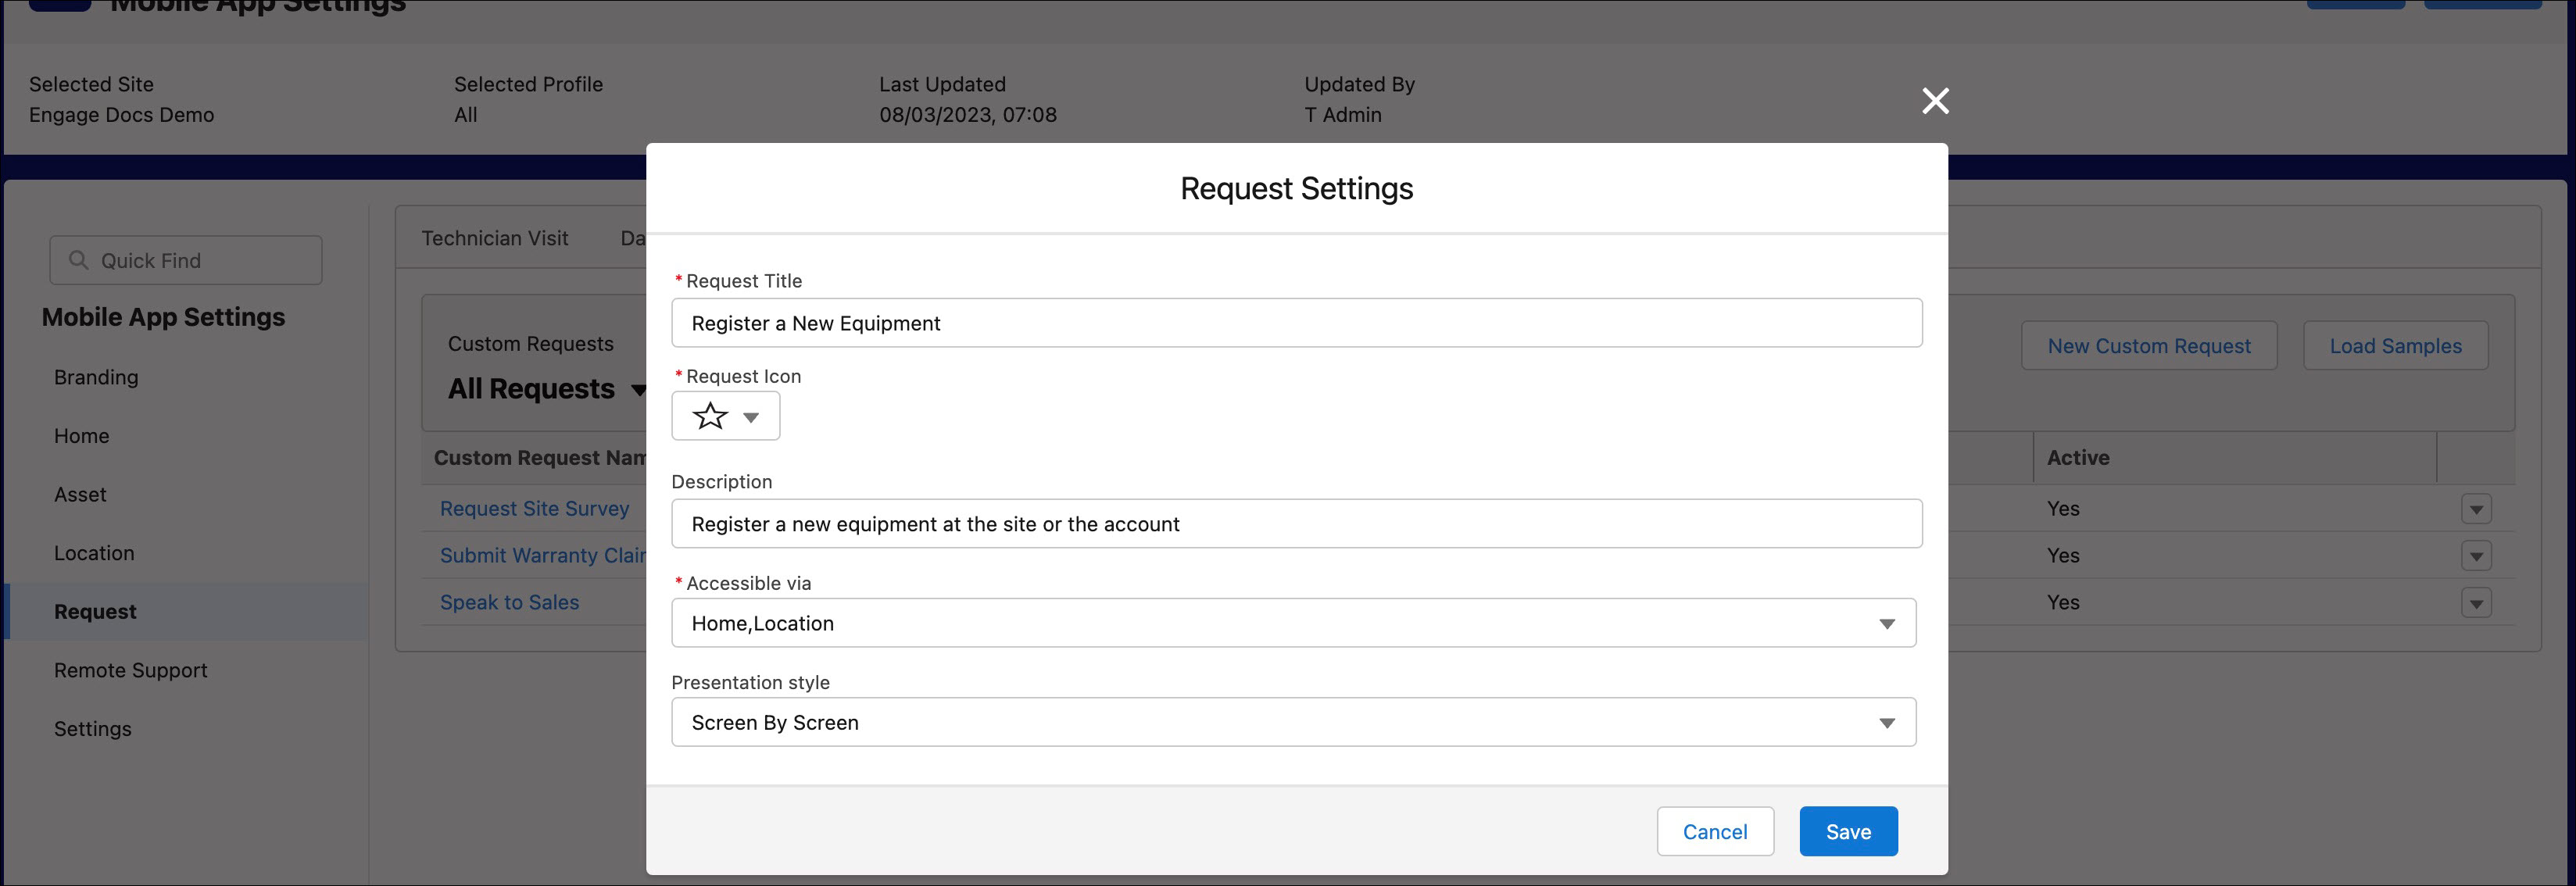 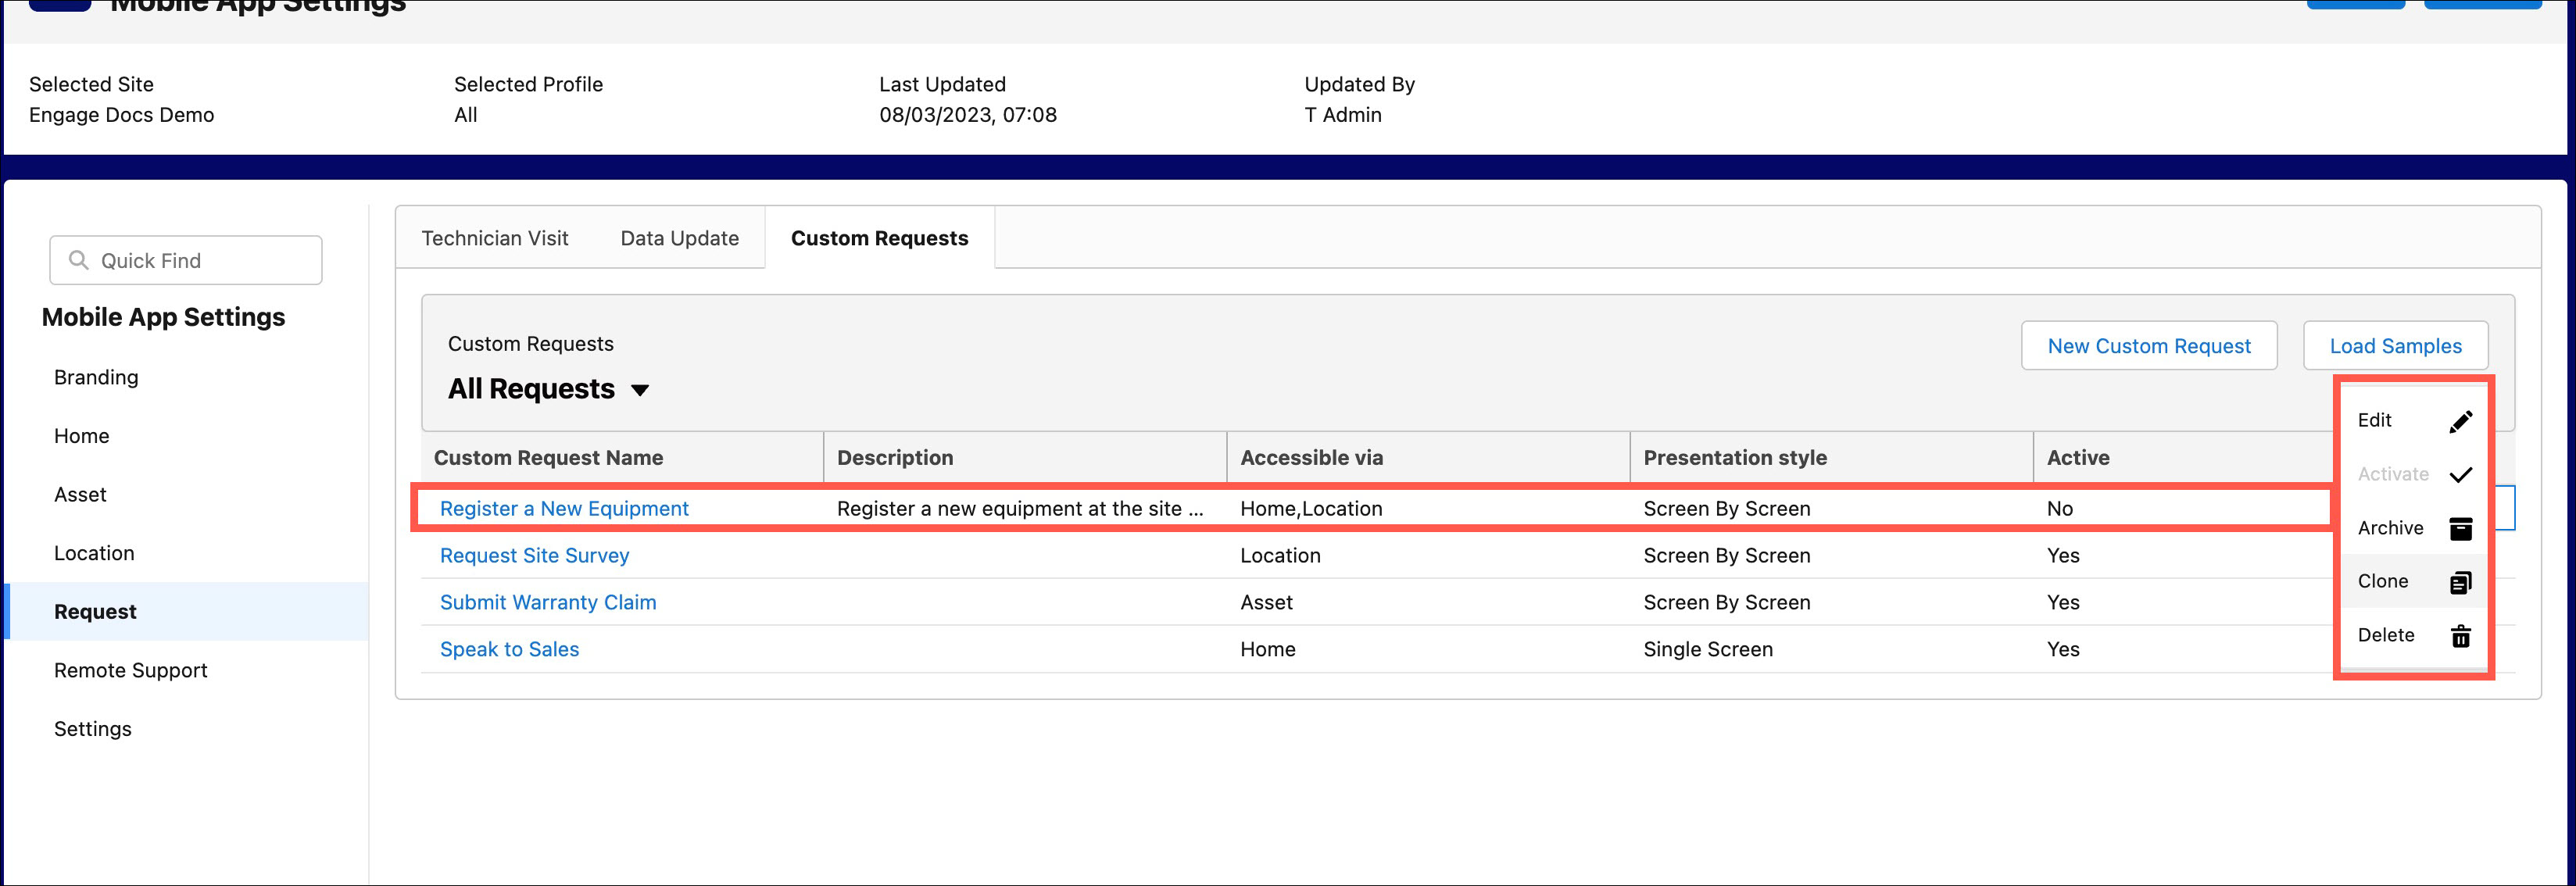 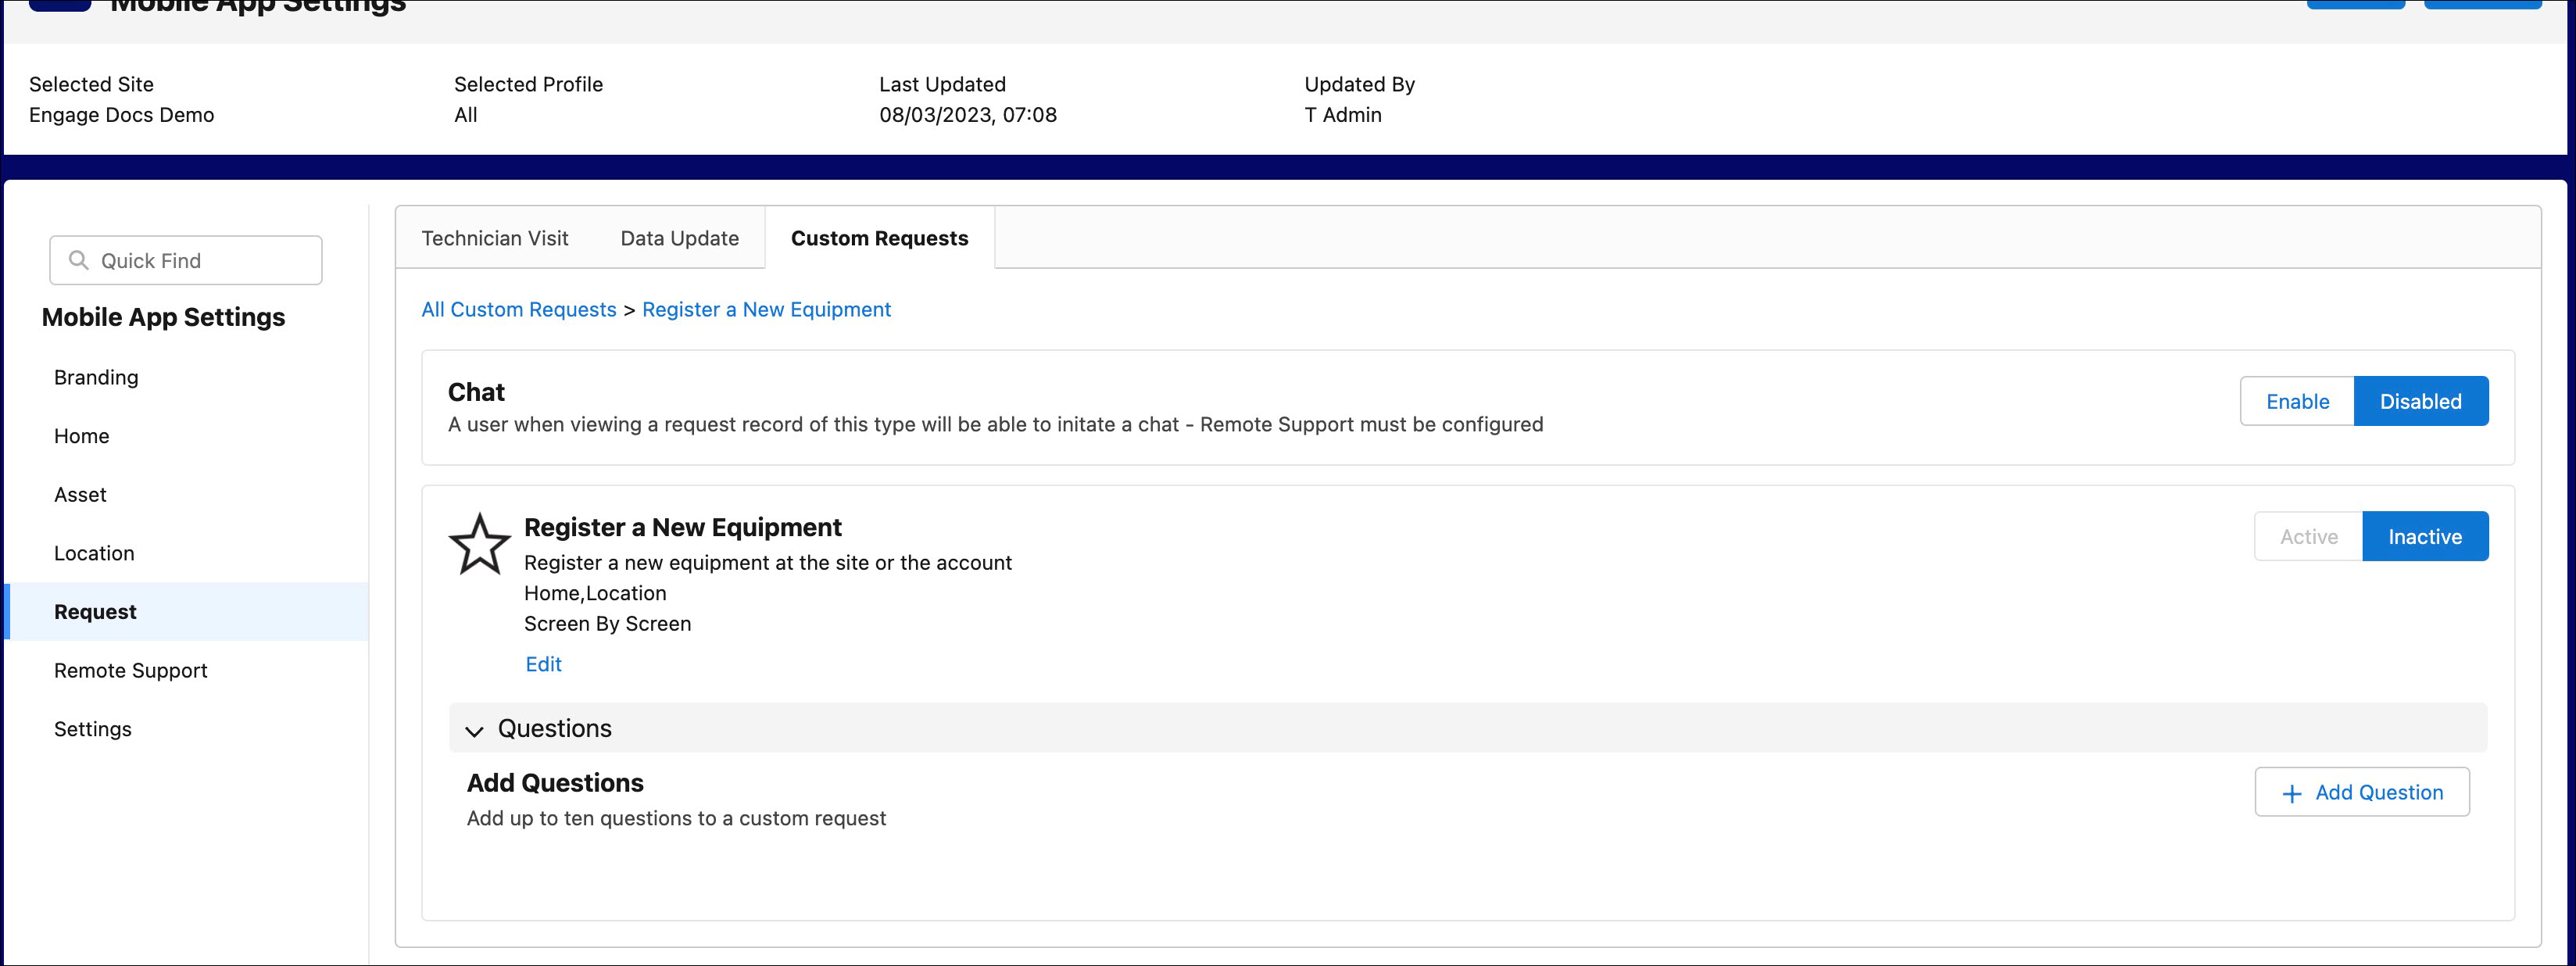 |
Request Icon* | Select an icon from the available list. | |
Description | Description of the request | |
Accessible via* | Select from the drop-down list. You can select one or more items from the list. The available options are: • Home • Location • Asset | |
Presentation style | Select from the drop-down list. The available options are: • Screen By Screen • Single Screen | |
5. Click Save. You are navigated to the Custom Request page. The new custom request is listed on the page. By default, the new request is set to Inactive. You can activate the custom request only when the question(s) are added.
Load Samples
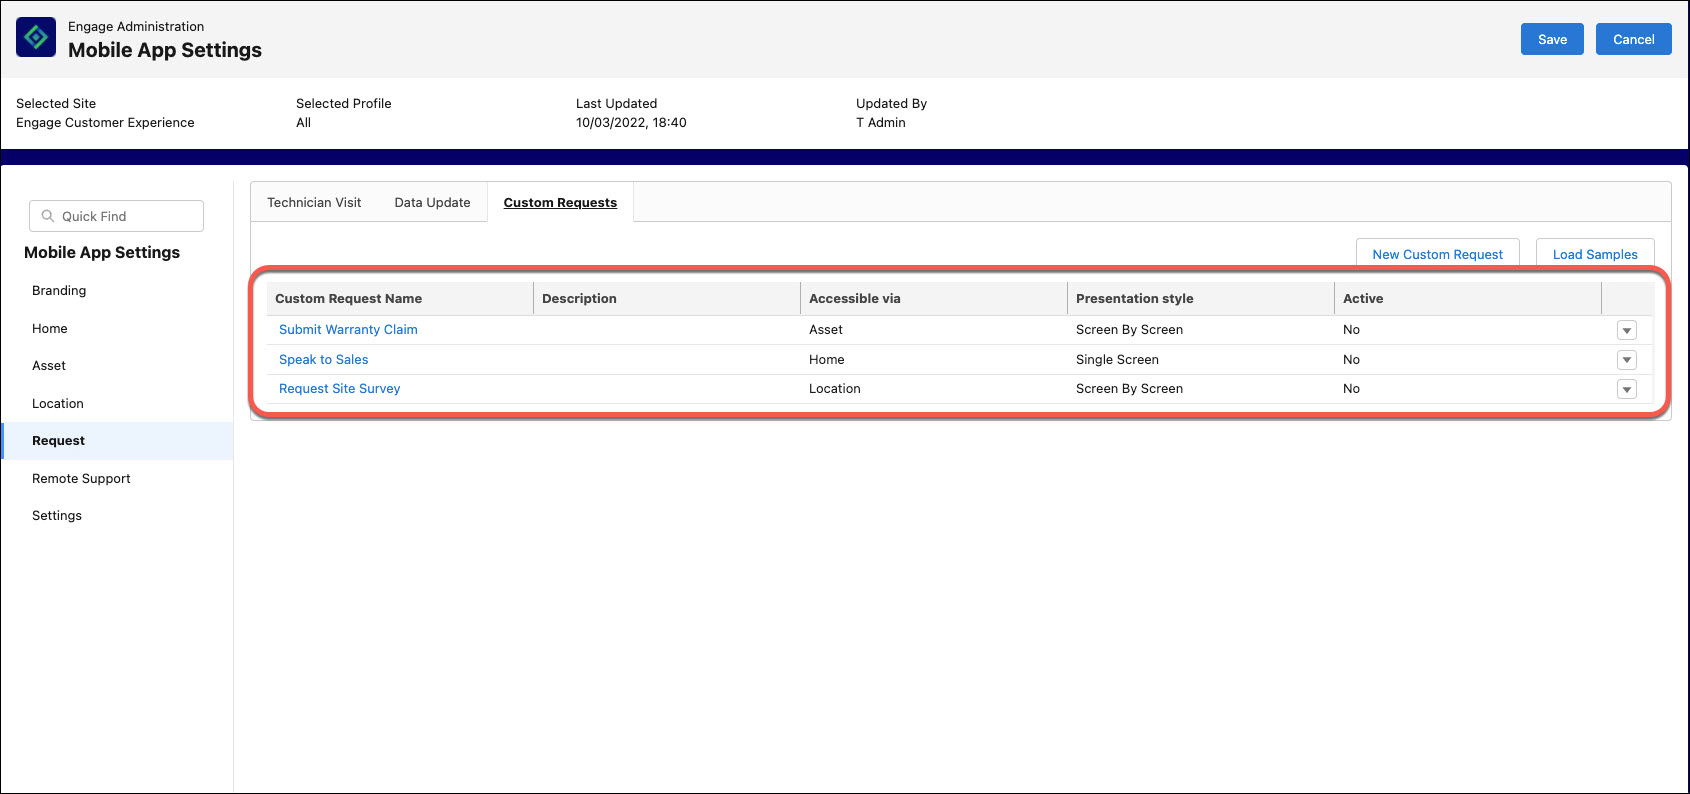
You can load the following samples. You can edit the samples to modify the fields and add questions.
• Speak to Sales - The default field values are:
Field | Default values |
|---|---|
Accessible via | Home |
Presentation style | Single Screen |
• Submit Warranty Claim
Field | Default values |
|---|---|
Accessible via | Asset |
Presentation style | Screen By Screen |
• Request Site Survey
Field | Default values |
|---|---|
Accessible via | Location |
Presentation style | Screen By Screen |
