Exporting to QuickBooks
To enable the Export for QuickBooks link in the Home page:
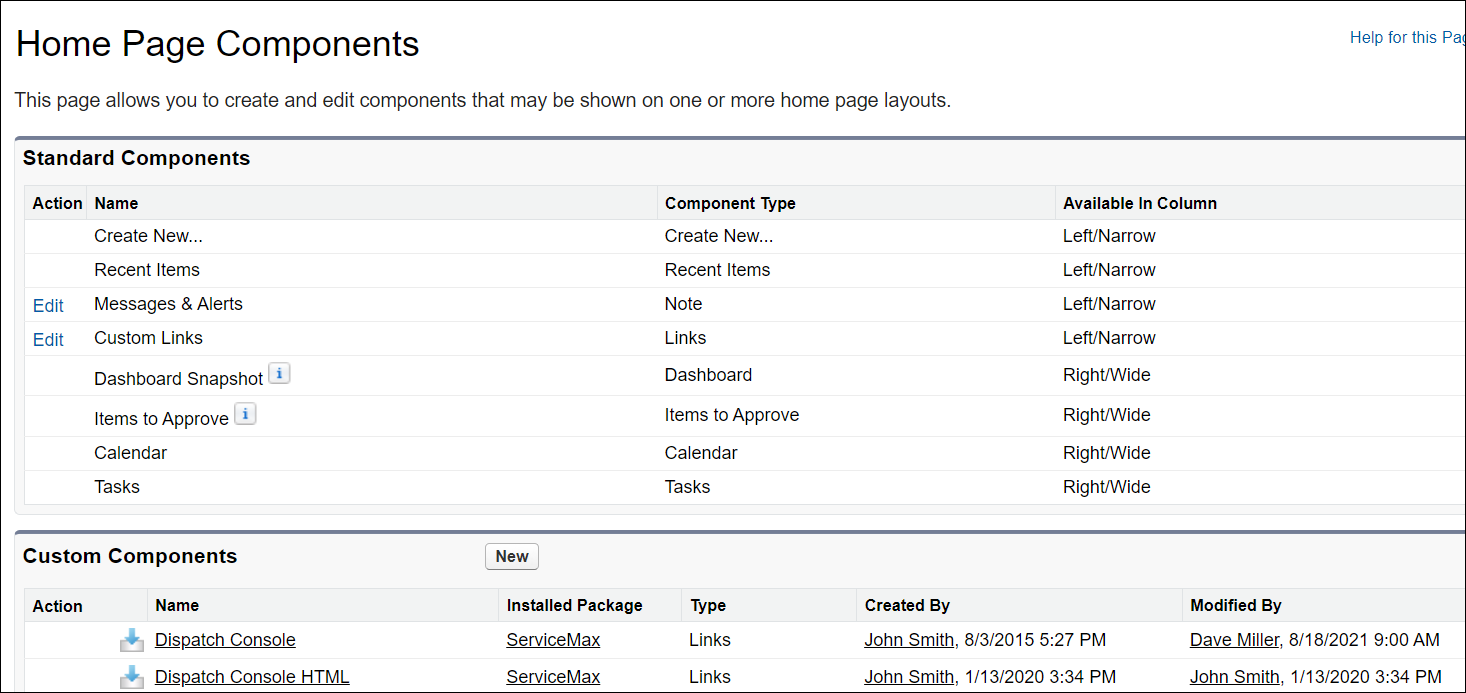
1. Go to Salesforce Setup > App Setup > Customize > Home > HomePage Components.
The Home Page Components page is displayed.

2. Under Custom Component, edit a custom component of type Links. If the custom component of type Links is not available, then click New to create a new custom component.

3. Add the custom link Data_Extract_Console to the custom component.
4. Click Save.
To export Work Order records to QuickBooks:
1. Click the Export for QuickBooks link on your home page. The Export for QuickBooks screen is displayed with the sample default configuration. The work orders meeting the header filter criteria are displayed.

2. (Optional) To filter records by a date range, click the arrow icon next to Filter records by applying this date range (optional) on the configured date field: Closed On.
◦ Enter dates in the From: and To: fields by clicking in the fields to open a popup Calendar where you can select a date. Click today’s date to the right of each field to enter today’s date.
◦ Click the Go! button to the right of the date fields. The records filtered by the date range is displayed.
3. In the Choose records from the list below and click one of the buttons to export section, select records you want to export.
◦ To select all records, check the top left checkbox in the header row.
◦ Use the vertical scroll bar on the right to scroll the record list displayed in the current page.
◦ To set the number of records per page, select a number (100, 200, or 500) from the picklist on the bottom left. 100 is the default value.
◦ To move between pages, click the First, Prev, Next, and Last icons on the bottom center.
4. To email the export file as an attachment in an email, click the Email As Attachment . The extract is sent to the logged in Salesforce user’s email account. If successful, a “Data exported successfully” message is displayed.
5. Click the Export To File button to save the export file to your browser’s download location on your computer. If successful, a “Data exported successfully” message appears.
• The export file is named with the date of export (for example, QB_Export_03_18_2014.iif). If more than one export is done per day, the files are generated with unique names by appending a running number to the name above. Files are not overwritten. • With the default Export Configuration, average time taken to export 500 work orders with 1500 work details (3 work details per work order) is 30 seconds. This is for guidance only and actual times may vary depending on service availability. |