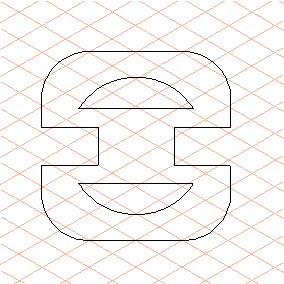
Exercise 1: Create a Profile Body in Isometric Representation
1. Select all the elements in the view.
2. Select the > > menu.
| The view is automatically depicted as a body in line with the set grid. The edges of the body are also automatically drawn using the thick/thin technique, thus ensuring the correct assignment of outer and inner edges. |
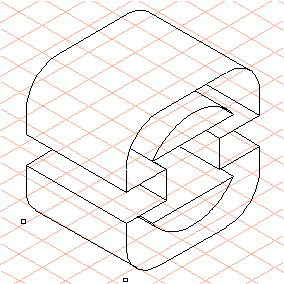
3. The figure indicates how the body of the profile should look.
You can change the length of the body by moving it forwards or backwards using the green-edged move points.
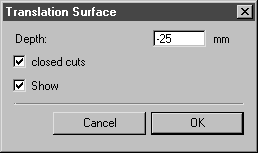
4. The length (depth) of the profile should be 25 mm.
To set the length, hold down the SHIFT key and click on an empty part of the drawing area.
The following dialog box appears.
5. Enter -25 for the depth.
The hidden edges of the body should not be in view.
To achieve this, check closed cuts.
| Check Show to apply all the dialog box changes directly to the drawing. |
Confirm by clicking OK.
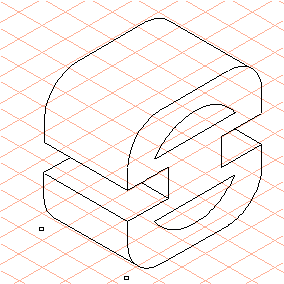
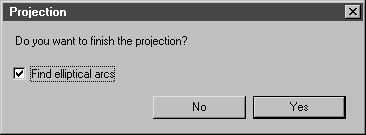
6. The projection can now be terminated.
To do this, click an empty part of the drawing area.
The following dialog box appears.
Confirm by clicking Yes.
7. The elements are projected.
The profile drawing is finished.