Exporting 3D IDR Files to U3D
To export a 3D IDR file to a Universal 3D file format U3D file:
1. Choose > to open the Export dialog box.
2. In the Save as type list, select Universal 3D Files (*.u3d).
3. Click the
Scaling
button to open the
Scale dialog box and change the size of the exported image in the U3D file relative to the image size
Arbortext IsoDraw. You can only scale proportionally. (See
Scale Dialog Box Settings for more information.)
4. In the Export dialog box, click Save. The IDR file is exported to U3D.
5. To view the 3D model, you will need to open, import, or place the exported U3D file in an application that has a U3D-compatible 3D viewer.
Example 4. To View a U3D file 3D Model in Adobe Acrobat 8
1. Open a PDF file in Acrobat.
2. On the Acrobat Tools menu, choose Advanced Editing, then select 3D Tool.
3. Drag a rectangle on the PDF page where you want the 3D model placed. The Add 3D Content dialog box appears when you release the cursor.
4. Click Browse to open the Select a 3D model dialog box, then select the exported U3D file name.
5. Change any other settings in the Add 3D Content dialog box, then click OK. The 3D model appears on the PDF page.
6. In the Acrobat Select & Zoom toolbar, select the Hand tool.
7. Click inside the 3D model rectangle to activate 3D and display the 3D toolbar. Use the 3D navigation tools and view controls on the 3D toolbar to manipulate the 3D model view.
U3D Export Settings
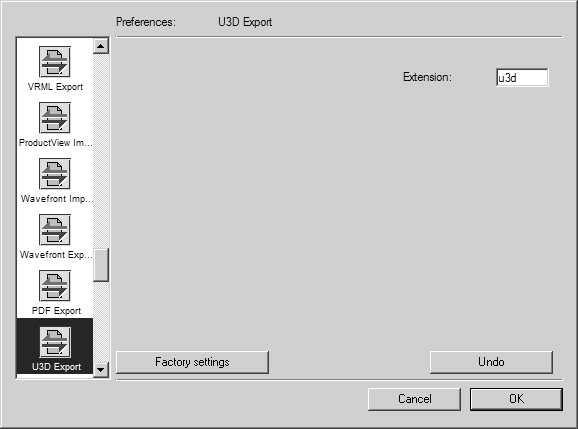
U3D only has one export setting, the filename Extension. To access this setting, Choose > , then click the U3D Export symbol to display settings on the Preferences: U3D Export page. You can type any text filename extension for the exported U3D file; it is u3d by default.
Preferences: U3D Export page