Automatically Inserting with Pre-specified Orientation and Size
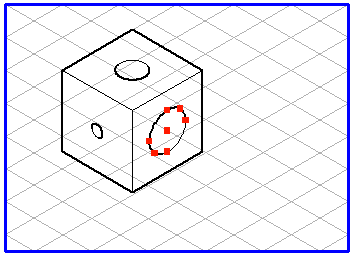
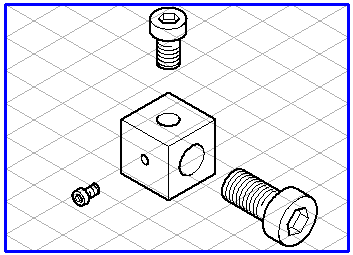
With the help of a selected ellipse on your drawing, you can insert a library part with the correct orientation and size. Select the ellipse relative to which the part is to be inserted into your drawing. If there is no suitable ellipse in your drawing, draw an auxiliary ellipse with the required orientation and size.
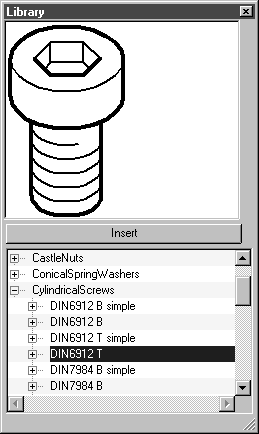
Then, instead of a library part with an ellipse value, select the superordinate file.
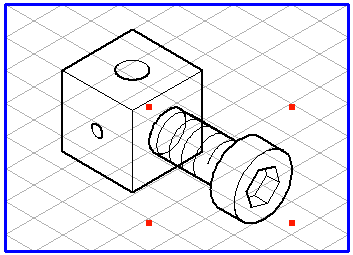
If you now click on Insert, the library part is inserted into the drawing exactly over the ellipse. The part is grouped and selected.
You now only need to move the part to the required position.
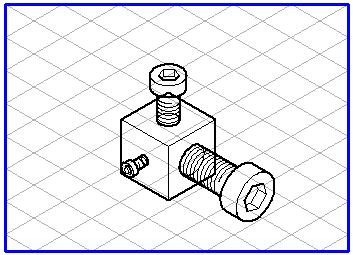
When the ellipses are drawn for the three perspective major axes, library parts can be inserted automatically and in succession relative to the planes, in a size that fits the size of the ellipse.
| If no library part with the required ellipse value is available for the current grid, then, when automatic insertion is used, the first Group (viewport of the part) from the list is inserted. |
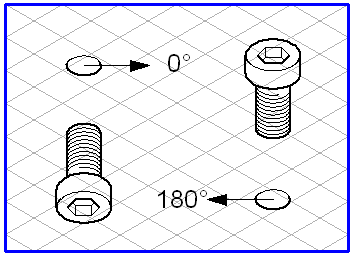
The orientation in which a library part is inserted in the selected ellipse depends on the direction in which the ellipse was dragged from the start point. For a horizontally dragged ellipse, the orientation angle can be either 0° or 180°. The library part is inserted accordingly in two different orientations. You can find more information on the subject of
orientation angles in
Ellipse,
Inner Thread, and
Outer Thread.