Edit Halo
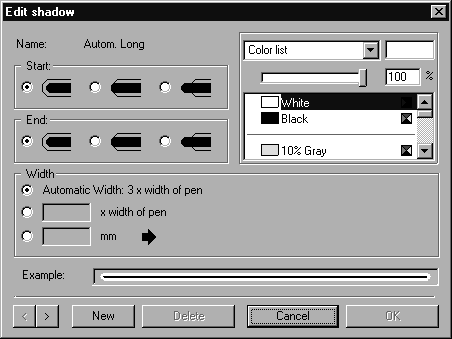
To edit a halo, select the command Edit halo. The following dialog box opens:
The displayed values refer to the
current halo. The
Example field shows you how your halo will look. You can page through the list of halos using the two arrow buttons

.
This dialog box allows you to edit the attributes of all the halos which have been defined for the active illustration. You can also create new halos or delete existing ones.
Your changes will only be valid if you click OK. Clicking Cancel quits the dialog box without changing the halo list.
| If you delete a halo, the elements or pens using this halo will be assigned a substitute halo. This change cannot be undone even by canceling the dialog box. |
Modifying Halo Attributes
Each halo must have a unique Name. The names of the standard halos cannot be overwritten.
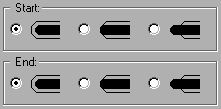
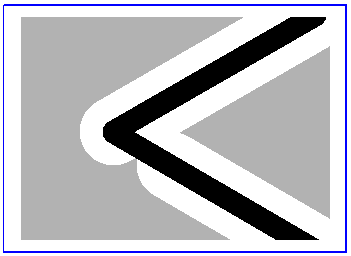
The options in the Start and End fields allow you to define how the halo is to flow around the ends of the line. As a rule, the long halo option is selected so that the line is fully isolated.
Where lines are touching, the halos may overlap. The shorter versions are intended for just such situations.
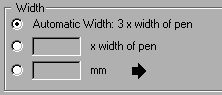
The thickness of the halo generally depends on the line thickness of the pen used. This is important since it ensures that the halo also becomes thicker when the line thicknesses change. Arbortext IsoDraw is therefore provided with two settings which achieve this effect. The Automatic Width: factorx width of pen option applies a factor which is specified in the Attributes preferences panel under Automatic halo width. The second option allows you to enter a factor for this one halo only. Finally, you can enter a fixed width for the halo as either a multiple of the pen width (x width of pen) or a number of millimeters (mm).
| Halos are only used in combination with pens, i.e. an element without a contour is displayed without a halo. |
The color of the halo is defined in the
Color selection area. Here, you have the option of selecting one of the defined colors from the list or mixing your own CMYK color. Using the
Color List and setting a
free CMYK color are described in
Show Fill Window.
Creating a New Halo
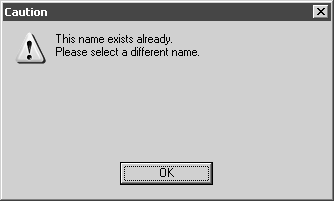
You can create a new halo by clicking the New button. This halo will initially have the attributes of the last halo displayed. Assign the halo a unique name and change the settings as you wish. If a halo with that name already exists, the following warning window appears:
Confirm with OK and change the name. You can now change the settings as required.
If you have clicked New by mistake or want to abort the creation process, you can delete the halo as described below.
You can also create a new halo by clicking the command New halo from the pop-up menu.
Deleting a Halo
You can delete the halo currently displayed by clicking the Delete button.
| Standard halos cannot be deleted. |
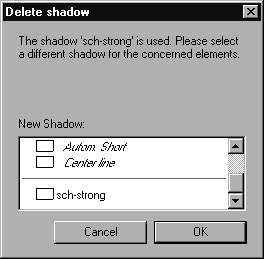
The halo will be deleted immediately if it is not being used in the illustration or by a pen. Otherwise, a substitute halo must first be defined for assigning to the affected elements:
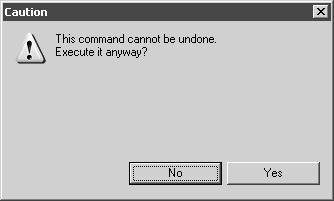
The new halo must be assigned directly in order to avoid conflicts. This assignment cannot be undone. Consequently, the program will ask you for final confirmation if you click OK:
Click No if you do not want to make the changes. Click Yes to assign the new halo with immediate effect. While you can still cancel the Edit halo dialog box afterwards, the assignments will be retained.