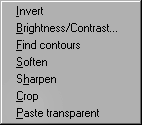
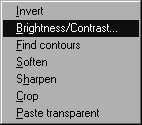
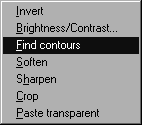
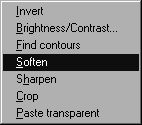
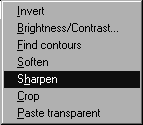
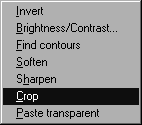
Pop-up Menu for Image Effects in the Colors Window
Choosing Commands from the Pop-up Menu for Image Effects
The commands in this menu give you additional options for editing the raster image. The command is always applied to the selected area.
Invert
This command inverts the pixel values over either an entire image or a selected area. This lets you convert a positive image to a negative one or to turn a scanned negative into a positive.
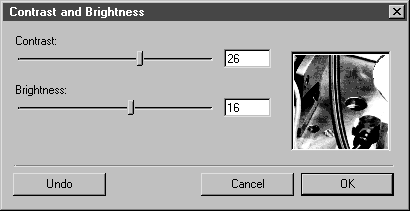
Brightness/Contrast
This command allows you to change the overall values for brightness and contrast over either an entire image or a selected area. The following dialog box appears when this command is selected:
The current values are displayed in numerical form and can be changed by means of the sliders. You can check your setting in the preview box on the right. Positive values increase brightness and contrast, negative values reduce them. Clicking Undo resets the value changes to 0. Confirm your entries by clicking OK. Click Cancel to quit the dialog box.
Find Contours
This command detects the contours of an image or image section. The program searches for marked differences in brightness and outlines these with lines. This function will help you in tracing contours.
| You can improve the quality of the generated contour by defining a higher resolution for the image element. |
Soften
The Soften function softens excessively prominent contours. It reduces the contrast between the pixels to produce a smooth overall impression. This command too can be applied to either the entire image or an image section.
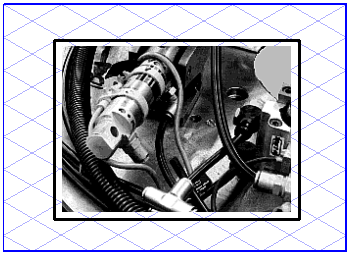
Sharpen
The Sharpen function has the opposite effect of the Soften function in order to create a better contrast or lend greater clarity to an image. It increases the contrast between the pixels to produce a sharper overall impression. This command too can be applied to either the entire image or an image section.
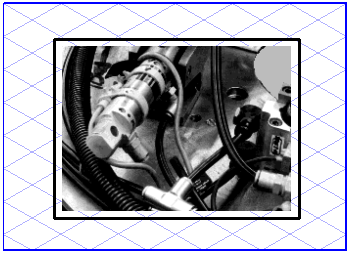
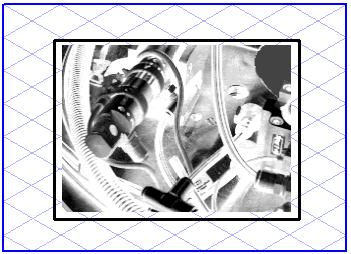
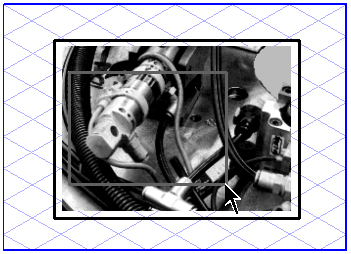
Crop
This command allows you to cut out a section of an image. Select the required image section using the selection rectangle and call up the command. The required section will be cut out and appear on the screen, the rest of the original image disappears. The new image size depends on the cropped area.
Paste Transparent
When this command is activated the floating selection will become transparent, in other words, all the white pixels will appear transparent. You can thus paste copied parts without the white background of the selection hiding the rest of the image. The command remains active until you select it again to deactivate it. A check mark indicates the command is active.