Element Info
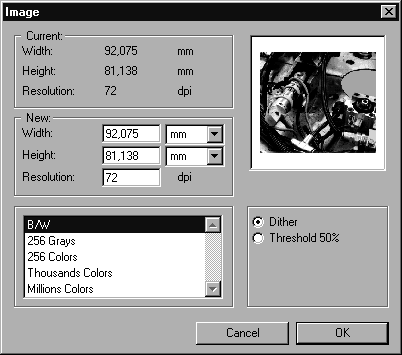
The Element info dialog box allows you to change all of the settings relating to an image element. Select an image element and call up the Element info command in the Element menu.
| The Element info dialog box can only be called up for a single element. |
You can perform changes by making entries in the respective fields or by making selections from the pop-up menus. These changes will be displayed roughly in the preview box at the upper right.
Current
This section displays the current width, height and resolution of the image element.
New
You can enter new values for the width, height and resolution in this section. The changes are always made in proportion to each other, i.e. if you change the width, the height and resolution will change accordingly. The pop-up menus allow you to set the unit of measurement of your choice.
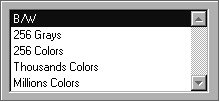
Image Type
You can change the type and depth of the image in this section.
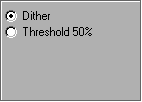
Dither/Threshold
If you have changed either the type or bit depth of the image element, you can specify how this conversion is to be implemented by clicking one of the two buttons. This is important since, after you have made a number of changes, you will no longer be able to display all the color information contained in the original image element, e.g. if you switch from grayscale to line art.
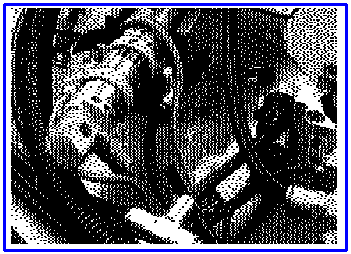
If you select the Threshold 50% option, the program assigns each color value or gray value of the old image element to a value which is available in the new image element. This means that, for example, when converting from grayscale to line art, each pixel of a photo can only be either black or white.
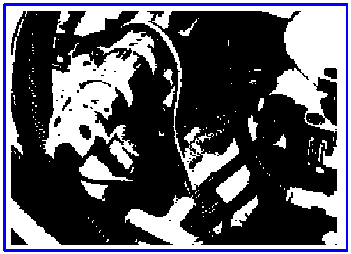
The Dither option uses a different technique. After selecting this option, Arbortext IsoDraw attempts to retain the impression of the grayscale by using pixel patterns. Generally speaking, you obtain better results with the Dither option.
Quitting the Dialog Box
You can confirm your entries by clicking OK. Clicking the Cancel button quits the dialog box without applying any changes you have made.
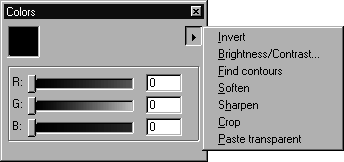
You need special tools for this type of image editing which you can find in the pixel palette and the pop-up menu of the Colors window.
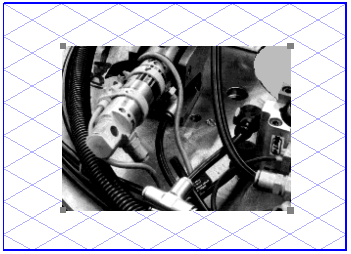
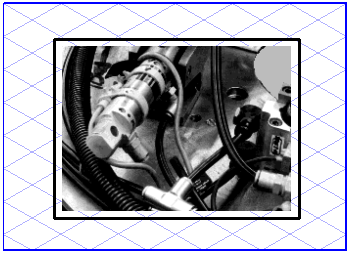
First, select a single image element with the arrow cursor and then choose > . The image element is placed inside a black frame. You are in image editing mode as long as this frame is visible.
You can exit image editing mode by choosing > again.
| You can only apply the Undo function to the entire image editing session and not to individual actions you perform during image editing. |