Drag and Drop
1. Go to the drag_1.idr window.
In the pen window list you will see the pen Pos.Lin. This is the pen for position lines.
2. Click on the name of the pen and, holding down the mouse button, drag it to the file drag_2.idr.
The pen name appears with the arrow cursor and a + symbol.
Now release the mouse button.
The Pos.Lin pen is copied into the file drag_2.idr and appears on the pen window list.
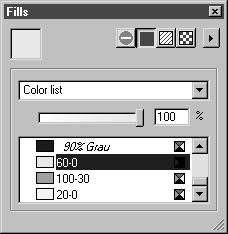
3. Move to the window for drag_1.idr and open the Fills window. Click on the symbol for Color.
The color list appears. The colors 60-0, 100-30, and 20-0 appear at the end of the color list.
These colors are to be used for the process of coloring the spare parts.
4. Use the same Drag and Drop method to copy the colors one after the other into the file drag_2.idr.
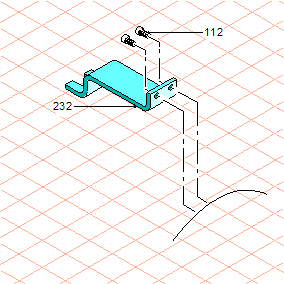
5. To make editing easier, all the positioning elements are on Layer 3 in the file drag_1.idr. To complete the spare part drawing drag_2.idr, the position lines and position line numbers must also be on this layer.
Use Drag and Drop to copy Layer 3 into the file drag_2.idr as well.
Now all the preparations have been completed for coloring and positioning the drawing in drag_2.idr.
If you wish, you can complete the drawing so that it matches the template in the file drag_2.1.idr. This file can also be found in the Arbortext-IsoDraw-install-path\Tutorial\Tutorial IsoDraw folder.