Exercise 1: Specify Object Info for the Part Drawings
1. Open the file hotspot.idr. Save the file as hotspot_ob.idr.
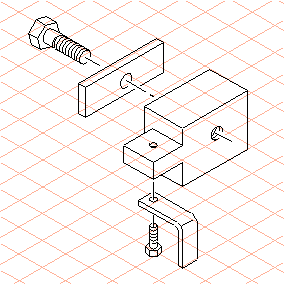
2. To turn each of the five drawn parts into objects, all the elements of a part need to be grouped together.
Select the
Arrow
tool.
Press the ALT key.
Click the mouse to turn the cursor into a lasso

.
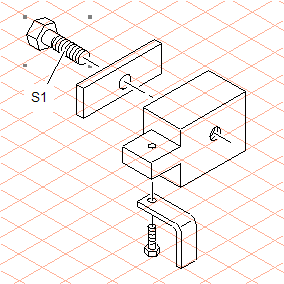
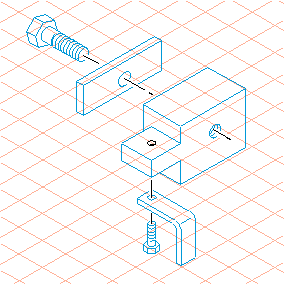
3. Now move the mouse to lasso all the elements of bolt (S1).
Once all the elements of the bolt have been selected, go to the > menu.
The bolt has now become one group. This is indicated by the four selection points.
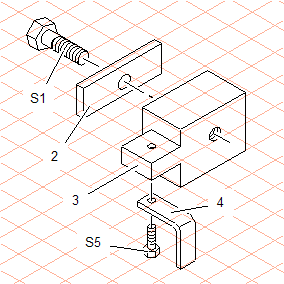
Now use the same method to group the other four part drawings.
| A group is an object with no object information. |
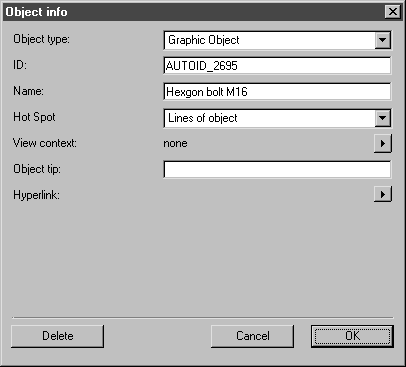
Select the group for bolt (S1) and the > menu.
The following dialog box appears.
The Object typeGraphic Object is the standard object type in Arbortext IsoDraw. The identification name for the object is displayed in the ID panel. The ID is generated automatically by Arbortext IsoDraw. When you open the dialog box, the ID will be different from that shown in the figure above.
4. Enter Hexagon bolt M16 next to Name.
5. Select Lines of object next to Hot Spot.
6. Click OK to confirm your entries.
7. Specify the object info for the other part drawings in the same way. Select Lines of object next to Hot Spot each time.
8. Next to Name enter Bar for part 2, Block for part 3, Bracket for part 4, and Hexagon bolt M8 for S5.
Once you have completed this process you have assigned object info and a hotspot region to all the objects.
9. Select the > menu and check the box next to Show objects with hotspots in the dialog box. Confirm the setting by clicking OK.
The contour of the objects now appears in color. The object tip also appears when you move the mouse close to an object.