Create the Animation
1. Select the > menu.
The Edit Animation and Timeline dialog boxes appear. The Edit Animation and Timeline dialog boxes contain no entries. The timeline for the current time in the Timeline window indicates 0.
2. Click on the terminal cover entry in the object window.
The cover is selected.
3. The first step involves highlighting the cover with the color red.
|
|
The Fill color attribute can only be applied if a fill color already exists for the object’s surfaces.
|
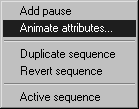
Click on the arrow at the top right of the Edit Animation dialog box and select the Animate attributes command from the pop-up menu.
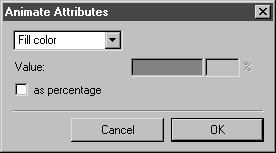
The Animate Attributes dialog box appears.
4. Select the Fill color attribute from the pop-up menu.
5. Now click in the color panel. Select the primary color Red from the Color dialog box that appears and confirm by clicking OK.
6. Click OK in the Fill color dialog box.
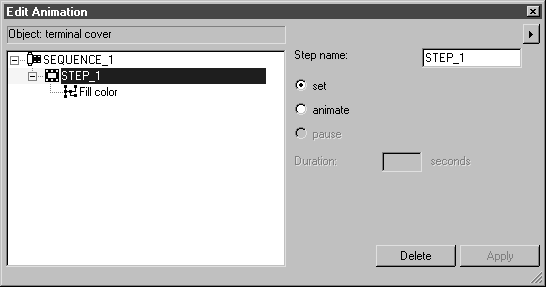
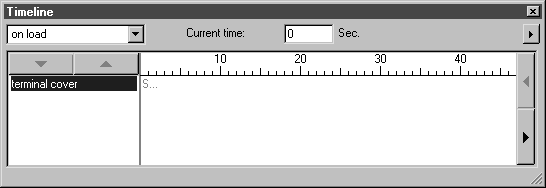
Both the Edit Animation and Timeline dialog boxes now appear as illustrated below.
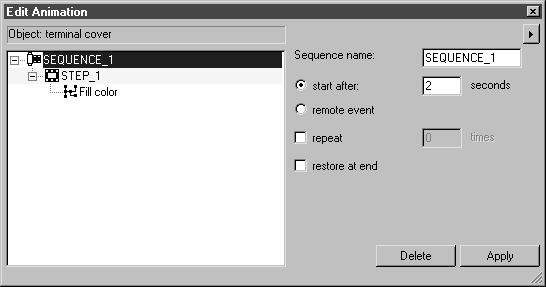
7. In the Edit Animation dialog box, the name of the animated object – terminal cover – is displayed in the field at the top of the window. Below this is the entry for the first sequence (SEQUENCE_1) with the first step (STEP_1). The action for the step is the Fill color attribute that has been set.
The name of the animated object also appears in the Timeline window. The timeline for the current time still indicates 0 because the step is a set animation, i.e. the duration of the step is zero. The sequence is entered as a bar with a red S.
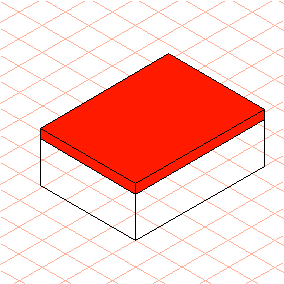
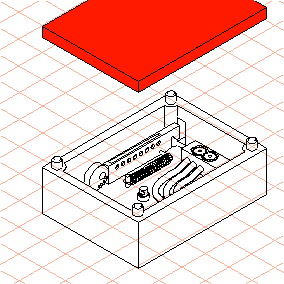
8. The cover of the terminal box in the drawing is now filled with the color red.
If you look at the terminal cover entry in the object window, you will notice the pen symbol for an animation behind the entry.
9. During playback, the animation is to start after a 2-second delay. The start time for the sequence must be set accordingly.
Click on the SEQUENCE_1 entry in the Edit Animation dialog box.
The sequence setting options appear in the dialog box.
10. Enter 2 in the panel next to start after and click on Apply.
11. The next step involves lifting the cover upwards to reveal the inner workings of the terminal box. To achieve this, a new step must be created.
0 is displayed in the panel next to Current time in the Timeline dialog box. The timeline is at 0 seconds. To generate the next step (moving the cover), the timeline needs to be at 2 seconds.
Enter 2 next to Current time in the Timeline dialog box. Press the ENTER key to confirm the entry.
12. Select the > > menu.
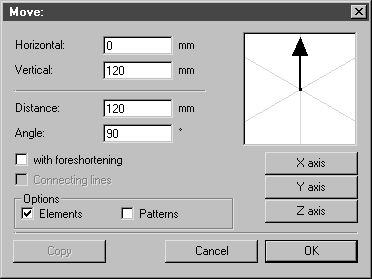
The following dialog box appears.
13. Set the values as depicted in the dialog box illustrated above. Confirm the settings by clicking OK.
Entering these values ensures that the cover is lifted high enough to completely reveal the inner workings of the terminal box.
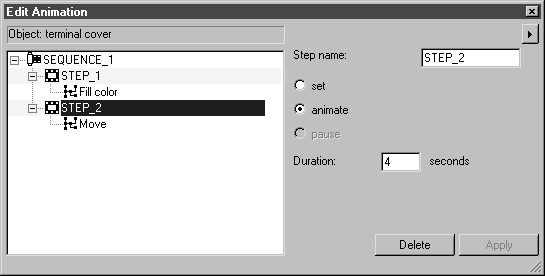
STEP_2 appears in the Edit Animation dialog box with the action Move.
14. The cover is to be lifted within 4 seconds.
Enter 4 next to Duration and confirm by clicking Apply.
The extended bar for SEQUENCE_1 is displayed in the Timeline dialog box. The timeline is at 6 seconds.
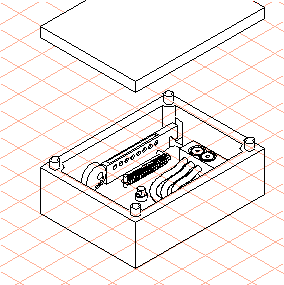
The cover now appears above the terminal box in the drawing. The inner workings of the terminal box are clearly visible.
15. The final step of the animation is to reset the colored highlight (fill color) for the cover. This is to occur at the end of the sequence.
Click on the arrow at the top right of the Edit Animation dialog box and select the Animate attributes command from the pop-up menu.
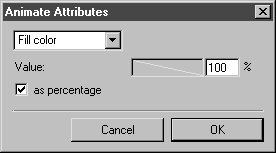
The Animate Attributes dialog box appears.
16. Select the Fill color attribute from the pop-up menu.
17. Now check the box next to as percentage and enter 100 next to %. Confirm by clicking OK.
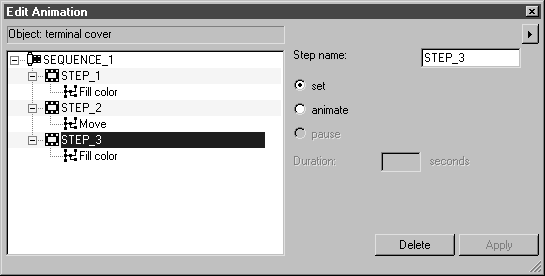
SEQUENCE_1 appears in the Edit Animation dialog box with the new STEP_3 and the action Fill color.
The cover of the terminal box in the drawing is now filled with the color white again.
18. This completes the animation. No doubt you are now curious to see what the animation looks like when played back.
Click the close box of one of the two dialog boxes you used to create the animation.
19. Save the file.
20. Select the > menu.
Arbortext IsoView is launched. After a short time, the terminal box drawing appears in the Arbortext IsoView window, depicted as it appears in Arbortext IsoDraw. Two seconds later, the animation begins.
You can watch the exercise with the completed animation in the file animation1_prep.idr. You can find the file in the Arbortext-IsoDraw-install-path\Tutorial\Tutorial IsoDraw folder.