Preparations
1. Open the file animation1.idr. Save the file as animation1_prep.idr.
| Before creating animations, it is important to ensure that object information has been created for each of the objects used. This can be checked easily in the object window. |
2. Open the object window by selecting the > menu.
The object window is displayed with the name of the file on the drawing sheet.
3. Holding down the CTRL key, click on the + symbol in front of the file name animation1_prep.idr.
All of the objects contained in the file are shown.
4. Select the button next to Name in the object window.
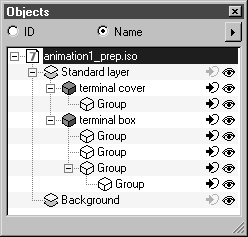
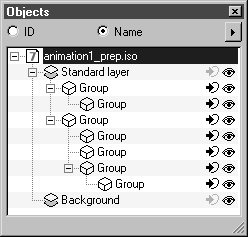
The object window will now appear as indicated below.
5. You will notice that the drawing consists of two groups with subgroups. The missing ID and the unfilled cube symbol show that the groups have no object information. Before beginning the animation process, object information must be assigned to the groups.
Select the
Arrow
tool.
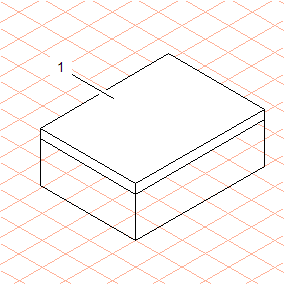
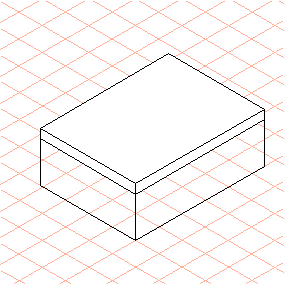
6. Click on the contour of the terminal box cover (1).
The group is now selected.
Select the > menu.
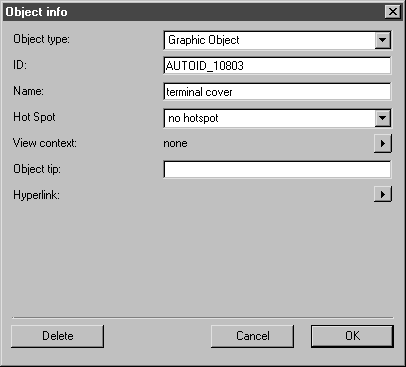
The following dialog box appears.
The object’s identification name is displayed in the ID panel. The ID name is generated automatically by Arbortext IsoDraw. When you open the dialog box during the exercise, the ID name will be different from that shown in the figure above.
7. Enter terminal cover next to Name.
8. Select no hotspot next to Hot Spot.
9. Confirm your entries with OK.
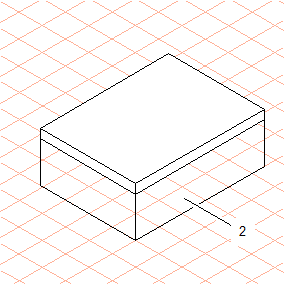
10. Click on the contour of the terminal box (2).
The group is now selected.
11. Select the > menu again.
12. Enter terminal box next to Name in the dialog box and confirm your entry by clicking OK.
You have now assigned object info to both objects.
13. Click on Name in the object window.
The object window will now appear as indicated below.
You can now begin creating the animation.

 tool.
tool.