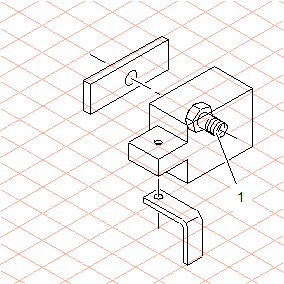
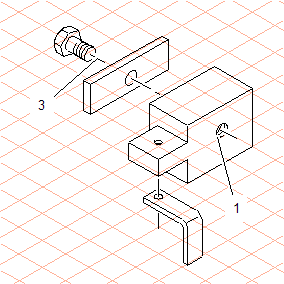
Insert a Hexagonal Bolt for Threaded Bore (1)
1. Open the file transform.idr.
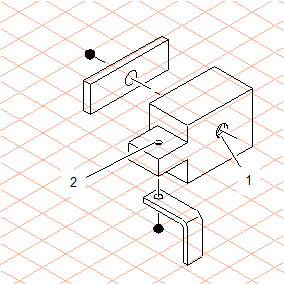
You will be using the library function to insert a hexagonal bolt at each of the selected positions for threaded bores (1) and (2).
2. Select the > menu.
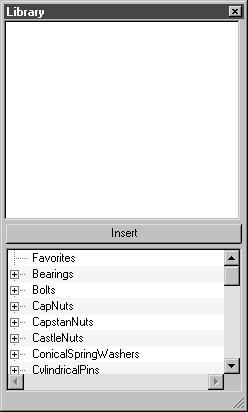
The Library window is displayed as illustrated below.
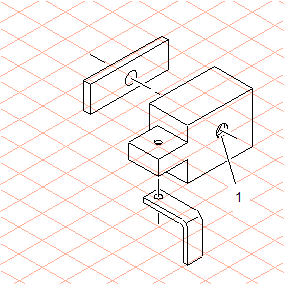
3. Select the thread ellipse for threaded bore (1) in the drawing.
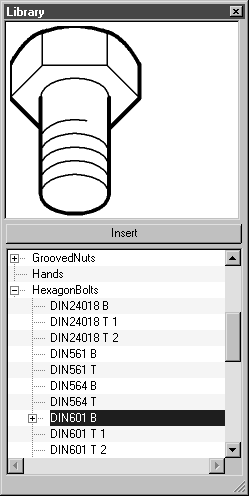
4. Scroll through the list in the Library window to the HexagonBolts folder. Click on the symbol to the left of the name. Select DIN601B from the subfolders that are then displayed.
The selected bolt type appears in the display field, viewed from below.
| The B at the end of the bolt filename indicates that all the hexagonal bolts in this folder are depicted as viewed from below (Bottom). T always indicates that the part is depicted as viewed from above (Top). |
5. Click on the Insert button in the Library window.
The selected hexagonal bolt now appears in the drawing, positioned exactly over the selected thread ellipse. The diameter of the bolt thread matches that of the thread ellipse for threaded bore (1).
| When working outside these exercises, you will need to observe the following points: • The orientation applied when a library part is inserted onto the selected ellipse or thread ellipse is determined by the direction in which the ellipse has been dragged. • If there is not an ellipse already in the drawing that matches the orientation and size you want to apply to the library part, you will need to draw an auxiliary ellipse. • Library drawings are always grouped and inserted according to the preferences set on the current preferences panels. |
6. Select the grouped hexagonal bolt and drag it so that the center of the thread ellipse is on the end dot of the center line (3). Select the center line again and go to the > > menu.
The center line with halo is now positioned in front of the hexagonal bolt.
