Subconnectors
About Subconnectors
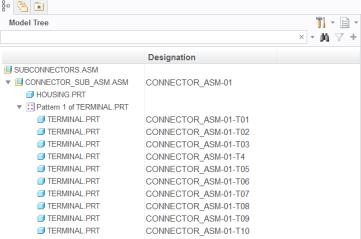
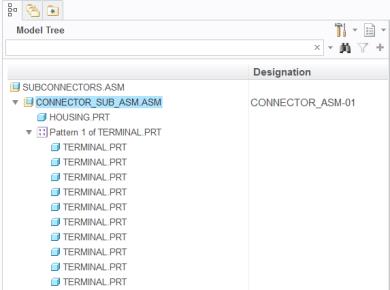
You can designate a subassembly as a connector and the parts within the subassembly as its subconnectors. You can then route wires and cables to the connector and the subconnectors.
You must designate assembly entry ports to route the wires and cables to the connector. To route the wires and cables to the subconnectors, you must designate the part entry ports.
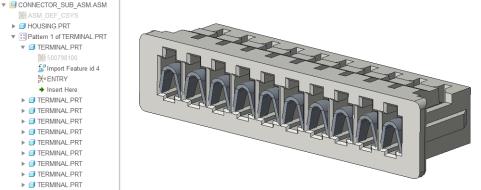
In this example, the connector (CONNECTOR_SUB_ASM.ASM) does not have any assembly entry ports but the subconnector (TERMINAL.PRT) does have an entry port (coordinate system).

You can designate the connector and subconnectors manually or use logical data.
When using logical data from Creo Schematics, the connector assembly corresponds to a group, the terminal part corresponds to a block contained within the group, and the designated coordinate system corresponds to the port on the block.

You can use the Auto Designate dialog box or the menu manager to automatically designate the connectors using logical data.
Use  Cabling Parameters to assign the parameters to the subconnectors.
 Cabling Parameters to assign the parameters to the subconnectors.
To Manually Assign a Connector and a Subconnector
1. Click the arrow next to  Auto Designate.
 Auto Designate.
2. Click Designate.
3. Select the subassembly. The DES CONN menu appears.

4. Click Enter Name and click  to accept the default connector parameters. The MOD CONN menu manager appears.
 to accept the default connector parameters. The MOD CONN menu manager appears.
5. Click Add SubConn.
6. Select a part within the subassembly. The DES CONN menu appears.
7. Click Enter Name and click  to accept the default connector parameters.
 to accept the default connector parameters.
8. Click  Cabling Parameters and select the subassembly. The Electrical Parameters dialog box opens.
 Cabling Parameters and select the subassembly. The Electrical Parameters dialog box opens.
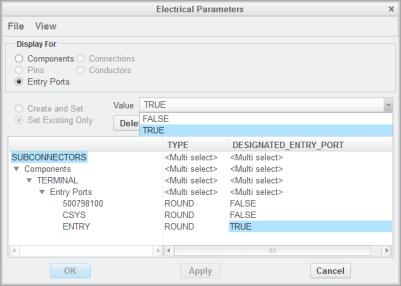
9. Under Display For, click Entry Ports.
10. Expand the Entry Ports and in the DESIGNATED_ENTRY_PORT column, set the value of the required coordinate system to TRUE as shown in the example:

11. To add additional subconnectors, click > .
12. Select the component that will receive the subconnector. The MOD CONN menu appears.
13. Click Add SubConn. Select the connector to be added as a subconnector. A message appears that the subconnector has been added successfully.
To Assign a Connector and Subconnector using Logical Data
You can also designate and assign a subconnector while designating the parent connector as follows:
1. Click  Auto Designate. The Auto Designate dialog box opens.
 Auto Designate. The Auto Designate dialog box opens.
2. If there are multiple entries, manually select the assembly to be designated as connector.
3. If there are multiple entries, manually select the parts to be designated as subconnectors.