To Display and Modify Shapes in Resolution Mode
To display and modify shapes in Resolution mode
1. To set the resolution level of shapes or portions of shapes, do one of the following:
◦ Right-click one or more shapes in the Freestyle Tree and select  ,
,  , or
, or  .
.
, , or .◦ Select the shapes from the graphics window, right-click, and then click , , or from the shortcut menu.
, , or from the shortcut menu.◦ Select mesh elements from the graphics window, right-click, and then click , , or from the shortcut menu.
, , or from the shortcut menu.When you select a mesh element, such as a face, an edge, or a vertex, the resolution level is applied to all the faces that touch the selected mesh element. |
2. Manipulate the control mesh by using the commands in the Manipulation group on the Freestyle tab.
3. Click  Show Changed in the graphics toolbar to highlight the changed mesh elements, if not selected already.
Show Changed in the graphics toolbar to highlight the changed mesh elements, if not selected already.| Show Changed is selected by default. |
Resolution mode changes in the Freestyle Tree
Consider an example where a shape is manipulated in Resolution mode.
Steps | Action | Changes in the Freestyle Tree |
|---|---|---|
1 | Add a freestyle shape. | 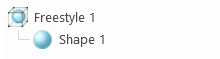 |
2 | Set the resolution level 2 for the shape. | 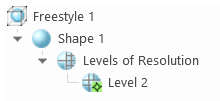 The Levels of Resolution node is added, and the active resolution level is indicated by a glyph added to the  icon. icon. |
3 | Manipulate the control mesh at the resolution level 2. |  The number 2 in the icon indicates the resolution level at which the mesh changes are made to the shape. |
4 | Set the resolution level 3 for the shape. | 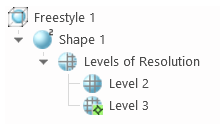 The active resolution level is indicated by a glyph added to the  icon. icon. |
5 | Manipulate the control mesh at the resolution level 3. |  The number 3 in the icon indicates the highest resolution level at which the mesh changes are made to the shape. |
6 | Set resolution level 1 for the shape. | 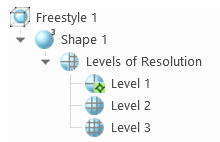 The active resolution level is indicated by a glyph added to the  icon. icon. |
7 | Manipulate the control mesh at the resolution level 1. | The number 3 in the icon indicates the highest resolution level at which the mesh changes are made to the shape. |
8 | Activate the resolution level 2. To activate, right-click Level 2 and select Activate. | 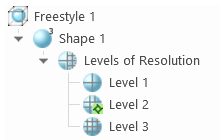 The active resolution level is indicated by a glyph added to the icon. |
9 | Manipulate the control mesh at Level 2. | The number 3 in the icon indicates the highest resolution level at which the mesh changes are made to the shape. |
10 | Exit the Resolution mode. | 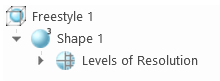 The Levels of Resolution node is collapsed. No resolution level is active. |