Define Transition between Plies
You can apply transition effect to shorten or extend ply boundaries. Ply boundaries shorten or extend from the transition chain you specify. For a single ply, the transition chain can be an edge, a chain, or a chain segment of the ply boundary. For multiple plies, the transition chain can be an edge, a chain, or a chain segment that is common to the ply boundaries and the parent geometries of the ply boundaries.
You can define transition between plies in one of the following ways:
• Profile transition—Creates a transition that has a constant offset between the edges of subsequent plies.
• Custom transition—Creates a transition that has a variable offset between the edges of subsequent plies.
Profile Transition
You can create a profile transition in one of the following ways:
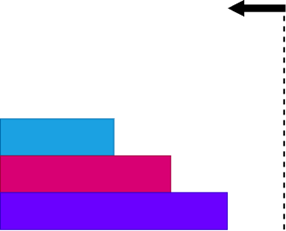
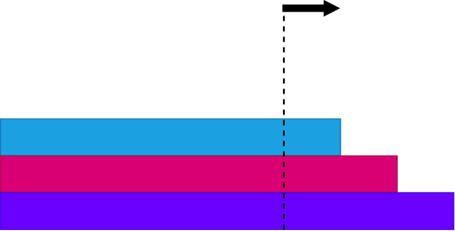
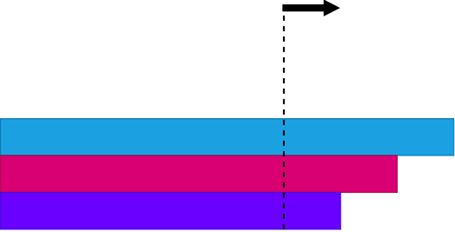
• Descending Transition: Inward Profile

• Descending Transition: Outward Profile

• Ascending Transition: Inward Profile

• Ascending Transition: Outward Profile

Create a profile transition as follows:
1. Click  Transition Plies. The Transition Plies tab opens.
 Transition Plies. The Transition Plies tab opens.
2. Select  Profile under Transition Type.
 Profile under Transition Type.
3. Click in the Plies box and select plies to apply a transition effect. You can select the plies in any order. The edges, chains, or chain segments that are valid references for the transition chain are highlighted in the graphics window.
4. Click in the Transition chain box and select a highlighted edge, chain, or chain segment.
5. Specify the following Profile settings:
a. Select  Descending or
  Ascending.
 Descending or
  Ascending.
b. Specify the constant offset between the edges of subsequent plies.
c. To change the direction of the profile, click  .
.
 .
.6. Click  OK.
OK.
 OK.
OK.Custom Transition
Create a custom transition as follows:
1. Click  Transition Plies. The Transition Plies tab opens.
 Transition Plies. The Transition Plies tab opens.
2. Select  Custom under Transition Type.
 Custom under Transition Type.
3. Click in the Plies and offsets box and select plies to apply a transition effect. You can select the plies in any order. The edges, chains, or chain segments that are valid references for the transition chain are highlighted in the graphics window.
4. Click in the Transition chain box and select a highlighted edge, chain, or chain segment.
5. Click in the Plies and offsets box, and specify the transition offset for a ply as follows:
a. Click the box that displays the current offset of the ply. The box becomes editable.
b. Type or select an offset value by which you want to shorten or extend the boundary of that ply, and press Enter.
6. Click  OK.
OK.
 OK.
OK.