1. Click Part Library and then, in the Torch Cut group, click DXF. The DXF Output dialog box opens.
2. Select one or more parts, or an assembly. If you select an assembly, a flat is created for every sheet metal part in the assembly. After you finish your selection, the Bend Parts dialog box, that lists details for all valid parts, opens.
3. In the Name box, specify the name of the DXF file. This name applies if only one part is selected. If multiple parts are selected, the model names are used by default for the DXF files.
4. In the Directory box, specify the path of the DXF file or files.
 DXF. The DXF Output dialog box opens.
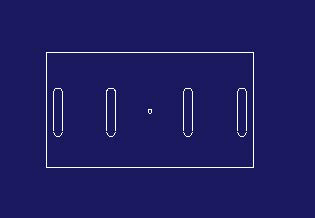
 to complete the operation. The flats are calculated and the DXF files are generated in the specified directory as shown below.