Install and Configure Microsoft SQL Server 2017 for Creo Elements/Direct Manager Server
This document assists you with installing, administering, and configuring the Microsoft SQL Server 2017 for Creo Elements/Direct Manager Server. The Creo Elements/Direct Manager Server supports the Microsoft SQL Server 2017 Express, Business Intelligence, Standard, and Enterprise Editions. See the Microsoft documentation for a comparison of features.
SQL Server 2017 Express installation
1. Download and install Microsoft .NET Framework 3.5 SP1 or higher from the Microsoft web site. Microsoft SQL Server 2017 Express Edition requires .NET Framework 3.5 SP1 or higher.
2. Download Microsoft SQL Server 2017 Express Edition from the Microsoft web site.
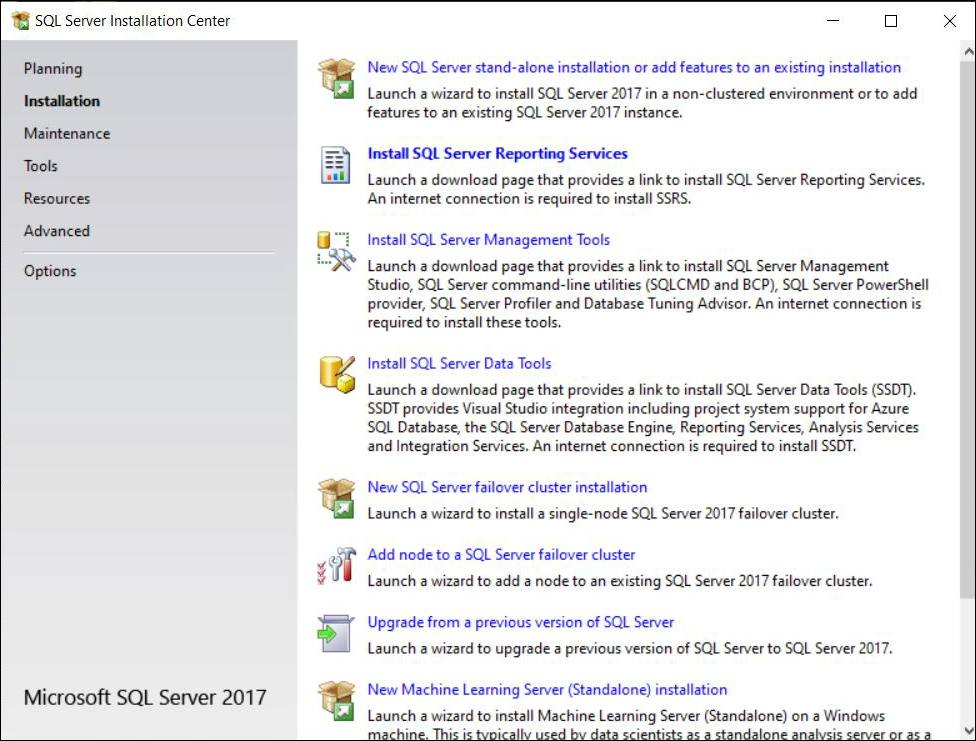
3. Double-click the setup.exe to start the SQL Server 2017 Express installer. The SQL Server Installation Center opens.
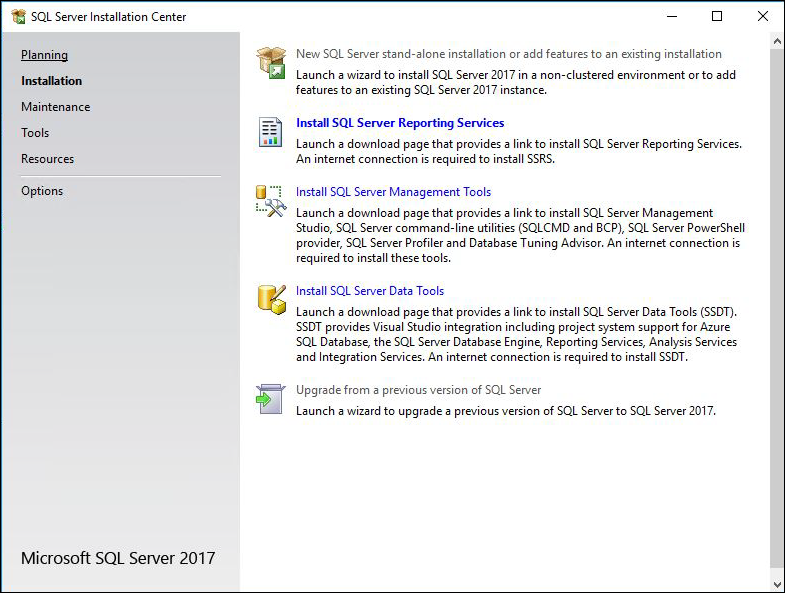
4. In the left pane, click Installation.
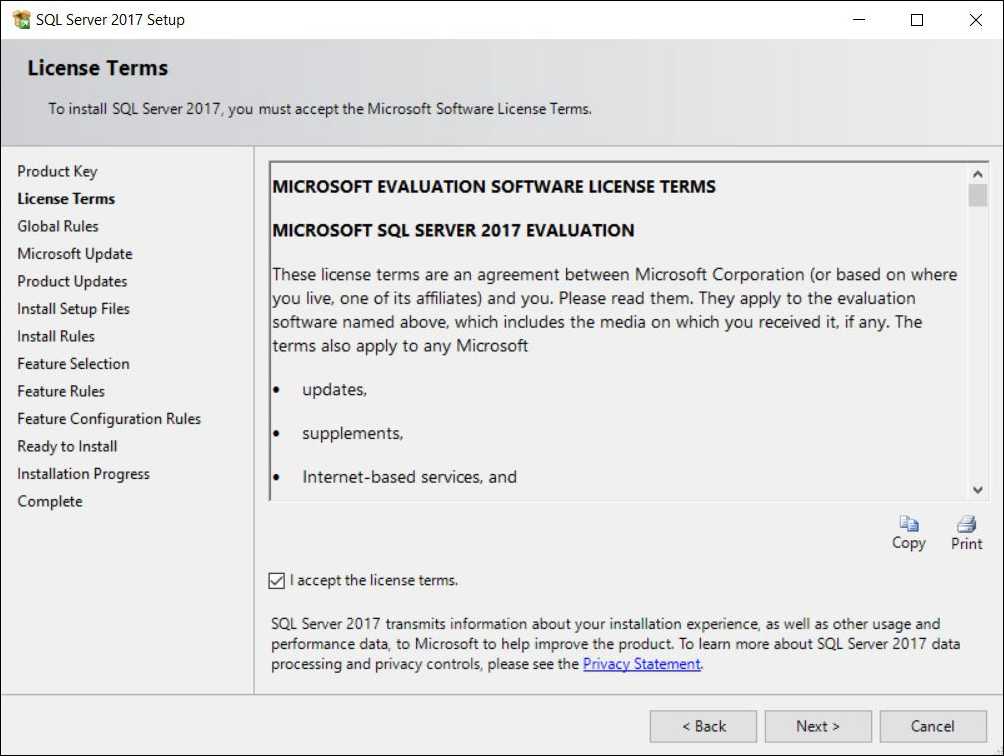
5. In the right-pane, click New SQL Server stand-alone installation or add feature to an existing installation. The License Terms page opens.
6. Read the license terms and click I accept the license terms.
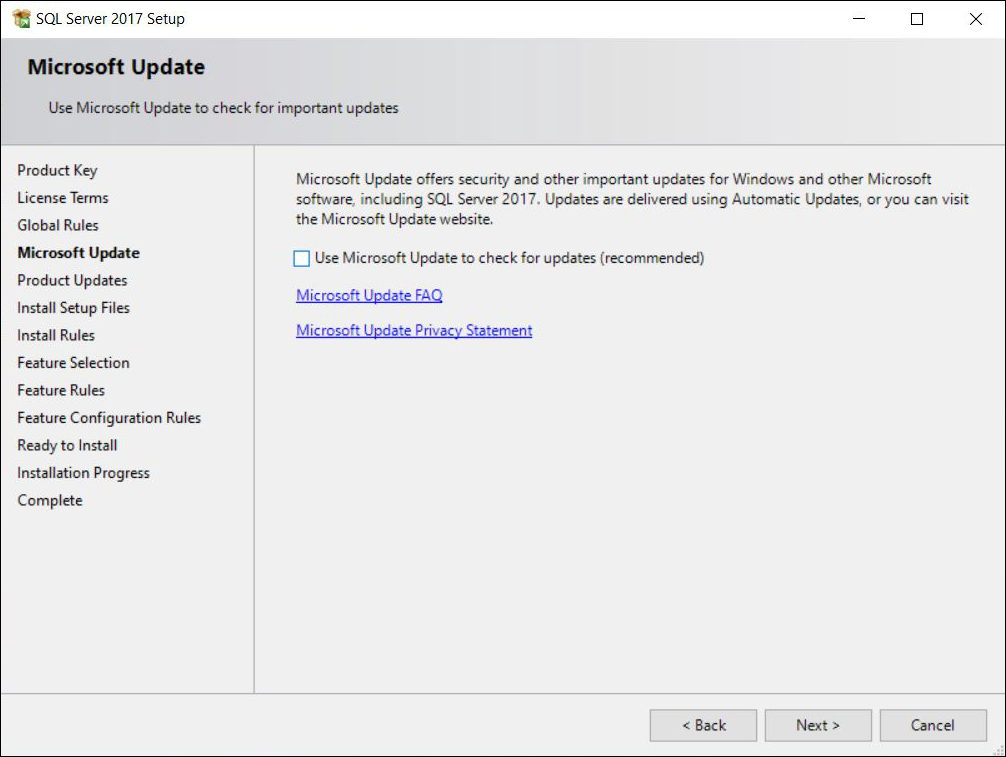
7. Click Next. The Microsoft Update page opens.

8. Select the Use Microsoft Update to check for updates check box to use Microsoft Update to check for updates.
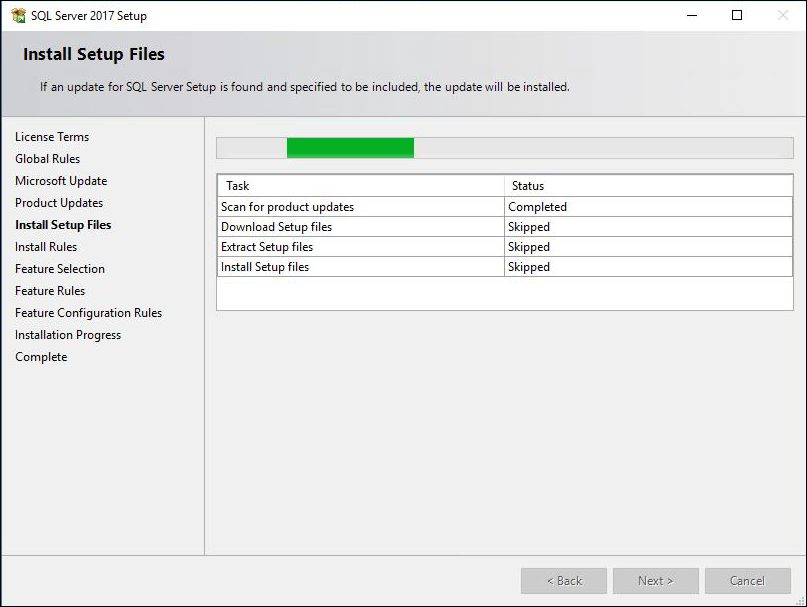
9. Click Next. The Install Setup Files page opens. The SQL Server setup files are being installed on your computer.
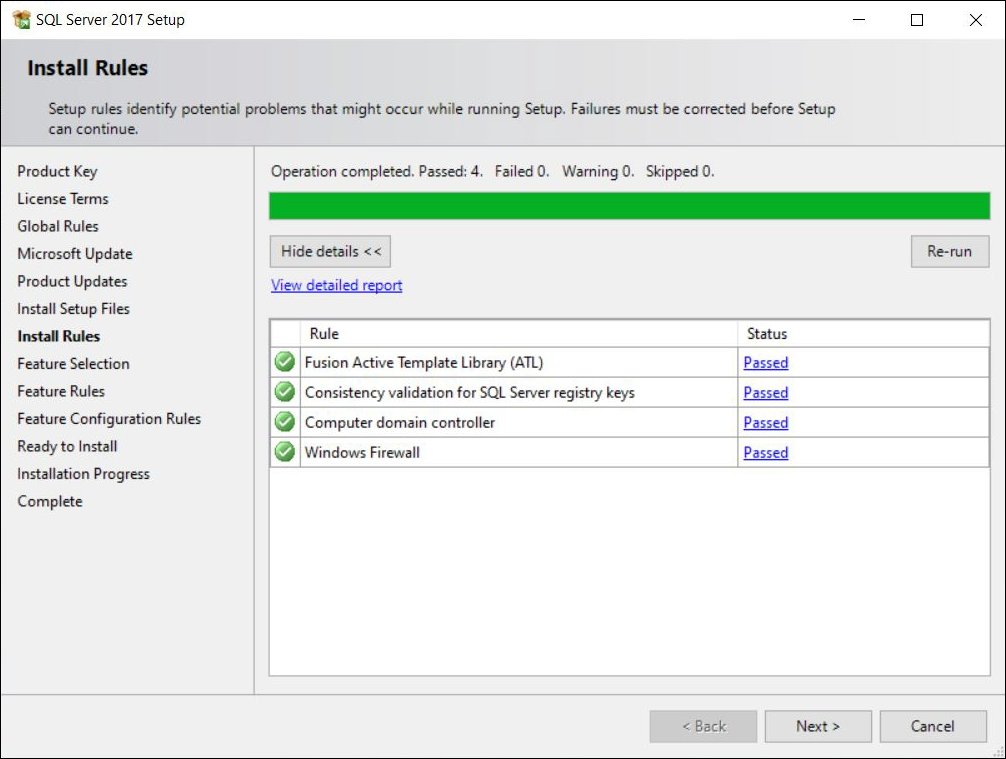
10. Click Next. The Install Rules page opens. Install Rules checks your computer and identifies the problems that could occur during the installation. If an installation failure occurs, you must exit the installation and resolve the error before continuing with the installation. After you resolve the error, manually restart the SQL Server 2017 installation.
11. If there is no installation failure, click Next. The Feature Selection page opens.
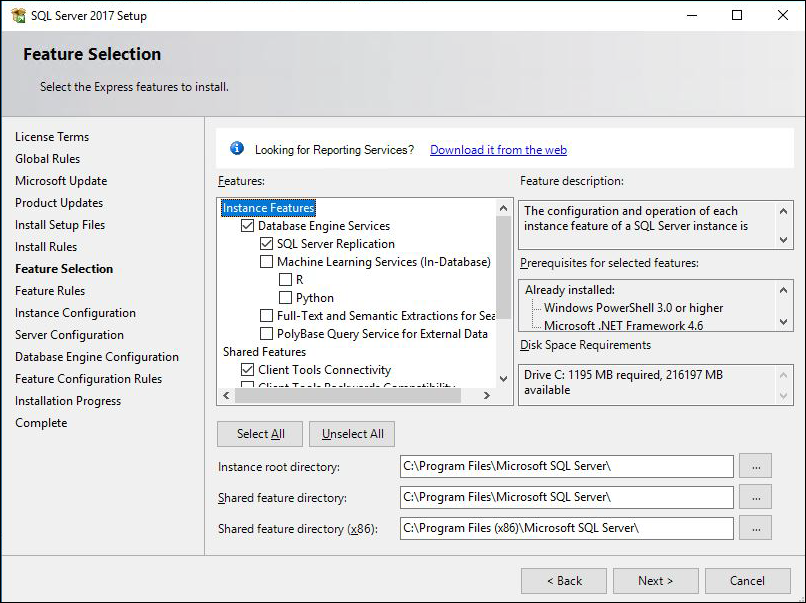
12. Select the required features for installation and click Next. The Feature Rules page opens.
13. Click Next. The Instance Configuration page opens.
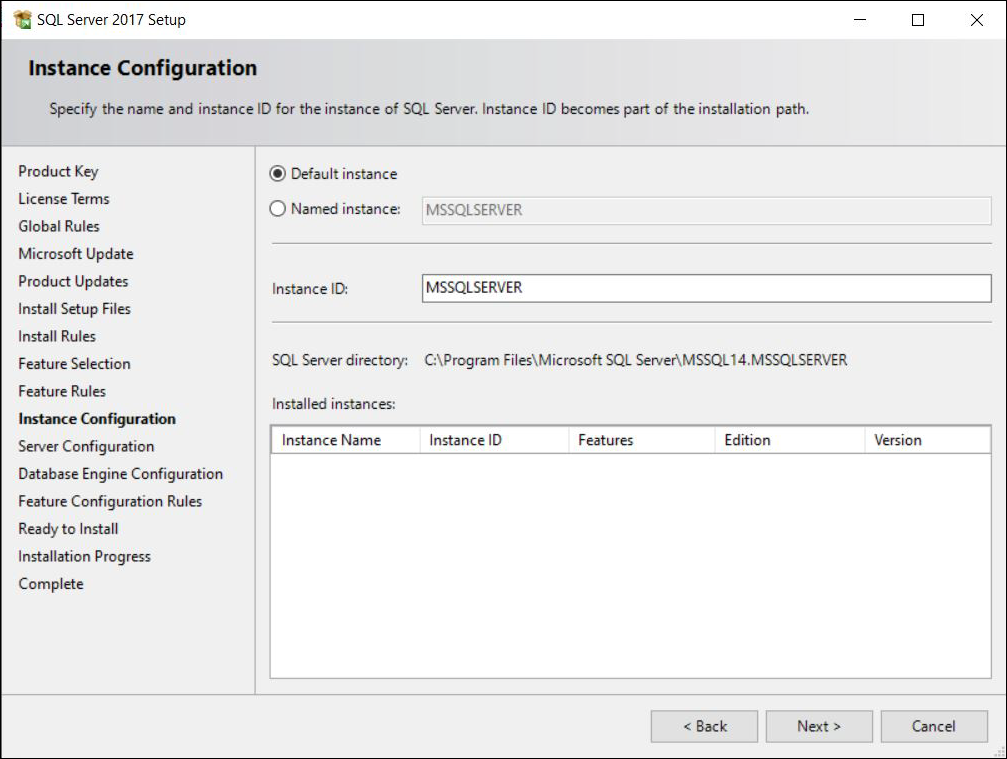
14. Accept the default settings in the Instance Configuration page and click Next. The Server Configuration page opens.

15. Select the Account Name from the available list for the SQL Server Browser and for the SQL Server Database Engine. You can also specify a new Account Name and Password.
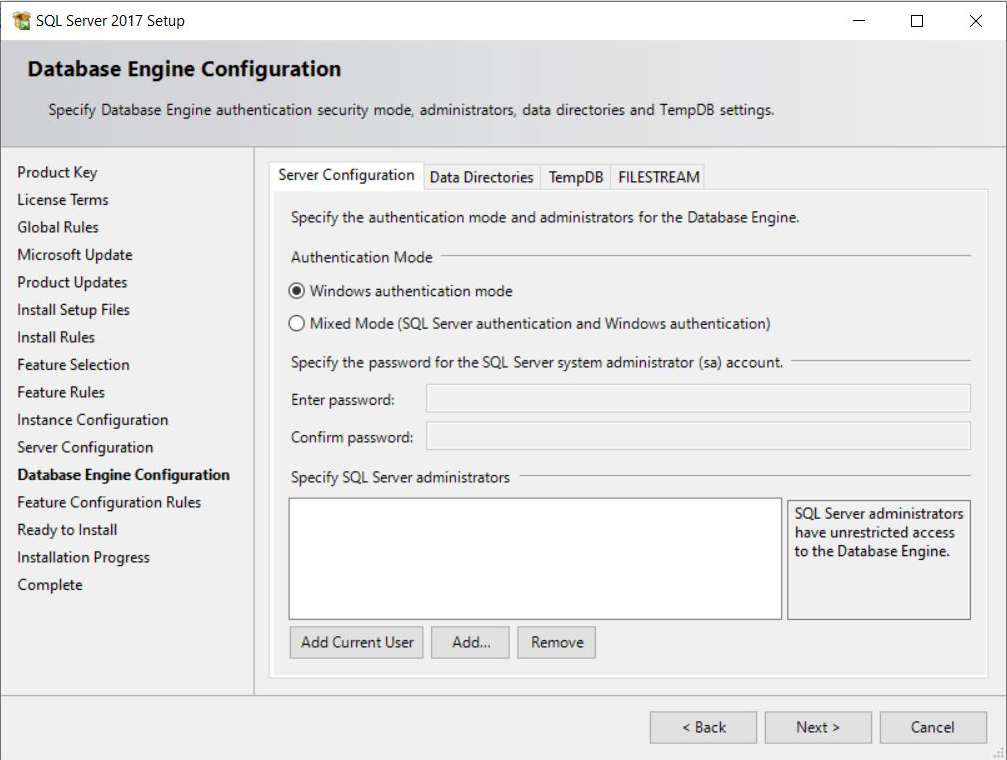
16. Click Next. The Database Engine Configuration page opens.

17. The Database Engine Configuration page has the following tabs:
◦ Server Configuration: Allows you to specify the authentication mode and the administrator for the database engine.
a. Click Windows authentication mode or Mixed Mode as the authentication mode.
b. If you select Mixed Mode as the authentication mode, you must specify a password. The default SQL Server administrator for mixed mode is sa.
c. If you select Windows authentication mode, you must specify the SQL Server administrators. You can specify SQL Server administrators either by adding new users or by adding the current user.
◦ Data Directories: Specifies the location of the various database directories.
◦ User Instances: Allows you to specify administrative permission to users.
◦ FILESTREAM: Allows you to enable or restrict access to the FILESTREAM information.
18. Click Next. The Feature Configuration Rules page opens.
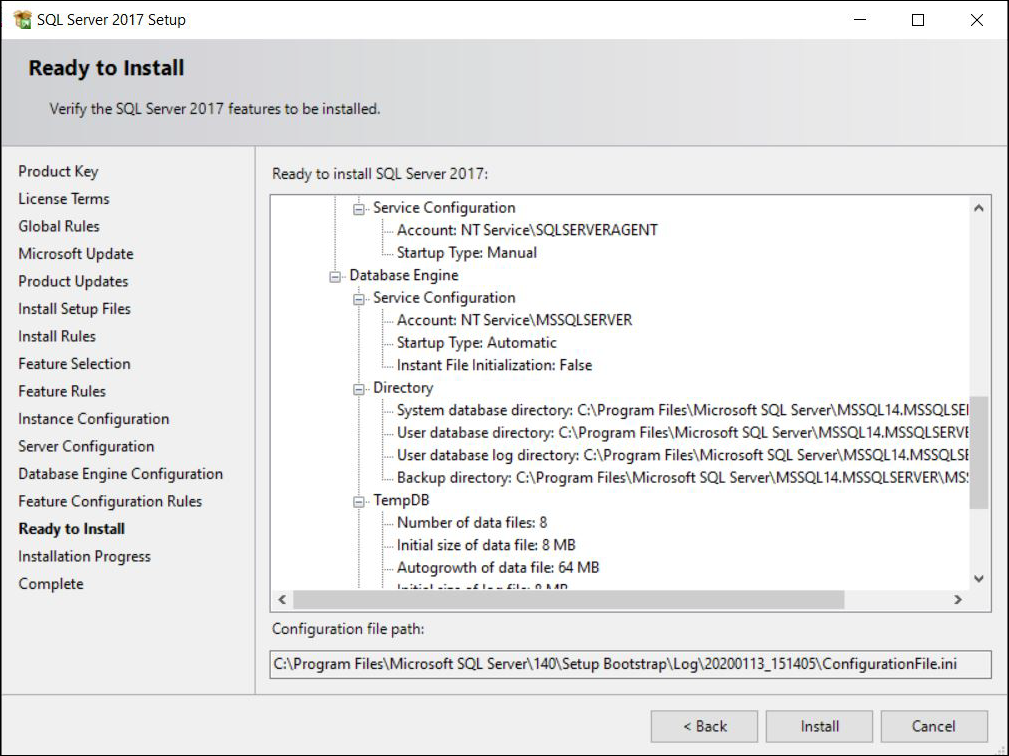
19. Click Next. The Ready to Install page opens.
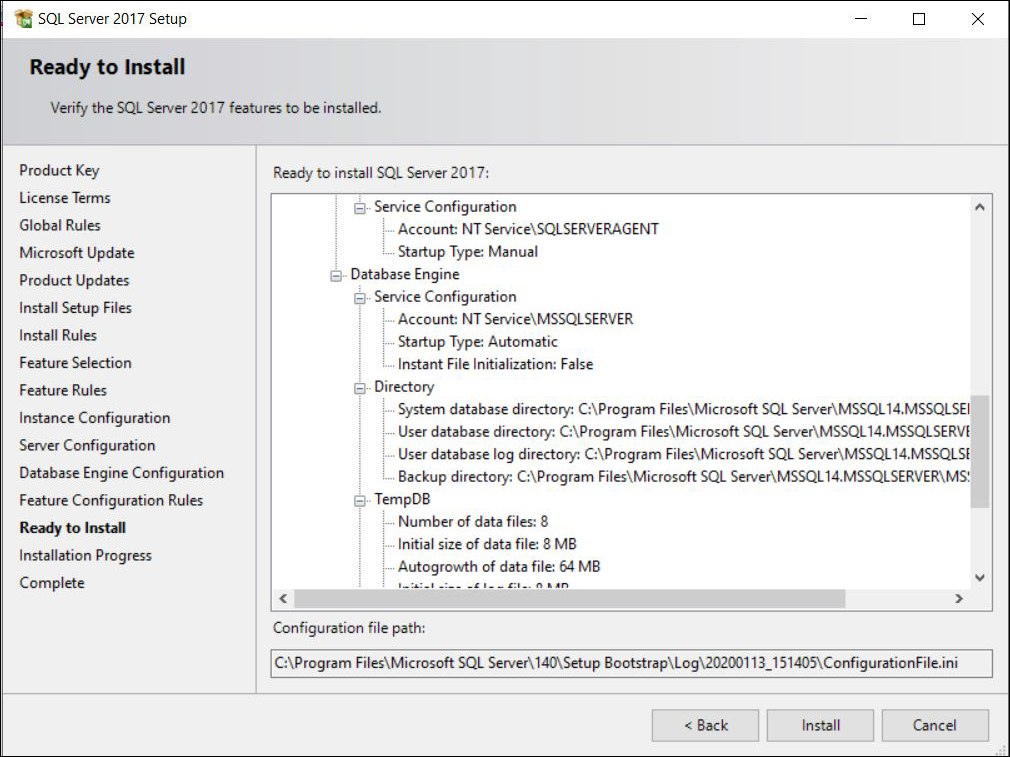
20. Click Install. The Installation Progress page opens. After a successful installation the Complete page opens.
21. Click Close to exit.
If you install your Creo Elements/Direct Database Server on a computer other than the computer on which you just installed SQL Server 2017, you must configure the network protocols. |
Configure network protocols
This is only needed if you install your Creo Elements/Direct Database Server on a computer other than your SQL Server 2017 computer.
1. On your SQL Server computer click > > > > . The SQL Server Configuration Manager page opens.
2. Expand SQL Server 2017 Network Configuration and click Protocols for SQLExpress.
3. Right-click Named Pipes and, on the context menu, click Enable. A warning appears.
4. Click OK.
5. Right-click TCP/IP and, on the context menu, click Enable. A warning appears.
6. Click OK.
7. Click Protocols for SQLExpress and ensure that both, Named Pipes and TCP/IP, show their status as enabled.
8. To restart SQL Server services, right-click SQL Server 2017 Services and, on the context menu, click Restart.
SQL Server 2017 Business Intelligence, Standard, or Enterprise installation
1. Download and install Microsoft .NET Framework 3.5 SP1 or higher from the Microsoft web site. Microsoft SQL Server 2017 Enterprise Edition requires .NET Framework 3.5 SP1 or higher.
2. Download Microsoft SQL Server 2017 Enterprise Edition from the Microsoft web site.
3. Double-click the setup.exe to start the SQL Server 2017 installer. The SQL Server Installation Center opens.
4. In the left pane, click Installation.
5. In the right pane, click New SQL Server stand-alone installation or add feature to an existing installation. The Product Key page opens.

6. In the Enter the product key box, type the 25-character Microsoft-certified authentication key for SQL Server 2017.
7. Click Next. The License Terms page opens.
8. Read the license terms and click I accept the license terms.
9. Click Next. The Global Rules page opens. Global Rules checks your computer and identifies the problems that could occur during the installation. If an installation failure occurs, you must exit the installation and resolve the error before continuing with the installation. After you resolve the error, manually restart the SQL Server 2017 installation.
10. Click Next. The Microsoft Update page opens.
11. Select the Use Microsoft Update to check for updates check box to use Microsoft Update to check for updates.
12. Click Next. The Install Setup Files page opens. The SQL Server setup files are being installed on your computer. This takes few minutes.
13. Click Next. The Install Rules page opens.
14. Click Next. The Feature Selection page opens.
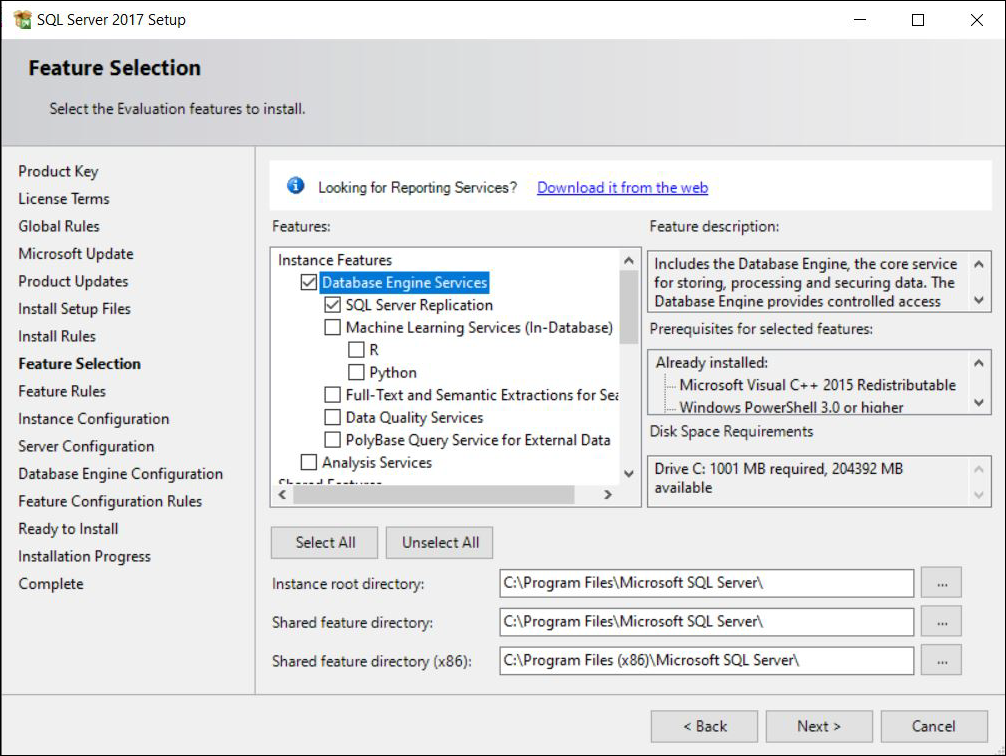
15. Select the required features and click Next. The Feature Rules page opens.
16. Click Next. The Instance Configuration page opens.
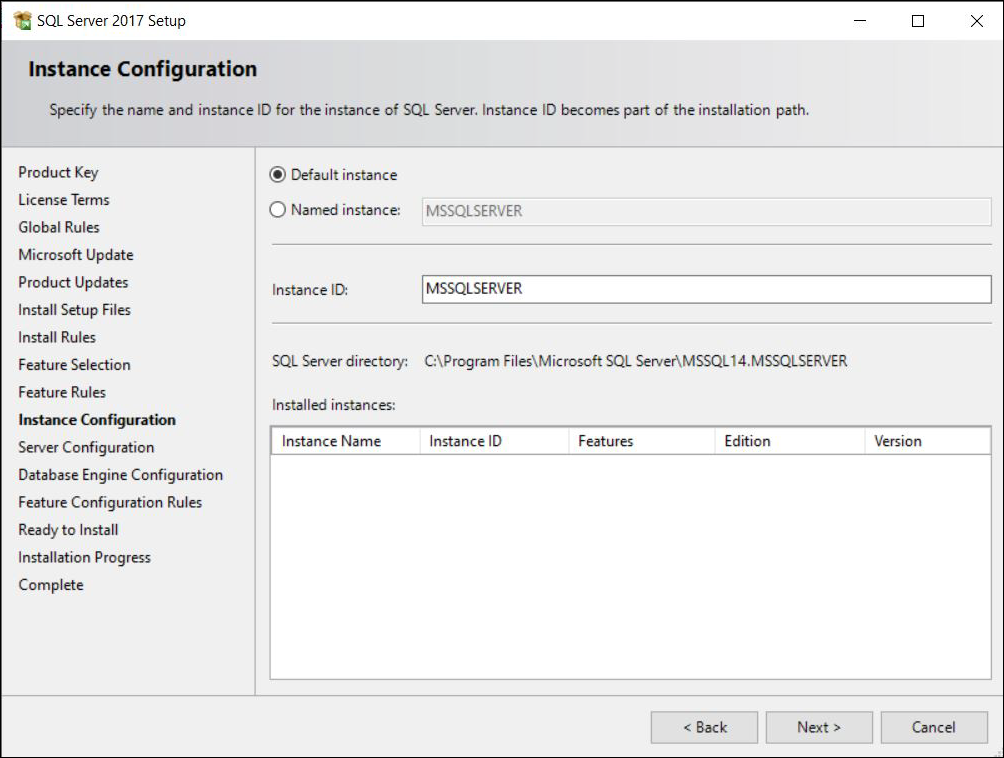
17. Click Named instance and specify a value. For example, MSSQLSERVER.
18. Click Next. The Server Configuration page opens.
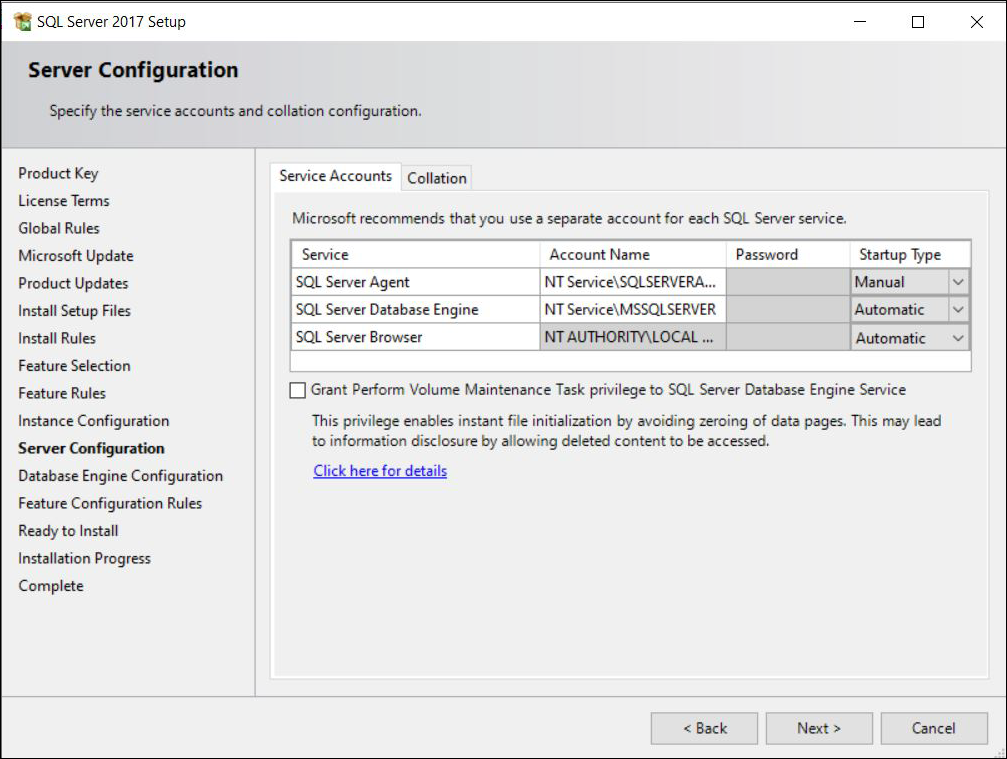
19. On the Service Accounts tab, select the Account Name from the available list for each SQL Server service. You can also specify a new Account Name and Password.
20. Click Next. The Database Engine Configuration page opens.
21. The Database Engine Configuration page has the following tabs:
◦ Server Configuration: Allows you to specify the authentication mode and the administrator for the database engine.
a. Click Windows authentication mode or Mixed Mode as the authentication mode.
b. If you select Mixed Mode as the authentication mode, you must specify a password. The default SQL Server administrator for the mixed mode is sa.
c. You can specify SQL Server administrators either by adding new users or by adding the current user.
◦ Data Directories: Specifies the location of the various database directories.
◦ FILESTREAM: Allows you to enable or restrict access to the FILESTREAM information.
22. Click Next. The Feature Configuration Rules page opens.
23. Click Next. The Ready to Install page opens.
24. Click Install. The Installation Progress page opens. The SQL Server 2017 installation may take several minutes.
25. The Complete page opens after a successful installation. Click Close to exit.
Microsoft SQL Server Native Client
The Microsoft SQL Server Native Client is installed as a part of the SQL Server 2017 installation. If your SQL Server 2017 database is on a computer other than the Creo Elements/Direct Database Server, you must install just the Microsoft SQL Server Native Client on the Creo Elements/Direct Database Server computer.
1. Click https://www.microsoft.com/en-us/download/details.aspx?id=36434 and browse to the Microsoft SQL Server Native Client.
2. Download and install the appropriate package for your Database Server computer. SQL Server 2017 installs native client 11.0.
3. The Welcome page opens after you start the installation. Click Next. The License Agreement page opens.
4. Read the license terms and click I accept the terms.
5. Click Next. The Registration Information page opens.
6. Specify the registration information.
7. Click Next. The Feature Selection page opens.
8. Select Client Components.
9. Click Next. The Ready to Install the Program page opens.
10. Click Install. The installation takes few minutes.
11. Click Finish to exit.