Using the Data Inconsistency Corrector Module
|
|
The Data Inconsistency Corrector Module can only be used by System Administrators. Otherwise, the module page does not open.
|
|
|
The Data Inconsistency Corrector Module is recommended only for advanced users. The module applies changes directly to the database, and these changes cannot be reverted. Caution is recommended while using the module.
|
|
|
The Data Inconsistency Corrector Module is specific to each version of Codebeamer, including minor versions. Use the version of the Data Inconsistency Corrector Module that matches the installed version of Codebeamer.
If the installed version of the Data Inconsistency Corrector Module is not compatible with the installed version of Codebeamer, errors can occur. These errors may include the module failing to start or Codebeamer failing to start. To solve issues resulting from version incompatibility, uninstall the module.
For more information on installing and uninstalling the module, see Installing and Uninstalling the Data Inconsistency Corrector
Module.
For more information on possible compatibility issues, see DICM Compatibility with Codebeamer.
|
Data Inconsistency Corrector Module User Interface

1. Basic information—Shows the names and short descriptions of available corrections.
2. Additional information—Shows additional information, for example, when the correction was used, the user that used it, and so on.
3. Operations—Shows the available actions for the corrections. By default, this is Detect.
4. Version information—Shows the currently installed module version and the supported Codebeamer version.
Using the Data Inconsistency Corrector Module
To use the Data Inconsistency Corrector Module:
1. Log in to Codebeamer.
2. Navigate to the module page at the following URL:
<codebeamer base URL>/sysadmin/corrections.spr
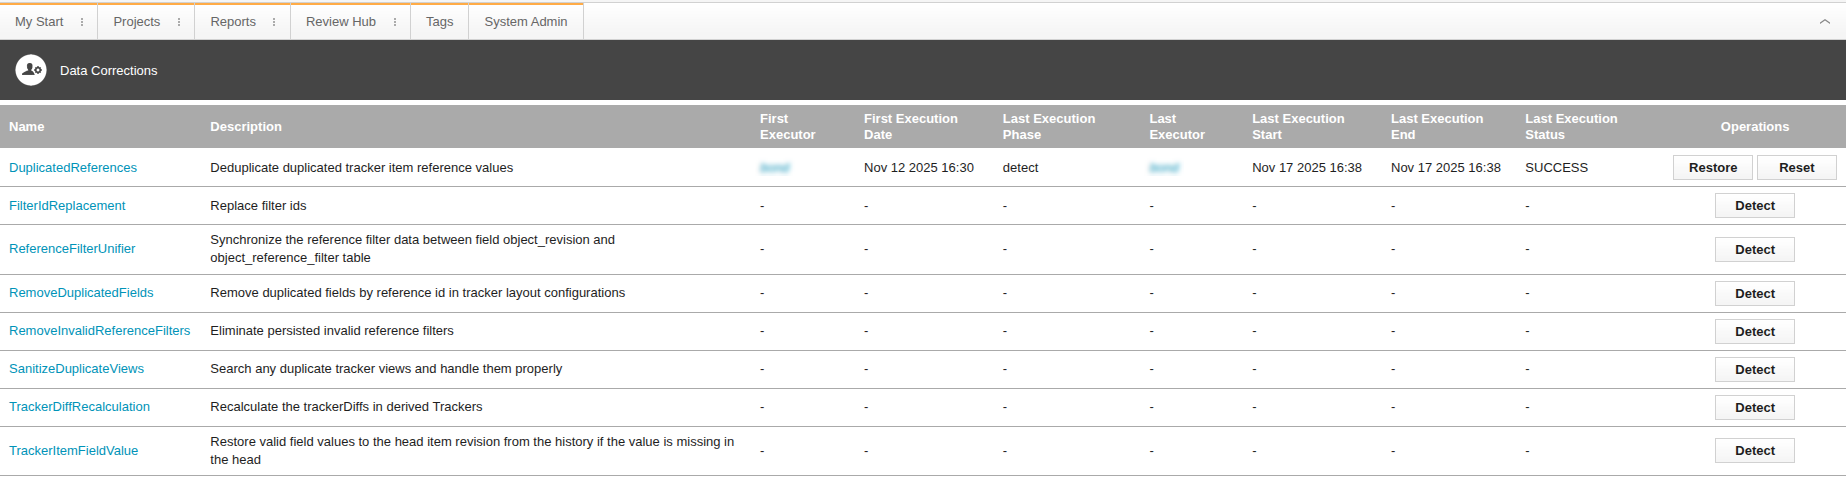
The Data Inconsistency Corrector Module page is displayed, with the available corrections.
|
|
The list of available corrections depends on the version of the Data Inconsistency Corrector Module being used. For example, the TrackerItemFieldValue and DuplicatedReferences corrections are available for the module version corresponding to Codebeamer version 2.2. These corrections do not appear for the module versions compatible with later Codebeamer versions, because later Codebeamer versions resolve these issues.
For more information on the corrections available for various Codebeamer versions, see Available Corrections and Correction Compatibility.
|
3. Click Detect next to a correction. The Confirm Phase Execution window appears.

4. Click Generate Signature. As a security feature, a login window appears.
5. Log in to Codebeamer. A signature is generated and the login window disappears.
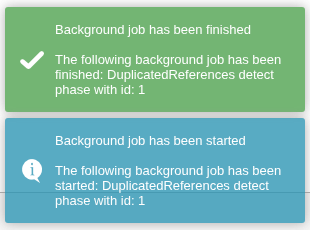
6. Click Confirm on the Confirm Phase Execution window. The correction job starts in the background. The detection phase begins.
|
|
If Codebeamer is stopped while the detection phase is running (for example, the server goes offline due to a power outage), the detection phase restarts automatically after Codebeamer is restarted. Following a Codebeamer restart during the detection phase, the module page must be refreshed to accurately show if the detection phase has finished.
|
7. Wait for the detection phase to finish. When the detection phase is finished, a notification appears and a report table is created in the database schema of Codebeamer.
The contents of the report table depend on the correction being used. The report table always shows which issues have been flagged and processed by the module.
For more information on flagging and processing issues, see Flagging and Processing Inconsistencies.
For more information on the specific structure and contents of the report table of each correction, see the page for each correction.
8. Refresh the module page. The Detect button is replaced by other buttons.
Typically, the Restore and Reset buttons appear.
In case of certain corrections, other buttons may appear. For example, in case of the ReferenceFilterUnifier correction, the Dry run and Reset buttons appear.
9. Click Restore. The restore phase begins, correcting all flagged issues.
The flagged status of issues can be edited directly in the report table. For more information, see Flagging and Processing Inconsistencies.
Restore can be used multiple times in a row to correct flagged issues.
10. Optionally, click Reset. This resets the correction by deleting the report table and makes the Detect button available again.
We recommend clicking Reset at the end of the correction process.
Data Correction Details Page
The Data Correction Details Page of a correction shows historical usage information and the available actions for that correction, for example Detect, Restore, and Reset.
To view the Data Correction Details Page of a correction, click the name of the correction on the module page. The Data Correction Details Page for that correction is shown.

To return to the main module page where all available corrections are listed from the Data Correction Details Page, click Select another Data Correction.