Task 4. Create a Fill Pattern
-
Click Undo
 to remove the axial pattern.
 -
Right click HOLE 1 from the model tree and select Edit.
-
Double-Click on the horizontal and vertical offset values and change them from 1.00 to 0 and then choose the Regenerate
 icon. This will place the hole at the center of the part.
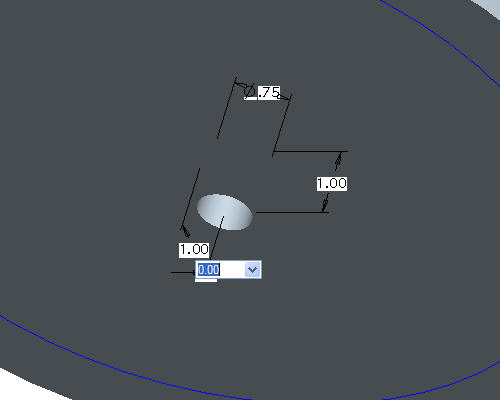
-
Right click HOLE 1 from the model tree and select Pattern.
-
In the dashboard, use the pull down to select Fill as the pattern option.

-
Pick the curve SKETCH_FOR_HOLE in the Model Tree. Notice the preview of black dots showing the locations where holes will be created.
-
Select the Saved View List
 icon in the main toolbar and select FRONT to change to the front view of the model. The pattern should look like the following figure.
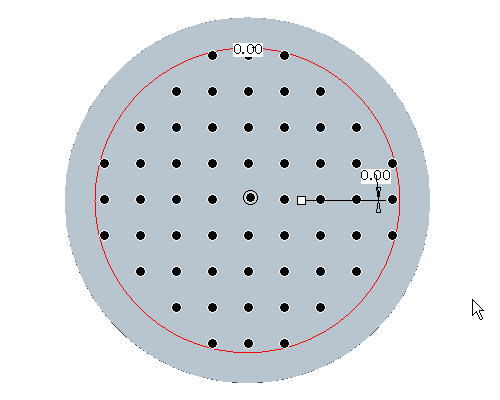
- Change the orientation angle, spacing and offset boundary by holding down the left mouse button and dragging the white square drag handles. In the figure below the drag handles are shown within the blue circles.
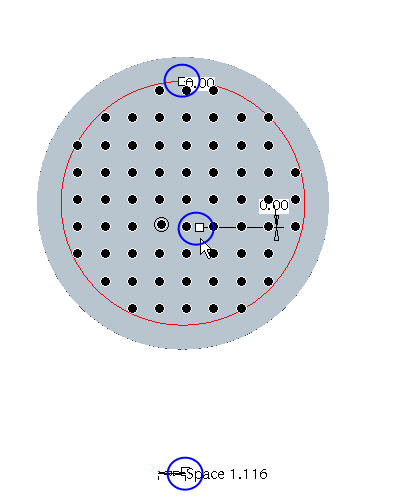
- Double-click on the dimensions and enter the values shown below.


Individual hole members may be turned off by left clicking the black dot. The black dot turns white to indicate it will be excluded from the fill. To restore the pattern member, left click the white dot.
-
Click Complete Feature
 to see the fill pattern.
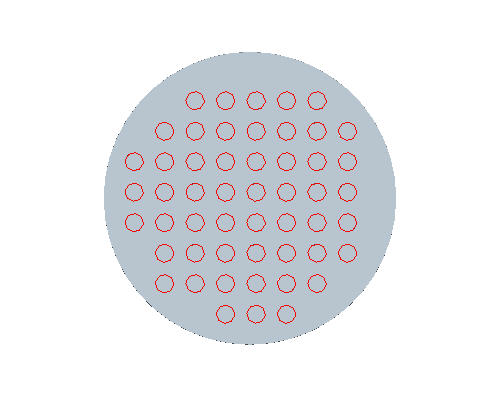
-
Select the No Hidden
 icon from the main toolbar to better see the pattern if necessary.