|
|
You must be connected to the Windchill server to access context folders through Windows Explorer.
|
|
|
You must be connected to the Windchill server to access context folders through Windows Explorer.
|

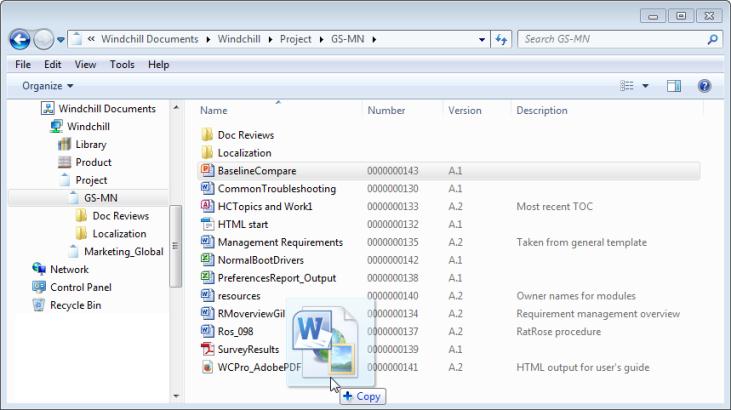
The Add to Project action does not launch if you drag and drop a document from a product or library into a project. Instead, you create a new project-specific copy of the document. |
You can also drag and drop attachments from Microsoft Outlook to create new Windchill documents. |
New Document New Multiple Documents | Drop the documents on empty space within the Windows Explorer window. For more information, see Create Documents Using DTI.
| ||
Check In | Drop the document on empty space within the Windows Explorer window. • It does not matter where you drop the file. The document is checked in to the appropriate source folder location. • The Check In window opens even if you do not have the document checked out. Dropping the file automatically performs a check out operation on your behalf. For more information, see Check In Documents Using DTI. | ||
Replace Content | Drop the file on top of another document. Aside from access permission, the only requirement is that the document you drop the file on must be checked in. It does not need to be the same file type or file name. For more information, see Replacing Primary Content.
|
To create a link to the document location under the Windchill Documents node, press the Shift + Ctrl keys when dragging the document. |
Action | Keyboard Commands |
Copy from a local folder to a Windchill folder | None or Press Ctrl |
Copy from a Windchill folder to a local folder | None or Press Ctrl |
Copy between Windchill folders | Press Ctrl or Press Shift + Ctrl |
Copy between Windchill contexts | None or Press Ctrl or Press Shift + Ctrl |
Create a local link to the document under the Windchill Documents node | Press Shift + Ctrl |
Move between Windchill folders | None or Press Shift |
Move between Windchill contexts | Press Shift |