Windows Explorer Integration
The Windchill Desktop Integration add-in creates a Windchill Documents system folder in your local environment.
Double-click a document to open the most recent iteration checked in to Windchill. A local version is saved in your default file path. For more information, see Default File Path and Your Local Cache.
To access the Windchill Documents node, use any of the following methods:
• Manually navigate to a server through Computer\Windchill Documents:
• From Windows Explorer, select > > . By default, a Windchill Documents shortcut appears under Favorites:
• Configure Windows Explorer to display all folders, adding the Windchill Documents node to navigation pane. This is the easiest way to navigate the Windchill folder structure.
1. From Windows Explorer, select > .
2. In the Folder Options window under Navigation pane, select Show all folders.
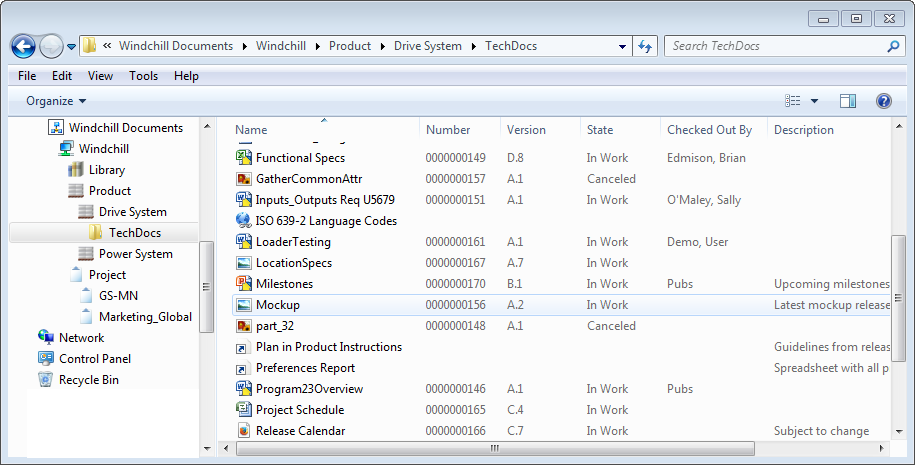
Expand the Windchill Documents node to view a list of all Windchill servers you have added. From here, you can expand context types (such as Product or Project), and expand specific contexts and folders within that context to access your Windchill documents:
| You must be connected to the Windchill server to access context folders through Windows Explorer. • If an active server icon  appears, you are already connected. • If an inactive server icon  appears, right-click the server and select Connect. A window opens requesting your login credentials. • If you do not see either icon, then you have not established a Windchill server. You only need to perform this action once. For more information, see Desktop Integration Configuration. |