색상 구성 만들기
지난 섹션에서는 model 응용 프로그램 매개 변수를 사용하여 사용자의 경험 내에서 모델 구성을 변경하는 방법을 살펴봤습니다. 이제 이와 유사한 방식으로 작동하는 color라는 이름의 응용 프로그램 매개 변수를 작성해 보겠습니다. 하지만 이를 활성화하기 위해 몇몇 스크립팅을 작성해야 합니다.
이 섹션에서는 Vuforia Studio에서 액세스하게 될 RGBA 색상을 포함하는 객체가 작성됩니다. 이 객체에서 색상을 가져온 후에는 setColor 함수로 전달됩니다. 그런 다음, setColor 함수는 color 응용 프로그램 매개 변수에 대해 지정된 색으로 모델의 모양을 변경합니다.
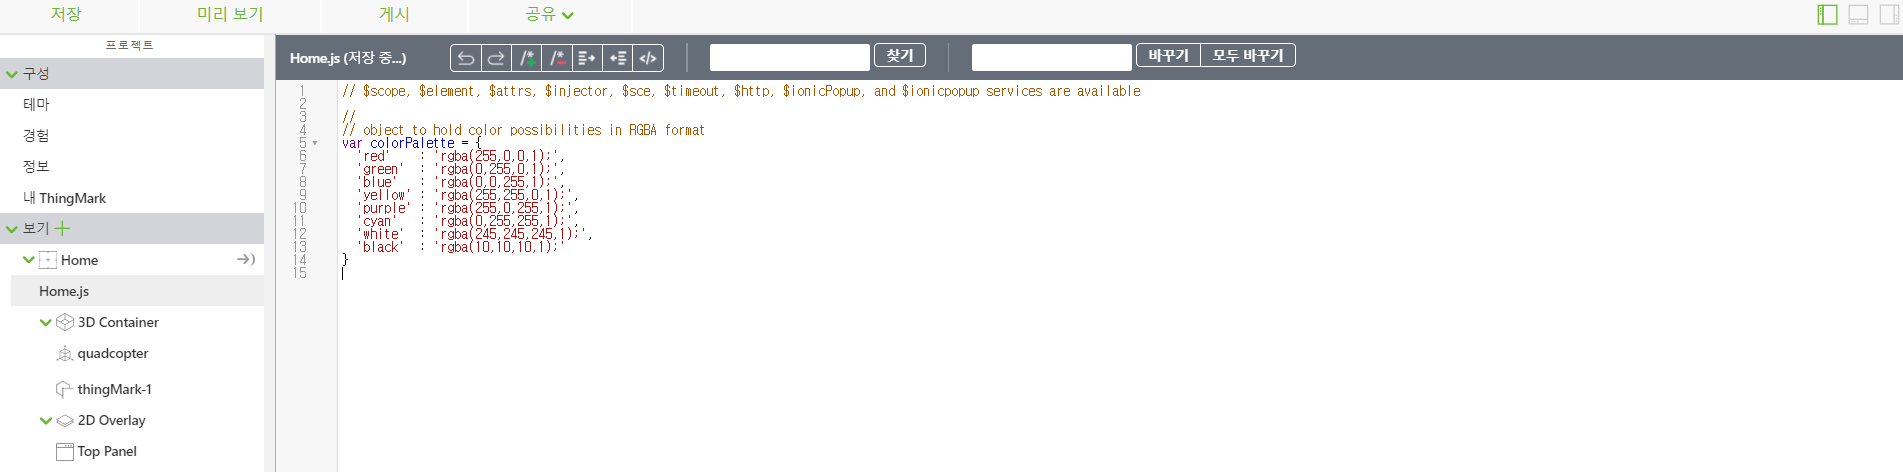
1. Home.js를 클릭하고 다음을 입력합니다.
//
// object to hold color possibilities
var colorPalette = {
'red' : 'rgba(255,0,0,1);',
'green' : 'rgba(0,255,0,1);',
'blue' : 'rgba(0,0,255,1);',
'yellow' : 'rgba(255,255,0,1);',
'purple' : 'rgba(255,0,255,1);',
'cyan' : 'rgba(0,255,255,1);',
'white' : 'rgba(245,245,245,1);',
'black' : 'rgba(10,10,10,1);'
}
이 colorPalette 객체는 모델에서 구성할 수 있는 모든 가능한 색상을 저장하는 데 사용됩니다. 이 경험에는 기본 색상 목록이 추가되었지만 Studio는 RGBA 색상 코드를 인식하므로 원하는 경험에 추가 색상을 추가할 수 있습니다.
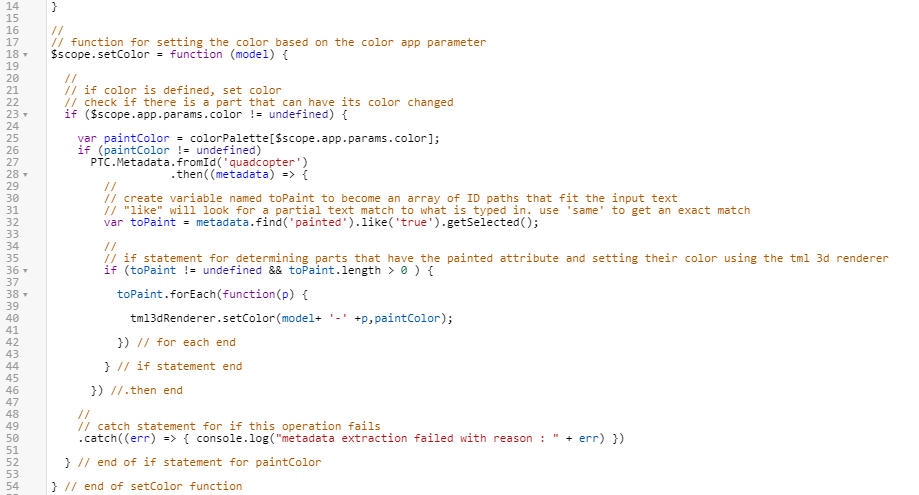
2. 이제, 쿼드콥터에 원하는 색상을 설정하는 데 사용될 setColor 함수를 작성합니다. color 응용 프로그램 매개 변수에 색상이 정의된 경우 if 문 내의 코드가 활성화됩니다.
a. 사용자가 color 응용 프로그램 매개 변수에 입력한 값에 따라 colorPalette 객체에서 RGBA 값이 선택되고 이름이 paintColor인 변수로 설정됩니다.
b. 입력한 색상의 값이 colorPalette에서 유효한 경우 PTC Metadata API 프라미스가 트리거됩니다. 프라미스가 충족되는지 여부를 확인하기 위해 painted 속성의 값이 true인 부품의 목록이 되는 toPaint라는 이름의 변수가 작성됩니다. 그런 다음, 해당 조건을 충족하는 부품이 있는 경우 TML 3D 렌더러는 이 특정 부품의 색상을 paintColor의 값을 반영하도록 변경합니다.
c. 프라미스가 거부되면 error 문이 콘솔에 로그됩니다.
d. 다음 코드를 Home.js에 입력합니다.
//
// function for setting the color based on the color app parameter
$scope.setColor = function (model) {
//
// if color is defined, set color
// check if there is a part that can have its color changed
if ($scope.app.params.color != undefined) {
var paintColor = colorPalette[$scope.app.params.color];
if (paintColor != undefined)
PTC.Metadata.fromId('quadcopter')
.then((metadata) => {
//
// create variable named toPaint to become an array of ID paths that fit the input text
// "like" will look for a partial text match to what is typed in. use 'same' to get an exact match
var toPaint = metadata.find('painted').like('true').getSelected();
//
// if statement for determining parts that have the painted attribute and setting their color using the tml 3d renderer
if (toPaint != undefined && toPaint.length > 0 ) {
toPaint.forEach(function(p) {
tml3dRenderer.setColor(model+ '-' +p,paintColor);
}) // for each end
} // if statement end
}) //.then end
//
// catch statement for if this operation fails
.catch((err) => { console.log("metadata extraction failed with reason : " + err) })
} // end of if statement for paintColor
} // end of setColor function
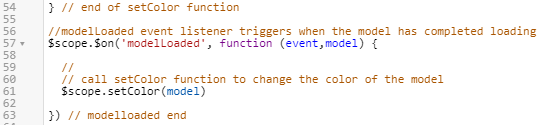
3. 이제 모델의 색상을 변경하는 함수를 생성했지만 아직 호출되지 않았습니다. Studio를 로드하는 즉시 이 함수를 실행하려면 modelLoaded 이벤트 수신기 함수를 생성해야 합니다. 이름에서 알 수 있듯이 모델이 Studio에서 로드될 때 이 함수의 본문이 실행됩니다. 이 경우, 모델이 로드되면 지정된 모델에 대해 setColor 함수가 트리거되어 구성에 따라 해당 색상을 설정합니다.
//modelLoaded event listener triggers when the model has completed loading
$scope.$on('modelLoaded', function (event,model) {
//
// call setColor function to change the color of the model
$scope.setColor(model)
}) // modelloaded end
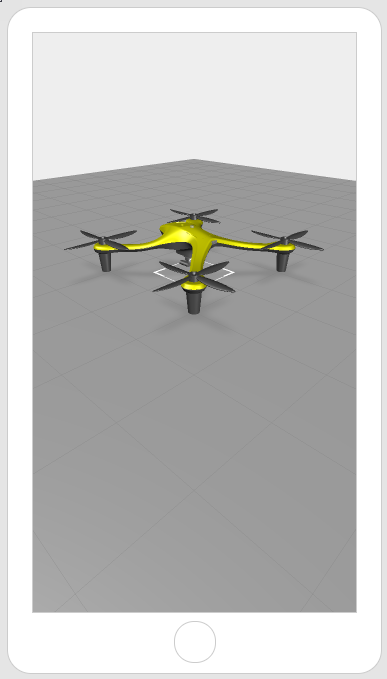
4. 이로써 이 섹션에서 필요한 모든 스크립팅이 완료되었습니다. 코드를 테스트하려면 colorPalette 객체 내에서 작성한 색상 중 하나를 color 응용 프로그램 매개 변수의 값으로 입력합니다. 미리 보기를 클릭하고 모델의 색상이 어떻게 변경되었는지 확인합니다. 이 예에서는 노란색을 사용했습니다. 모델의 색상이 변경된 것이 확인되면 이 섹션을 성공적으로 완료한 것입니다!
| 이 방법은 소규모에서는 작동하지만 여러 구성이 포함된 모델이 많은 경우 Vuforia Studio에 추가할 수 있는 모델의 제한으로 인해 작동하지 않습니다. 이 디지털 트윈 사용 사례를 계속 진행하여 Identity Resolution Service 및 ThingWorx를 사용하여 확장 가능한 경험을 만드는 방법을 알아보십시오. |