Add Application Parameters and Edit the Popup with an If Else Statement
In addition to reusing much of the code from the 3D-Guided Service Instructions 200 experience, you will add some new application parameters and variables to the beginning of the code.
|
|
For the full code for this section, see Appendix 1 in GitHub. |
1. Before adding the new JavaScript, new application parameters need to be created. The application parameters will be used for binding attributes of the quadcopter model to parameters inside Vuforia Studio that can be used for data binding.
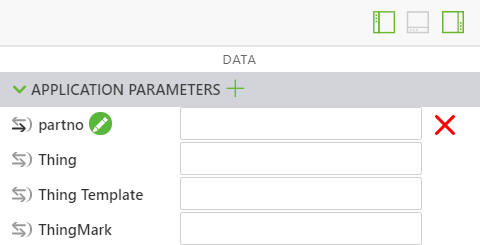
a. Open the Data pane on the right side of the screen, and expand the list of Application Parameters.
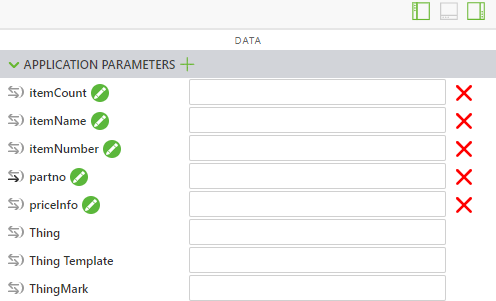
b. Use the green + next to Application Parameters to add the following application parameters:
▪ itemCount— used to display the amount of a given part that is being selected
▪ itemName— used to store the name of the selected part
▪ itemNumber— the part number
▪ priceInfo— the price of the part
Do not enter any data into the box next to each of these parameters; the data will be added from the attributes of the model. In a later activity, this data will be retrieved from an outside source.
2. Below the partName, instructionName, and partNumber variables in Home.js, add two new variables:
◦ priceString— uses metadata.get to retrieve the listPrice attribute from the model.
◦ price— uses a conditional operator to change priceString from a string data type to a float so it can be registered as a number if there is a price associated with the part, and if not, then it becomes an empty string.
var priceString = metadata.get(pathId, 'listPrice');
//
//listPrice is obtained as a string. If there is a price for the part, then use parseFloat to turn the string into a float. If there is not a defined price, set price to ""
var price = priceString != undefined ? ' </br>$' + parseFloat(priceString)
: "";
3. Next, below the new variables, initialize the application parameters created in Step 1 of this section so that they are equal to some of the variables that you just created. The application parameters will be used when adding parts to the cart, which will be created in a later section.
For this portion of the project, the inventory of each part, the itemCount, is going to be 1 since there is no external data attached to it. priceInfo is slightly different from price, since it does not have a $ added to the variable like price has because it is used for adding the total of the cart in a later section.
//
// set itemName app parameter to be equal to the partName variable, same relationship with itemNumber and partNumber and priceInfo and price.
// Set the itemCount to 1 for the purpose of this section, since it is not hooked up to an actual inventory.
$scope.app.params.itemName = partName;
$scope.app.params.itemNumber = partNumber;
$scope.app.params.priceInfo = parseFloat(priceString);
$scope.app.params.itemCount = 1;
4. All the initial variables and application parameters have been created.