Upload File
Use this action to upload a file to the ThingWorx repository.
Using the Upload File Action
To use this action in your workflow, you need to connect it to ThingWorx Flow. To connect to a flow, do the following:
1. Drag the Upload File action under the ThingWorx connector to the canvas, place the pointer on the action, and then click  or double-click the action. The Upload File action window opens.
or double-click the action. The Upload File action window opens.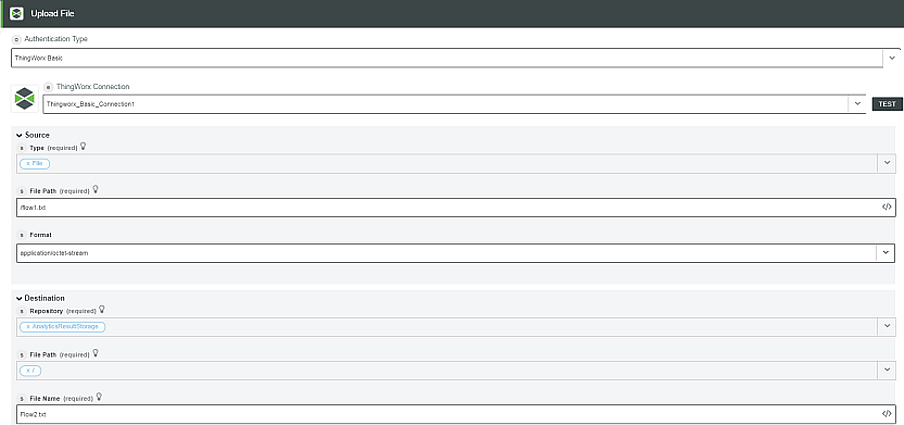
2. Edit the label name, if needed. By default, the label name is same as the action name.
3. To add a connection, refer to the section Adding a Connection in the ThingWorx connector topic. The default value is ThingWorx App Key.
If you previously added a ThingWorx connection, select a connection from the list. |
4. In the Type field, select a format in which the source data is provided.
◦ File
▪ File Path—File path from where the content is read. For example, /file.txt.
▪ Format—File content format.
◦ Stream
▪ Stream—Data stream which is written in the file.
▪ Encoding—Encoding type of the file.
◦ String—Data which is written to the file.
5. In the Destination field, enter the destination details where the data is uploaded:
◦ Repository—Select the ThingWorx repository where the file is to be uploaded.
◦ File Path—File path within repository.
◦ File Name—Name of the repository file.
6. Click Done.
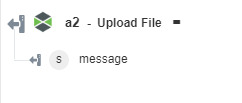
Output Schema
The output schema for Upload File action returns a message string. For example, when an action successfully completes, appropriate message appears.
See a sample output schema in the figure that follows: