Create Row
Use the Create Row action to create a row in the database.
Complete the following steps to use the Create Row action in your workflow:
1. Drag the Create Row action under SQL Connector to the canvas, place the pointer on the action, and then click  or double-click the action.
or double-click the action.The Create Row window opens.
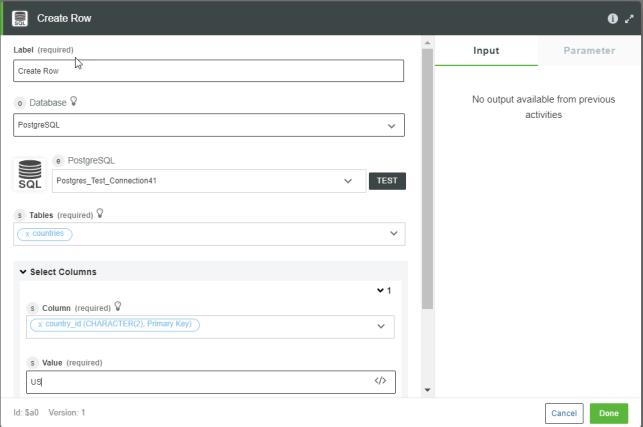
2. Edit the Label, if needed. By default, the label name is the same as the action name.
3. In the Database list, select the type of database that you want to connect:
◦ PostgreSQL
◦ SQL Server
◦ MySQL
◦ Oracle
4. Depending on the type of database that you selected, add the database connection. To add a new connection, refer to Add SQL Connector Connection.
If you have previously added a connection for the SQL Connector, select a connection from the list.
5. In the Table list, select the appropriate database table where you want to add a row.
You can add a single row at a time.
6. Under the Select Columns group, do the following:
a. In the Column list, select the column for which you want to add a value for the row that you added.
If there is a NOT NULL constraint on any columns in the table, ensure that you specify values for those columns. These columns are listed as required fields in the Column list.  |
b. In the Value field, enter the value that you want to add in the selected column.
7. Click Done.
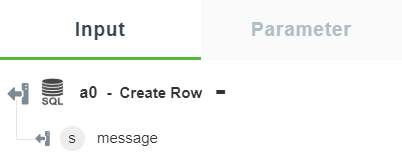
Output Schema
After a row is successfully created, the output schema for the Create Row action returns a message string that states that the row is created successfully.
The following image shows the sample output schema: