Execute Logic App
Use the Execute Logic App action to execute logic app from your Azure account. For more information, see Azure Logic Apps.
Complete the following steps to use the Execute Logic App action in your workflow:
1. Drag the Execute Logic App action under the Azure connector to the canvas, place the pointer on the action, and then click  or double-click the action.
or double-click the action.The Execute Logic App window opens.
2. Edit the Label, if needed. By default, the label name is the same as the action name.
3. To add an authentication scheme, refer to Authorize Azure.
If you previously added an authentication scheme for Azure, select it from the list.
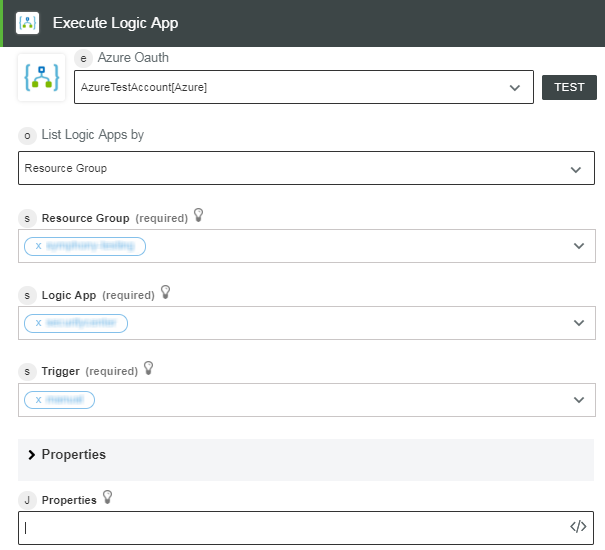
4. In the List Logic Apps by list, select one of the following options:
◦ Select Resource Group and do the following:
1. In the Resource Group list, select the appropriate resource group defined under your Azure subscription.
2. In the Logic App list, select the logic app defined in your resource group.
3. In the Trigger list, select the trigger defined in your logic app.
◦ Select Subscription and do the following:
1. In the Logic App list, select the logic app defined in your subscription.
2. In the Trigger list, select the trigger defined in your logic app.
If you select a trigger that has an input schema, the trigger schema is dynamically populated on the input form. If you specify the trigger information manually, the trigger schema is not populated on the input form. |
5. Click Show additional fields.
6. In the Properties field, specify the inputs required by the trigger, if any, in JSON format.
This field is applicable only if you enter the trigger information manually.
7. Click Done.
Output Schema
After successfully executing the logic app, the output schema for the Execute Logic App action returns a message string.
The following image shows the sample output schema: