Import ThingWorx Navigate related extensions
Now that ThingWorx is configured, let’s import the extensions. The files we’re going to import in this topic are all in the ThingWorx-Navigate-Upgrade-<version>-bundle.zip file you extracted earlier.
• ThingWorx Utilities
• PTC Windchill Extension
• ThingWorx Navigate Framework Extension
• ThingWorx Navigate View PLM App Extension
We’re going to use the new ThingWorx Composer to import the extensions.
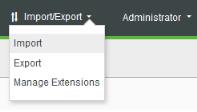
1. From the Import/Export menu, click Import. The Import window opens.
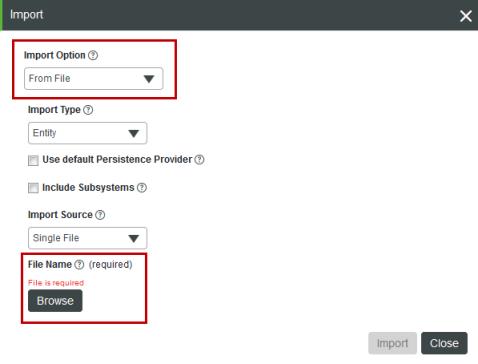
2. Select one of these two options for Import Options
◦ Select Extensions to import ZIP files.
◦ Select From File to import XML files.
3. For File Name, click Browse, and find the file to import.
4. Click Import.
Step 1: Import ThingWorx Utilities Files
To get more information on
ThingWorx Utilities, including how to download the files below, consult the
ThingWorx Utilities Installation Guide1. Find the following files in ThingWorx-Navigate-Upgrade-<version>-bundle.zip, and import them in the order they’re listed in:
◦ GoogleWidgets_ExtensionPackage-<version>-extension.zip
◦ WebSocketTunnelLibrary_ExtensionPackage-<version>-extension.zip
◦ WebSocketTunnel_ExtensionPackage-<version>-extension.zip
◦ Mail_Extensions-<version>-extension.zip
◦ utl-all-<version>-extension-bundle.zip
◦ grid-advanced-<version>-extension.zip
| If you get an error message when you import these files, you can ignore it. |
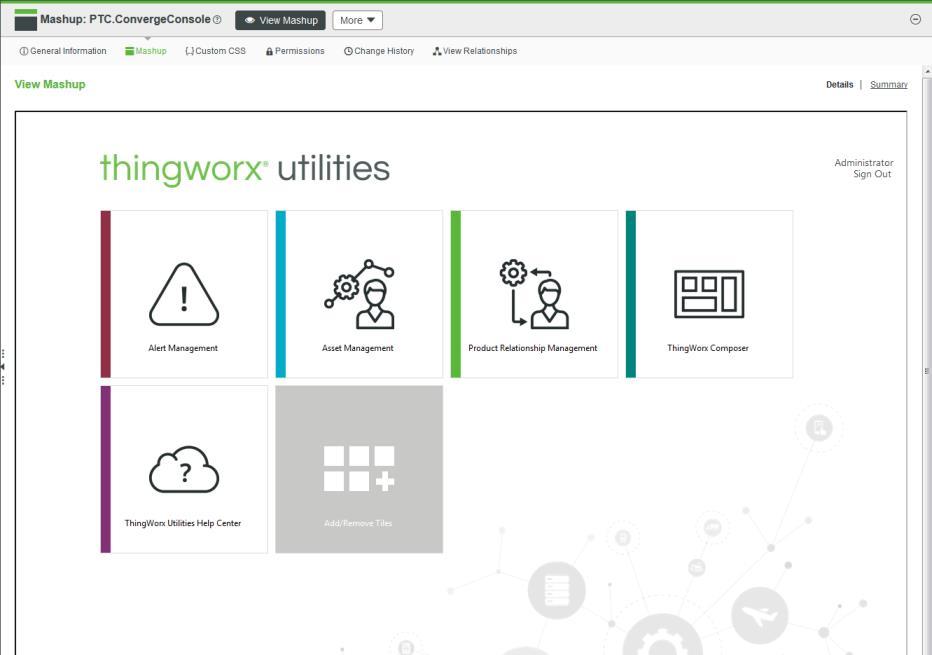
2. Verify that the extensions are successfully imported by searching in ThingWorx Composer for the PTC.ConvergeConsole mashup type. Select the mashup. Then, from the Mashup Editor, click View Mashup and confirm that the mashup displays.
Now that you have the ThingWorx Utilities files in place, continue to the next step to import the PTC Windchill Extension.
Step 2: Import the PTC Windchill Extension
Now we’ll import the PTC Windchill Extension and apply the Windchill patch associated with your version of Windchill.
Importing the PTC Windchill Extension Files
1. Find and import the file: ptc-windchill-extension-{version}.zip.
2. If a warning appears indicating that the infotableselector_Extension was skipped, don’t worry, you can safely ignore it.
If prompted, refresh the composer.
Installing PTC Windchill Patches
| You can skip this if you already installed the Windchill Patches. |
The required PTC Windchill patch adds several web service endpoints that allow ThingWorx to interact with Windchill. Note that the Windchill patches are not part of the upgrade ZIP file you downloaded.
Follow these steps to download the Windchill patches:
2. Expand Release APPS, PTC Windchill Extension for ThingWorx, and Most Recent Datecode.
3. Download PTC-Windchill-Extension-for-ThingWorx-<version>.zip, and extract it.
The name of the ZIP file identifies the release in which it should be installed. For example, on a 11.0 M030 system, install the patch in 11.0-M030_WCTWXExtension_{version}.zip.
Each patch includes instructions specific to the release. To install the patch, unzip the file and use the instructions found in the Readme file included with the patch.
For more information about the supported
Windchill versions and patches, see the
Platform Support Matrix for ThingWorx Navigate.
| Make sure to reapply the patch after every update of Windchill CPS. |
Now that you have the extension and the patches, the next step is to import ThingWorx Navigate Framework Extension files.
Step 3: Import ThingWorx Navigate Framework Extension Files
At this point, your system is ready to start installing the components of ThingWorx Navigate. First up: the ThingWorx Navigate Framework Extension.
1. Find and import ptc-navigate-framework-extension-{version}.zip. Refresh the window if prompted.
2. If you’re performing In-place upgrade, skip to step 3. If you’re performing Migration upgrade, find and import thingworx-navigate-configuration-manager-<version>.zip.
3. To view the extensions after the import is complete, select > .
Now that the framework extension is in place, let’s install the task extensions that your users will need.
Step 4: Importing ThingWorx Navigate View PLM App Extension
It’s time to import the extensions for your users’ tasks.
1. Find and import ThingWorx-Navigate-View-PLM-App-{version}.zip. Refresh the window if prompted.
2. Restart Apache Tomcat.
3. Find and import ptc-sample-mashup-{version}.xml.
4. Find and import ThingWorx-Navigate-Example-{version}.xml.
5. To view the extensions after the import is complete, select > .