
1. |  | |||
2. | Click > to load
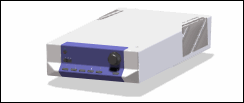
Stereo.pk2.
| |||
3. | In the Structure Browser, expand the stereo_system assembly as shown in the image below.
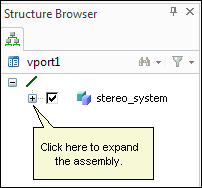 | |||
4. | Clear the Amplifier check box, as shown in the second image below. You can see that the Light Emitting Diode (LEDs) aren't part of the assembly, as shown in the first image below. 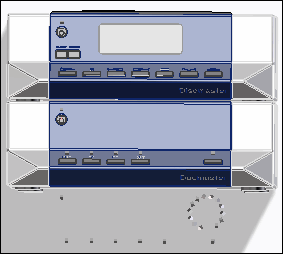 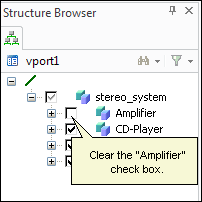 | |||
5. | Move the last LED, led 6.2, to the Amplifier assembly: use a drag-and-drop operation, as shown in the image below. 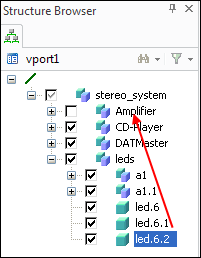 | |||
6. | Move the a1.1 LED subassembly to the Amplifier assembly using a drag-and-drop operation. | |||
7. | Move the Amplifier assembly such that it is the top level assembly, as shown in the image below. 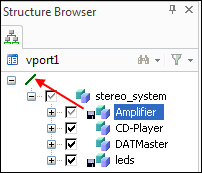 | |||
8. | Delete the stereo_system assembly: right-click and select Delete. | |||
9. | Click the Amplifier check box. | |||
| ||||
