You can create ribs on a part using 2D edges that are located on a workplane.
To create ribs using 2D edges,
1. Click Modeling and then, in the Model group, click More.
2. Click Create Rib under Rib. The Rib dialog box opens.
3. Select a Part; the active part is selected by default.
4. Select the Workplane containing the 2D edges; the active workplane is selected by default.
5. Creo Elements/Direct Modeling assumes an appropriate direction for the ribs (+w or -w); to change the direction, in the Direction box, select the opposite direction.
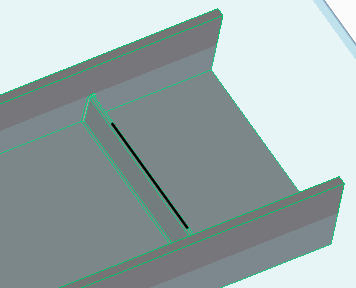
6. To extend the ribs to meet the walls of the part, click the Grow check box. For example,
◦ The first image below shows a rib with the Grow check box clicked.
◦ The second image shows a rib with the Grow check box cleared.
Ribs with 2D Spline profiles (edges) cannot grow towards the boundary so you must not click the Grow check box while creating ribs from 2D splines.
7. Click Thickness and type a value for the rib thickness.
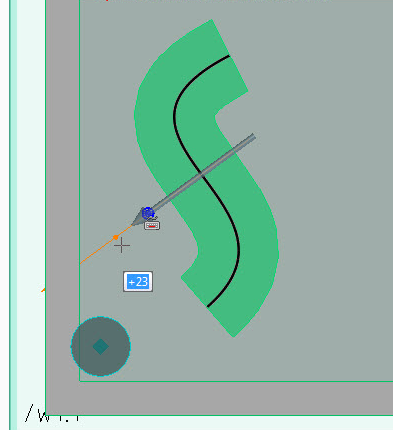
You can specify a rib thickness value up to a certain limit for 2D spline profiles having complex curvature.
In the following example image, spline with rib thickness of 23 mm is created without any issue.
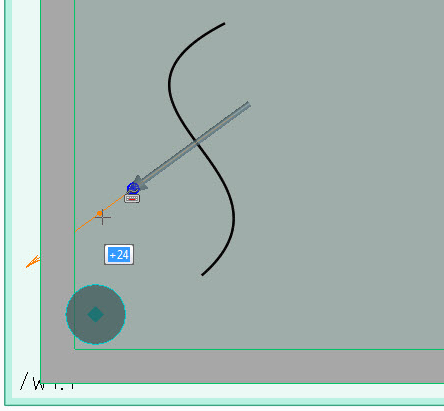
Spline with rib thickness greater than 23 mm does not create a rib with spline profile as shown below.
8. Click the Draft Angle check box and type a value for the draft angle, which is applied to all the side faces of the rib.
9. Click the Blend Rad check box and type a value for the rib blend radius, which is applied to all new edges that are created.
10. Click the Keep WP check box to retain the workplane after you create a rib. This is the default.
11. Click the Keep Prof. check box to retain the profile after you create a rib.
You must also retain the workplane which contains the profile.
 Create Rib under Rib. The Rib dialog box opens.
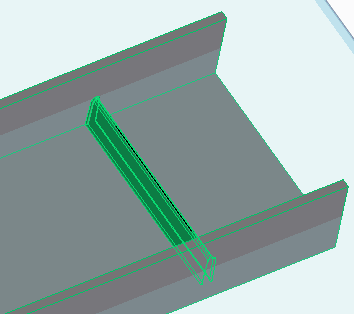

 to complete the operation.