MPMLink Setup
Preference
The Manage Illustrations with Creo Illustrate preference under > needs to be enabled within the Preference Management Utility on your Windchill MPMLink server. By default, the value for the preference is set to No. Set the value to Yes.
Publishing Rule File
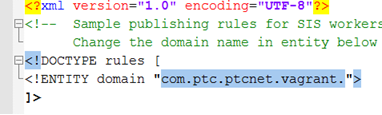
To properly manage WVS configurations on your Windchill MPMLink server, you need to add a publishing rule file for MPMLink objects that includes a domain value specific to your site. A sample publishing rule file can be found at: /opt/wnc/MpmLink/ProcessPlanBrowser/src_web/config/actions/MPMSamplePublishingRule.xml, and is shown in the following figure with a sample domain value highlighted.
| You must edit the sample publishing rule xml document, change the domain value to the specific domain value for your site, and then save the file to a different location (your desktop) for later use. An error is displayed if the domain values do not match. |
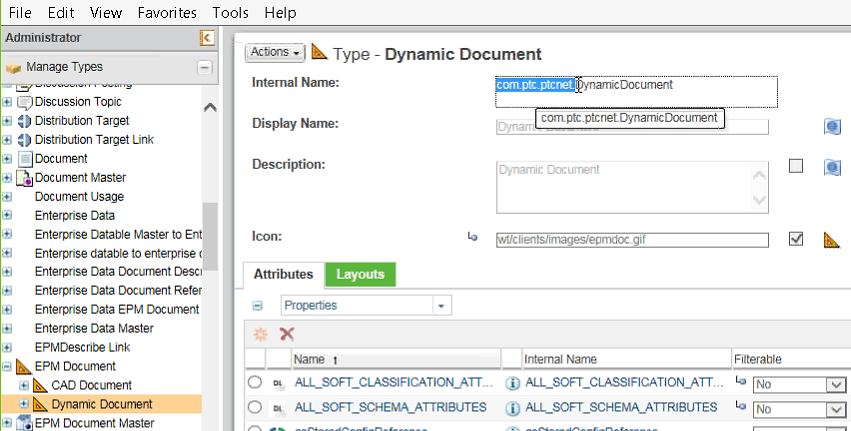
Your specific domain value can be referenced in the Type and Attribute Management utility on your server by selecting Dynamic Document in the Manage Types panel, as shown in the following figure (sample domain value highlighted in blue).
To add a publishing rule file for MPMLink objects:
1. As an administrator on your Windchill MPMLink server, from the Navigator pane, select > > .
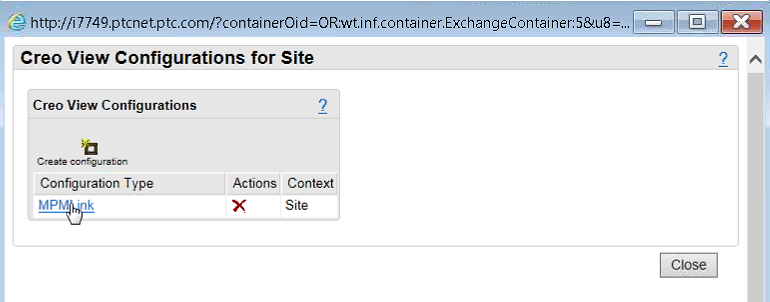
The Creo View Configurations for Site window opens.
2. Click Create configuration.
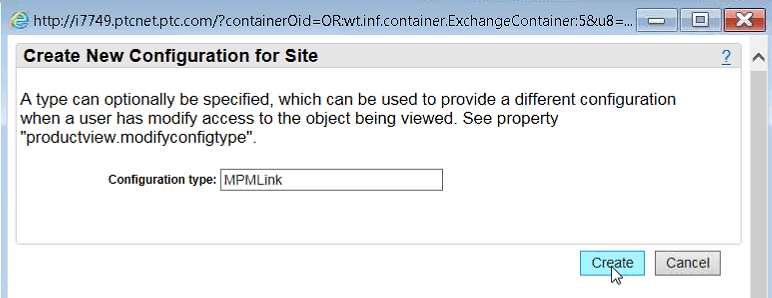
The Create New Configuration for Site window opens.
3. In the Configuration type field enter MPMLink, then selectCreate.
A new “MPMLink” visualization configuration type is created in Windchill.
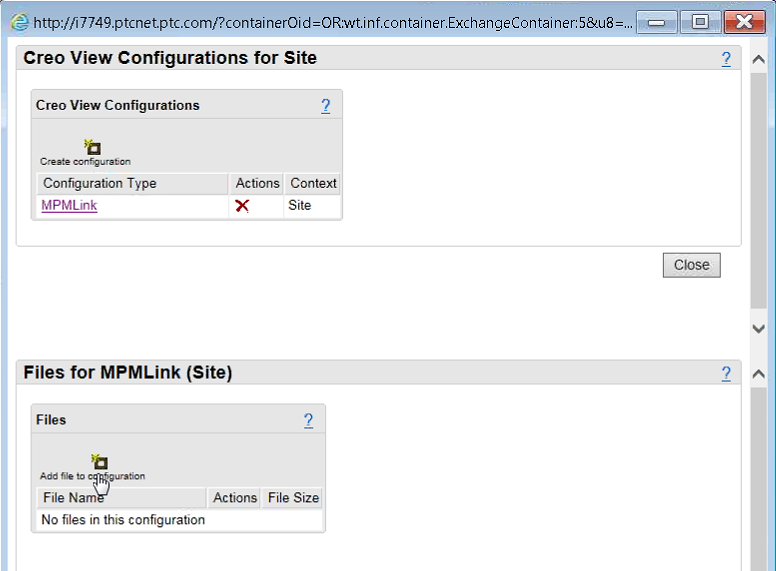
4. Click on the listed “MPMLink” configuration type to select it.
A “Files for MPMLink (Site)” section is added to the bottom of the window, as shown in the following figure.
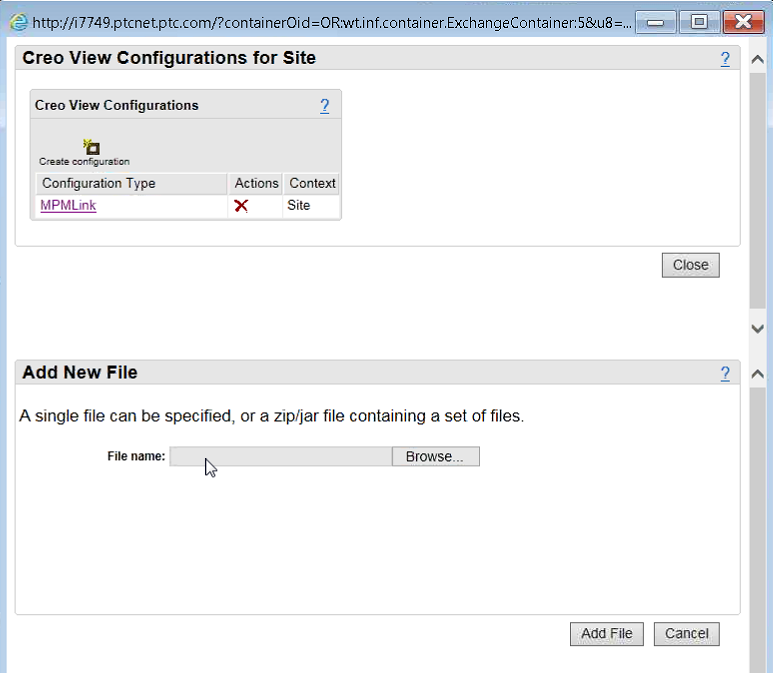
5. In the “Files for MPMLink (Site)” section, click Add file to configuration.
A new “Add New File” section is added to the bottom of the window, as shown in the following figure.
6. In the File name field, browse for, or enter the absolute file path to your edited publishing rule file. The sample publishing rule file is located at /opt/wnc/MpmLink/ProcessPlanBrowser/src_web/config/actions/MPMSamplePublishingRule.xml.
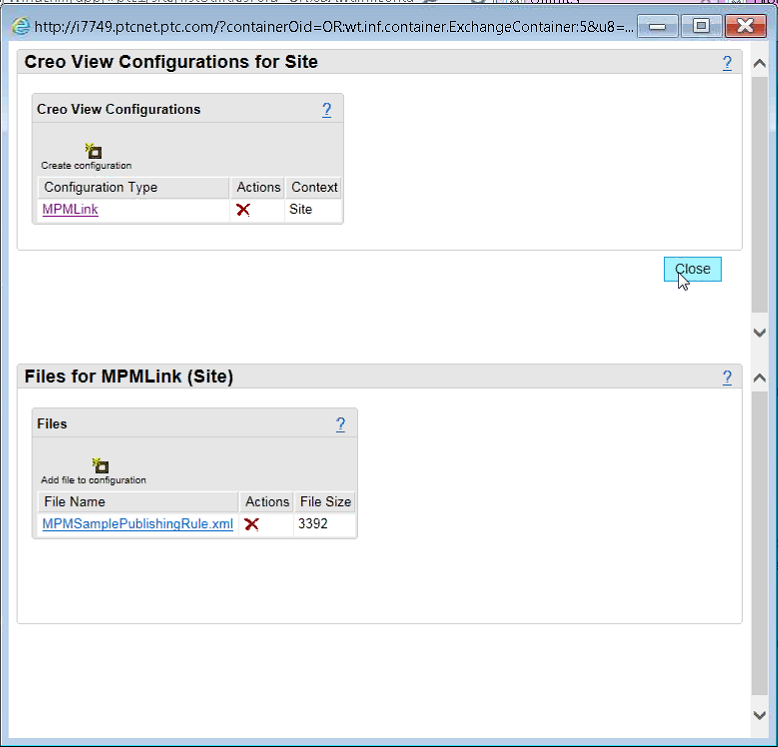
The filename appears in a new “Files for MPMLink (Site)” section at the bottom of the window, as shown in the following figure.
7. Select Close to dismiss the Creo View Configurations for Site window.
The MPMLink publication rule file is added to Windchill and the visualization configuration is complete.