Designate Model Objects and Create Model Items
To designate model object, click > > and use the Designate dialog box. For more information, see the topic About Accessing the Feature-Level Information of Creo Models in the Creo Help Center.
Designated Bodies and Features
To designate bodies and feature,
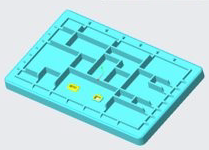
1. In Creo, create a geometry.
2. Click > > . The Designate dialog box opens.
3. From the Object tab, select body and feature that you want to relate to the part. You must specify the extension.
| Features and bodies cannot be marked as control characteristics. Only annotations can be marked as control characteristics. |
4. Click > > . The CAD document is now saved to the Windchill database.
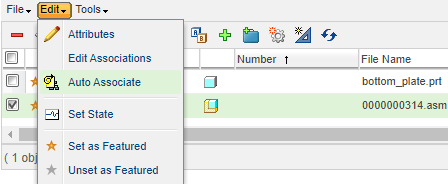
5. In Windchill, select the CAD document and click > .
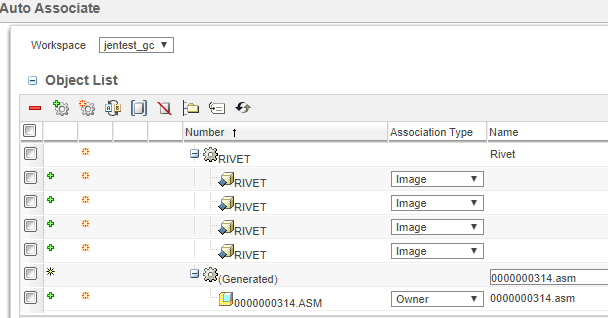
6. In the Auto Associate dialog box, specify the Association Type for the objects.
7. Click Check In. The associations are now visible in the BOM and the CAD structure.
Designated Annotations
To designate a feature in annotation,
1. Create annotations in Creo Parametric.
2. Optionally, click > > and then select Designate and Control Characteristics.
3. Check in the CAD document to Windchill with the Auto Associate Parts to CAD Documents selected. The CAD document is now available in Windchill.
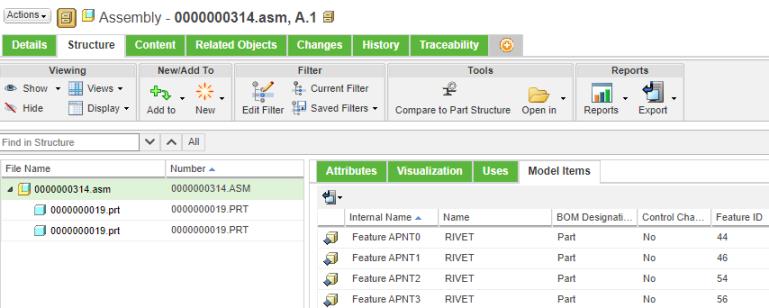
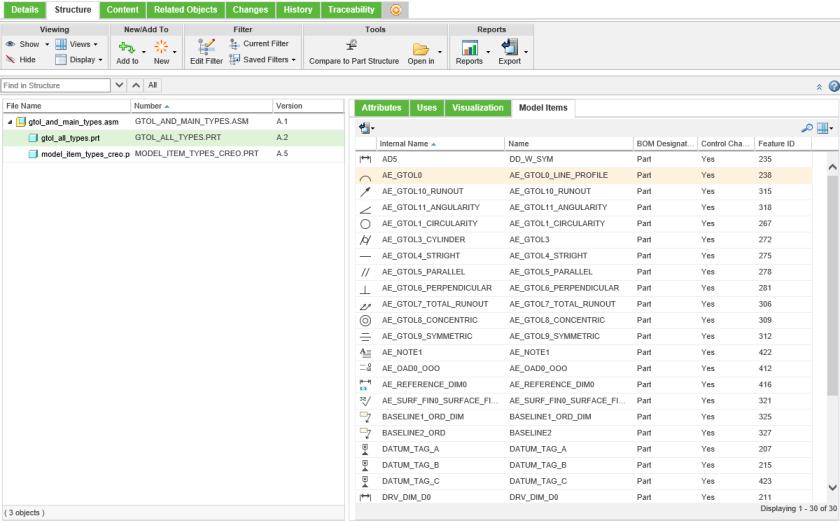
4. Click Structure and notice the model items associated with the CAD document. Here is an example,
You can now use these designated control characteristics in BOM to create manufacturing instructions. For more information, see
Using the BOM Transformer.