Create a Library and Document
Now as the End User you will create a Library and a document instance in that Library.
1. You must now login to the Windchill system as the end user. With some browsers you can do this in a new browser window. Others browsers may require closing the current browser first.
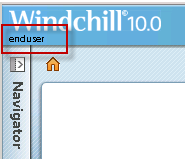
2. Confirm that you are logged in as the End User (not the Organization Administrator and not the System Administrator) You should see the name of the End User displayed at the top of the display:
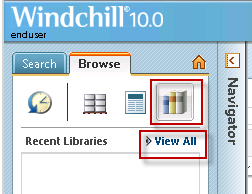
3. Navigate to the Library context and select “View all”
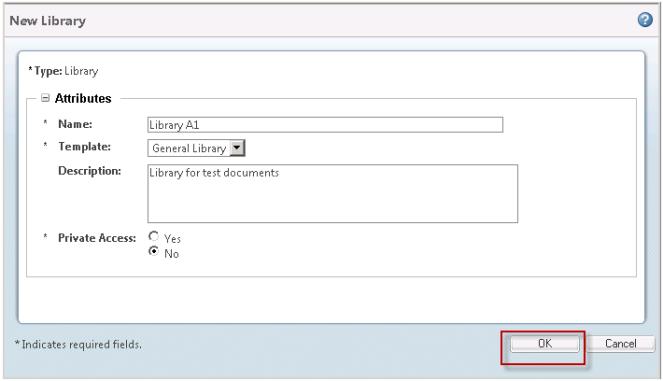
4. As the End User, create a new Library. Select New Library.
5. Enter the attributes for the Library, and select OK.
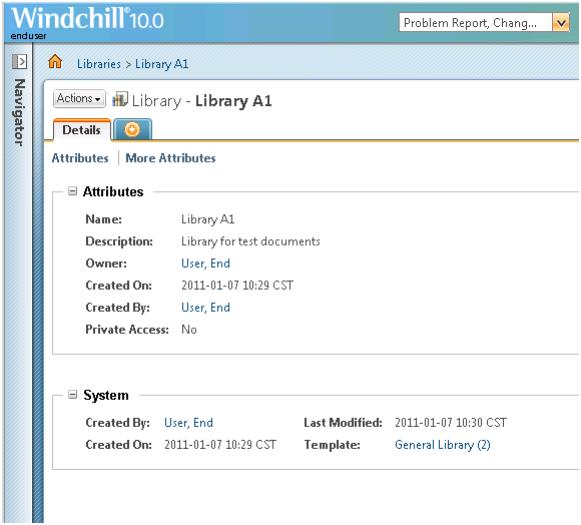
6. Now you will see the details for your new library.
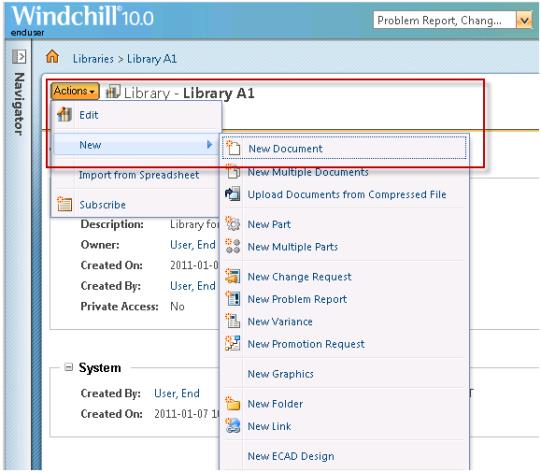
7. From the Actions menu select New, and from the sub menu New Document:
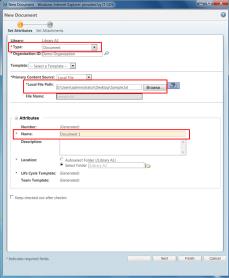
8. In the New Document dialog, select Document in the Type drop down menu. Then Browse… to select a local document to upload as the Primary Content. Change the Name of the document to “Document 1”. Select Finish
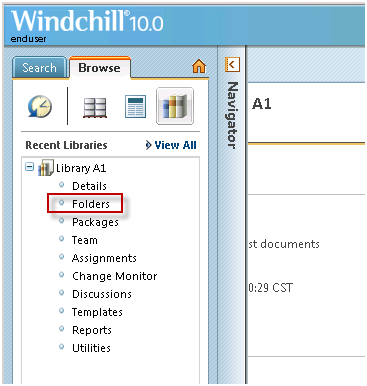
9. Navigate to your Library’s Folders:
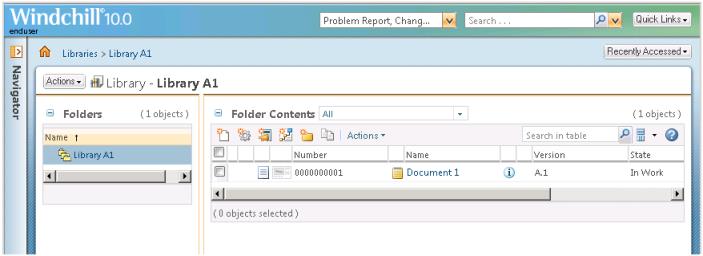
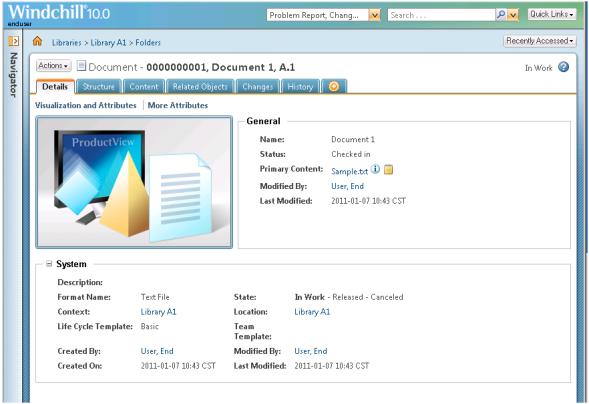
10. Here is the new document in its folder. Note that the Number is automatically assigned.
11. Select the View Information icon to see details about the document.