Allocate Database Columns for Local Attributes
To create new local attributes, you first need to allocate space for them in the database. You add columns per database table, per type of attribute for required data type. You can allocate more than you plan to use immediately for future growth.
We will add five number columns to the WTDocument table for use later in the tutorial.
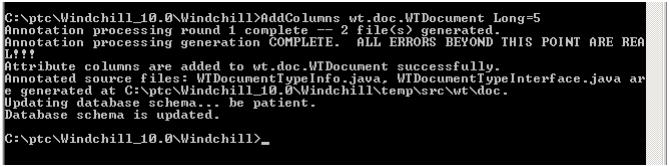
1. From the Windchill shell, run the following command line utility (the expected console output is also shown): AddColumns wt.doc.WTDocument Long=5
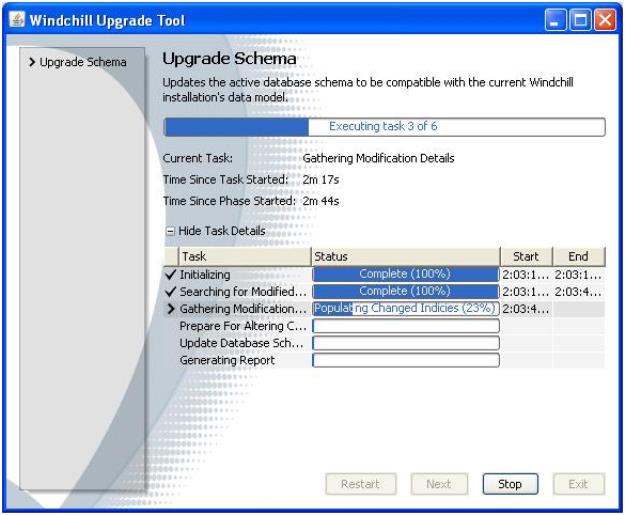
2. The Upgrade Schema window will automatically appear, and disappear, after executing:
3. The five new columns have been created on the WTDocument table for the respective data type. To make use of them, you must restart the Windchill Method Server. Do that now.
| If the server is SOX configured then you have to first de-configure the SOX and run the Add column command and again configure the server to SOX. |
| To execute AddColumns utility in cluster environment, perform the following steps on the Windchill Shell: 1. Run AddColumns tool to allocate the standard attribute columns on one of the cluster nodes. For example, AddColumns wt.part.WTPart -f String=2 2. On the other cluster nodes, run the following: ◦ For Windchill Systems prior to 10.2 M030 release, run the following command: AddColumns -repair wt.part.WTPart String=2 ◦ For Windchill Systems after 10.2 M030 release, run the following command: AddColumns -syncFromDB wt.part.WTPart String=2 |