Transferring Data to Amazon Web Service S3 using Amazon Snowball
This section explains the steps to transfer the data into Amazon Web Service (AWS) S3.
AWS Snowball is a service that accelerates transferring large amounts of data to and out of AWS using physical storage appliances.
Perform the following steps to transfer data in to AWS S3:
1. Order Amazon Snowball to your premises.
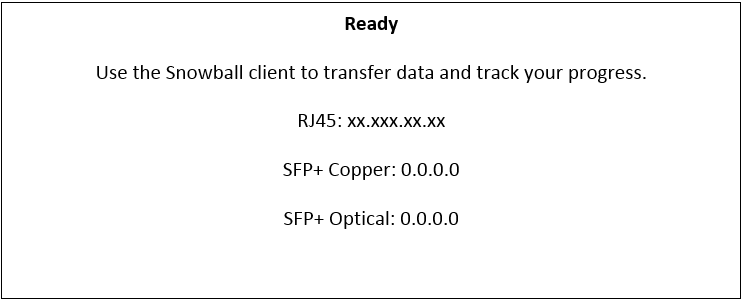
2. Once Amazon Snowball is available, connect the power cable and network cable to Amazon Snowball. Snowball's E Ink display an IP address similar to the following:
4. Install Snowball client.
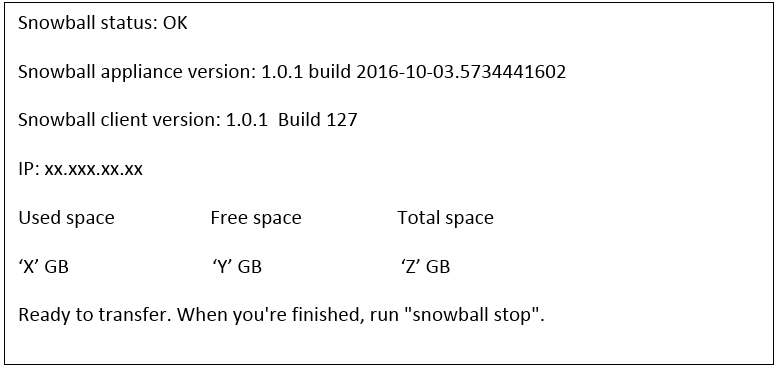
7. Start the command prompt and run following command to start Amazon Snowball:
snowball.bat start -i <ip address> -u <unlock code> -m <manifest file path>
The Snowball client should display the following information:
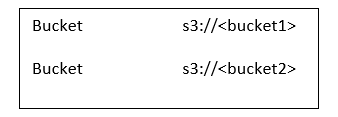
8. To list the available buckets in snowball, run this command snowball.bat ls
After running the command, the snowball client displays the following information:
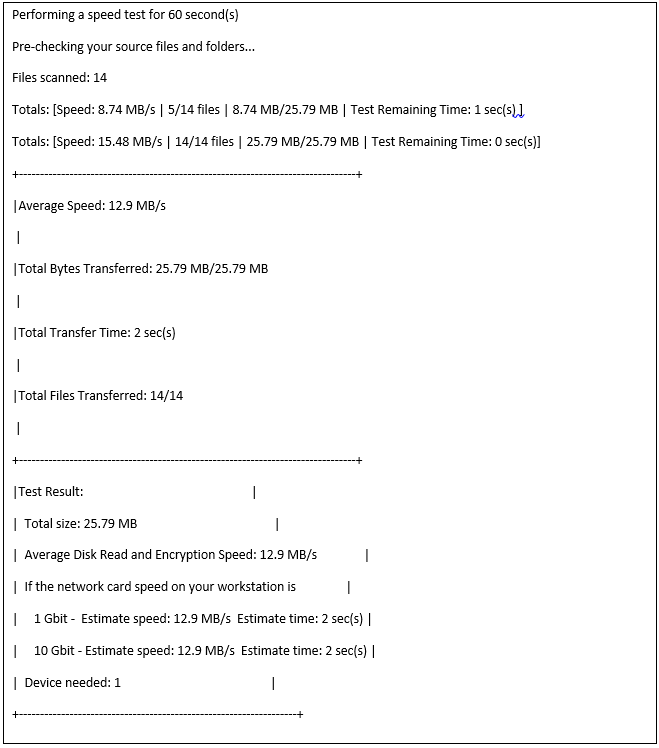
9. To perform a test of copy directory to Amazon Snowball, run this command:
snowball.bat test -r <vault mount path on host machine>
After running the command, the Snowball client displays sample files as follows:
| You can test the Snowball client without having a manifest, an unlock code, or a Snowball. |
10. To copy data from vault location to Amazon Snowball, run this command
snowball.bat cp -r <path to vault>
s3://<bucketname>/<vaultname>
Example
snowball.bat mkdir s3://Testbucket/defaultuploadvault
snowball.bat cp -r C:\PTC\Windchill\vaults\defaultuploadvault
s3://Testbucket/defaultuploadvault
In this example, defaultuploadvaultcontains the sub-folders and content files are inside sub-folders.
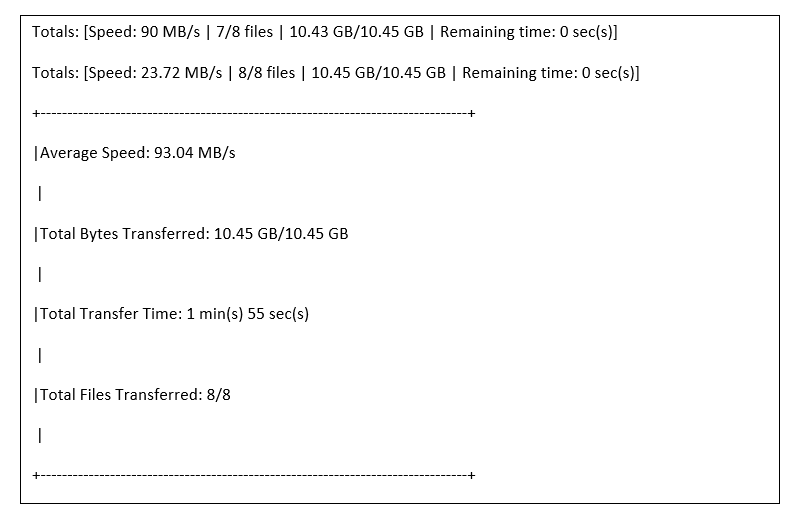
After running the command, the Snowball client displays the following information:
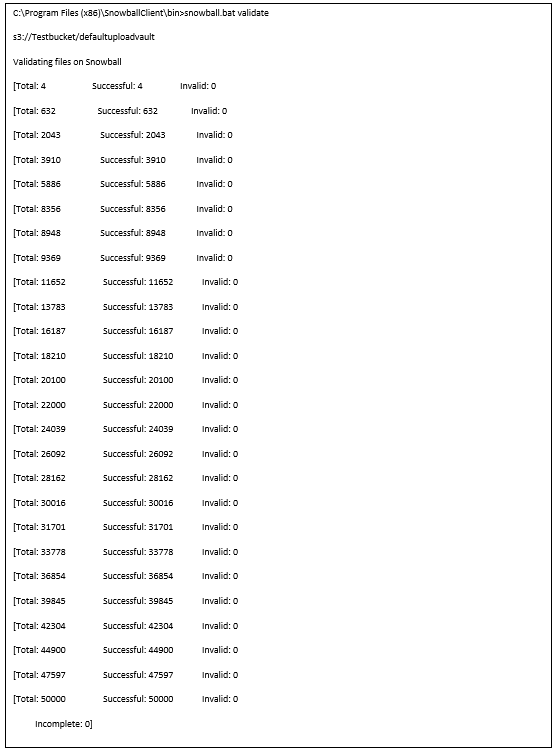
11. To validate data on Amazon Snowball, run this commandsnowball.bat validate <path on Amazon Snowball>
Example
snowball.bat validate s3://Testbucket/defaultuploadvault
After running the command, the Snowball client displays the following information:
12. To stop Amazon Snowball, run the following command: snowball.bat stop
If your vault does not contain RootFolder but only Folders, then run the following utility: windchill wt.fv.tools.FolderToRootFolderConverter
| If you want to store the content on AWS S3 in SSE-S3 encryption format, configure the bucket level policy for SSE-S3, so that the snowball import job will store the content in SSE-S3 format. windchill wt.objectstorage.tools.MountMigrationTool migrate -u
<username> -p <password> -r <RootFolder name> -m <mount path on
Amazon S3> -t amazonS3 |